Press Releases Sensor Instruments
보도 자료 Sensor Instruments
2023년 11월 20일
11.10.2023 ( )
)
2023년 8월 24일
15 April 2021
2023년 11월 20일
| Windows® 소프트웨어 SPECTRO3 MSM DOCAL Scope는 여러 가지 방법으로 색상 센서의 인라인 보정이 가능합니다. 이어지는 부분에는 그에 대한 자세한 설명이 제시되어 있습니다. RAL 플라스틱 색상 카드를 이용한 보정 독일 본 시에 위치한 RAL gGmbH 회사에서는 d/8° 방법에 따라 측정되는, 약 300가지에 이르는 다양한 색상의 플라스틱 카드를 제공합니다. 플라스틱 색상 카드의 각 봉투에는 해당하는 L*a*b* 값이 명시됩니다. 또한 Sensor Instruments GmbH 회사를 통해 구입 가능한 RAL 플라스틱 색상 카드에는 45°/0° 측정으로 결과되는 해당 L*a*b* 값이 추가적인 5자릿수의 번호와 함께 RAL 플라스틱 색상 카드와 봉투에 모두 명시됩니다. 이때 Sensor Instruments는 새로 측정하는 RAL 플라스틱 색상 카드에 5자릿수의 일련 번호를 부여하고 그것을 RAL 플라스틱 색상 카드에 맞춰 측정한 L*a*b* 색상값과 함께 보정 파일에 기록합니다. 따라서 보정 과정이 진행되는 동안 센서 장치에는 보정하려는 RAL 플라스틱 색상 카드만 제시하면 되고, 그에 속하는 5자릿수 번호는 소프트웨어에 입력해야 합니다. 이런 보정 모드에서는 RAL 플라스틱 색상 카드가 유일하게 참조용으로 사용되고 휴대용 색도계, 이른바 핸드 컬러리미터의 적용이 반드시 필요하지 않으므로, 예를 들어 작업장이 여러 곳에 위치한 경우에도 장소에 구애받지 않고 측정 결과들을 비교해 볼 수 있습니다. 사출성형 색상 플레이트 및 재생원료를 이용한 보정 하지만 다수의 경우 원하는 것은 바로 작업장에서 이미 사용 중인 휴대용 또는 시험실 색상 측정기의 적용입니다. 왜냐하면 그런 경우 생산 공정과 시험실 간의 측정값 비교가 더욱 수월하기 때문입니다. SPECTRO3 MSM DOCAL Scope 소프트웨어를 이용하여 작업장 기존 색상 측정기를 참조하는 방법에 대해서는 다음과 같이 좀 더 자세한 설명이 필요합니다. Sensor Instruments에서는 이를 위해 온라인 색상 측정 시스템 외에도 작동 방식 및 센서 기술이 동일한 시험실용 기기를 제공합니다. 검사 유리창을 이용하는 측정 시스템과, 재생원료로 직접 향하여 측정하는 기기들의 사용이 모두 가능합니다. SPECTRO-3-0°/45°-MSM-INLINE-ANA, 그에 상응하는 시험실용 SPECTRO-3-0°/45°-MSM-CMU 기기를 이용한 인라인 색상 측정 두 경우 모두 보정하려는 재생원료에 대한 직접 보정이 가능하지만, L*a*b* 참조값들을 계산할 때에는 보정하려는 기기에 사용되는 재생원료와 같은 배치에서 제작된 사출성형 플레이트가 이용됩니다. L*a*b* 참조값들은 사출성형 플레이트를 기반으로 해당 작업장 기존의 휴대용 및 시험실용 측정기를 이용하여 계산할 수 있습니다. 프런트 엔드 KL-D-0°/45°-85-1200-D-S-A3.0-VIS와 조합된 SPECTRO-3-FIO-MSM-ANA-DL, 그에 상응하는 시험실용 SPECTRO-3-0°/45°-MST 기기를 이용한 인라인 색상 측정 여기에서도 사출성형 플레이트가 L*a*b* 참조값 계산에 이용됩니다. 이때 광학식 프런트 엔드는 85mm 떨어진 거리에서 재생원료로 직접 향합니다. 보정하는 동안 사용되는 재생원료는 사출성형 플레이트의 제작에도 사용될 수 있습니다. 그렇게 사출성형 플레이트와 재생원료는 같은 배치에서 유래합니다. 시험실용 SPECTRO-3-0°/45°-MST 기기를 이용한 보정 시 권유 사항: 측정값 획득 시 보정 과정이 진행되는 동안 재생원료가 담긴 용기를 센서 프런트 엔드에 대해 정해진 거리를 유지하면서 x 및 y 방향으로 움직여서 펠릿들의 우연한 놓임새에 대한 보상이 가능해지도록 해야 합니다. 인라인에서는 이런 작업이 진동 피더에 의한 펠릿 운반 시 실행됩니다. 이때 이동하는 재생원료는 50mm/s에서 100mm/s 범위의 속도를 갖습니다. 보정 과정에 소요되는 시간이 예를 들어 30초인 경우, 재생원료는 1.5m에서 3m에 이르는 거리를 이동하는데, 다시 말하면 이 측정 구간에 걸친 보정 과정에서의 평균값이 구해집니다. 따라서 과립형 알갱이들의 우연한 놓임새에 관계없이 정확한 측정 결과가 얻어집니다. 진동에 의한 공명으로 가끔 펠릿이 "튀어 오르는" 경우에도 마찬가지로 몇 초에 걸친 측정 과정 동안 충분한 보상이 이루어질 수 있습니다. 이때 결정적인 것은 무엇보다 직경이 약 20mm에 달하는 커다란 광점 크기이며, 따라서 정지 상태에서 이미 다수의 펠릿에 대한 평균이 광학적으로 계산됩니다. ► Press release (Word/zip) |
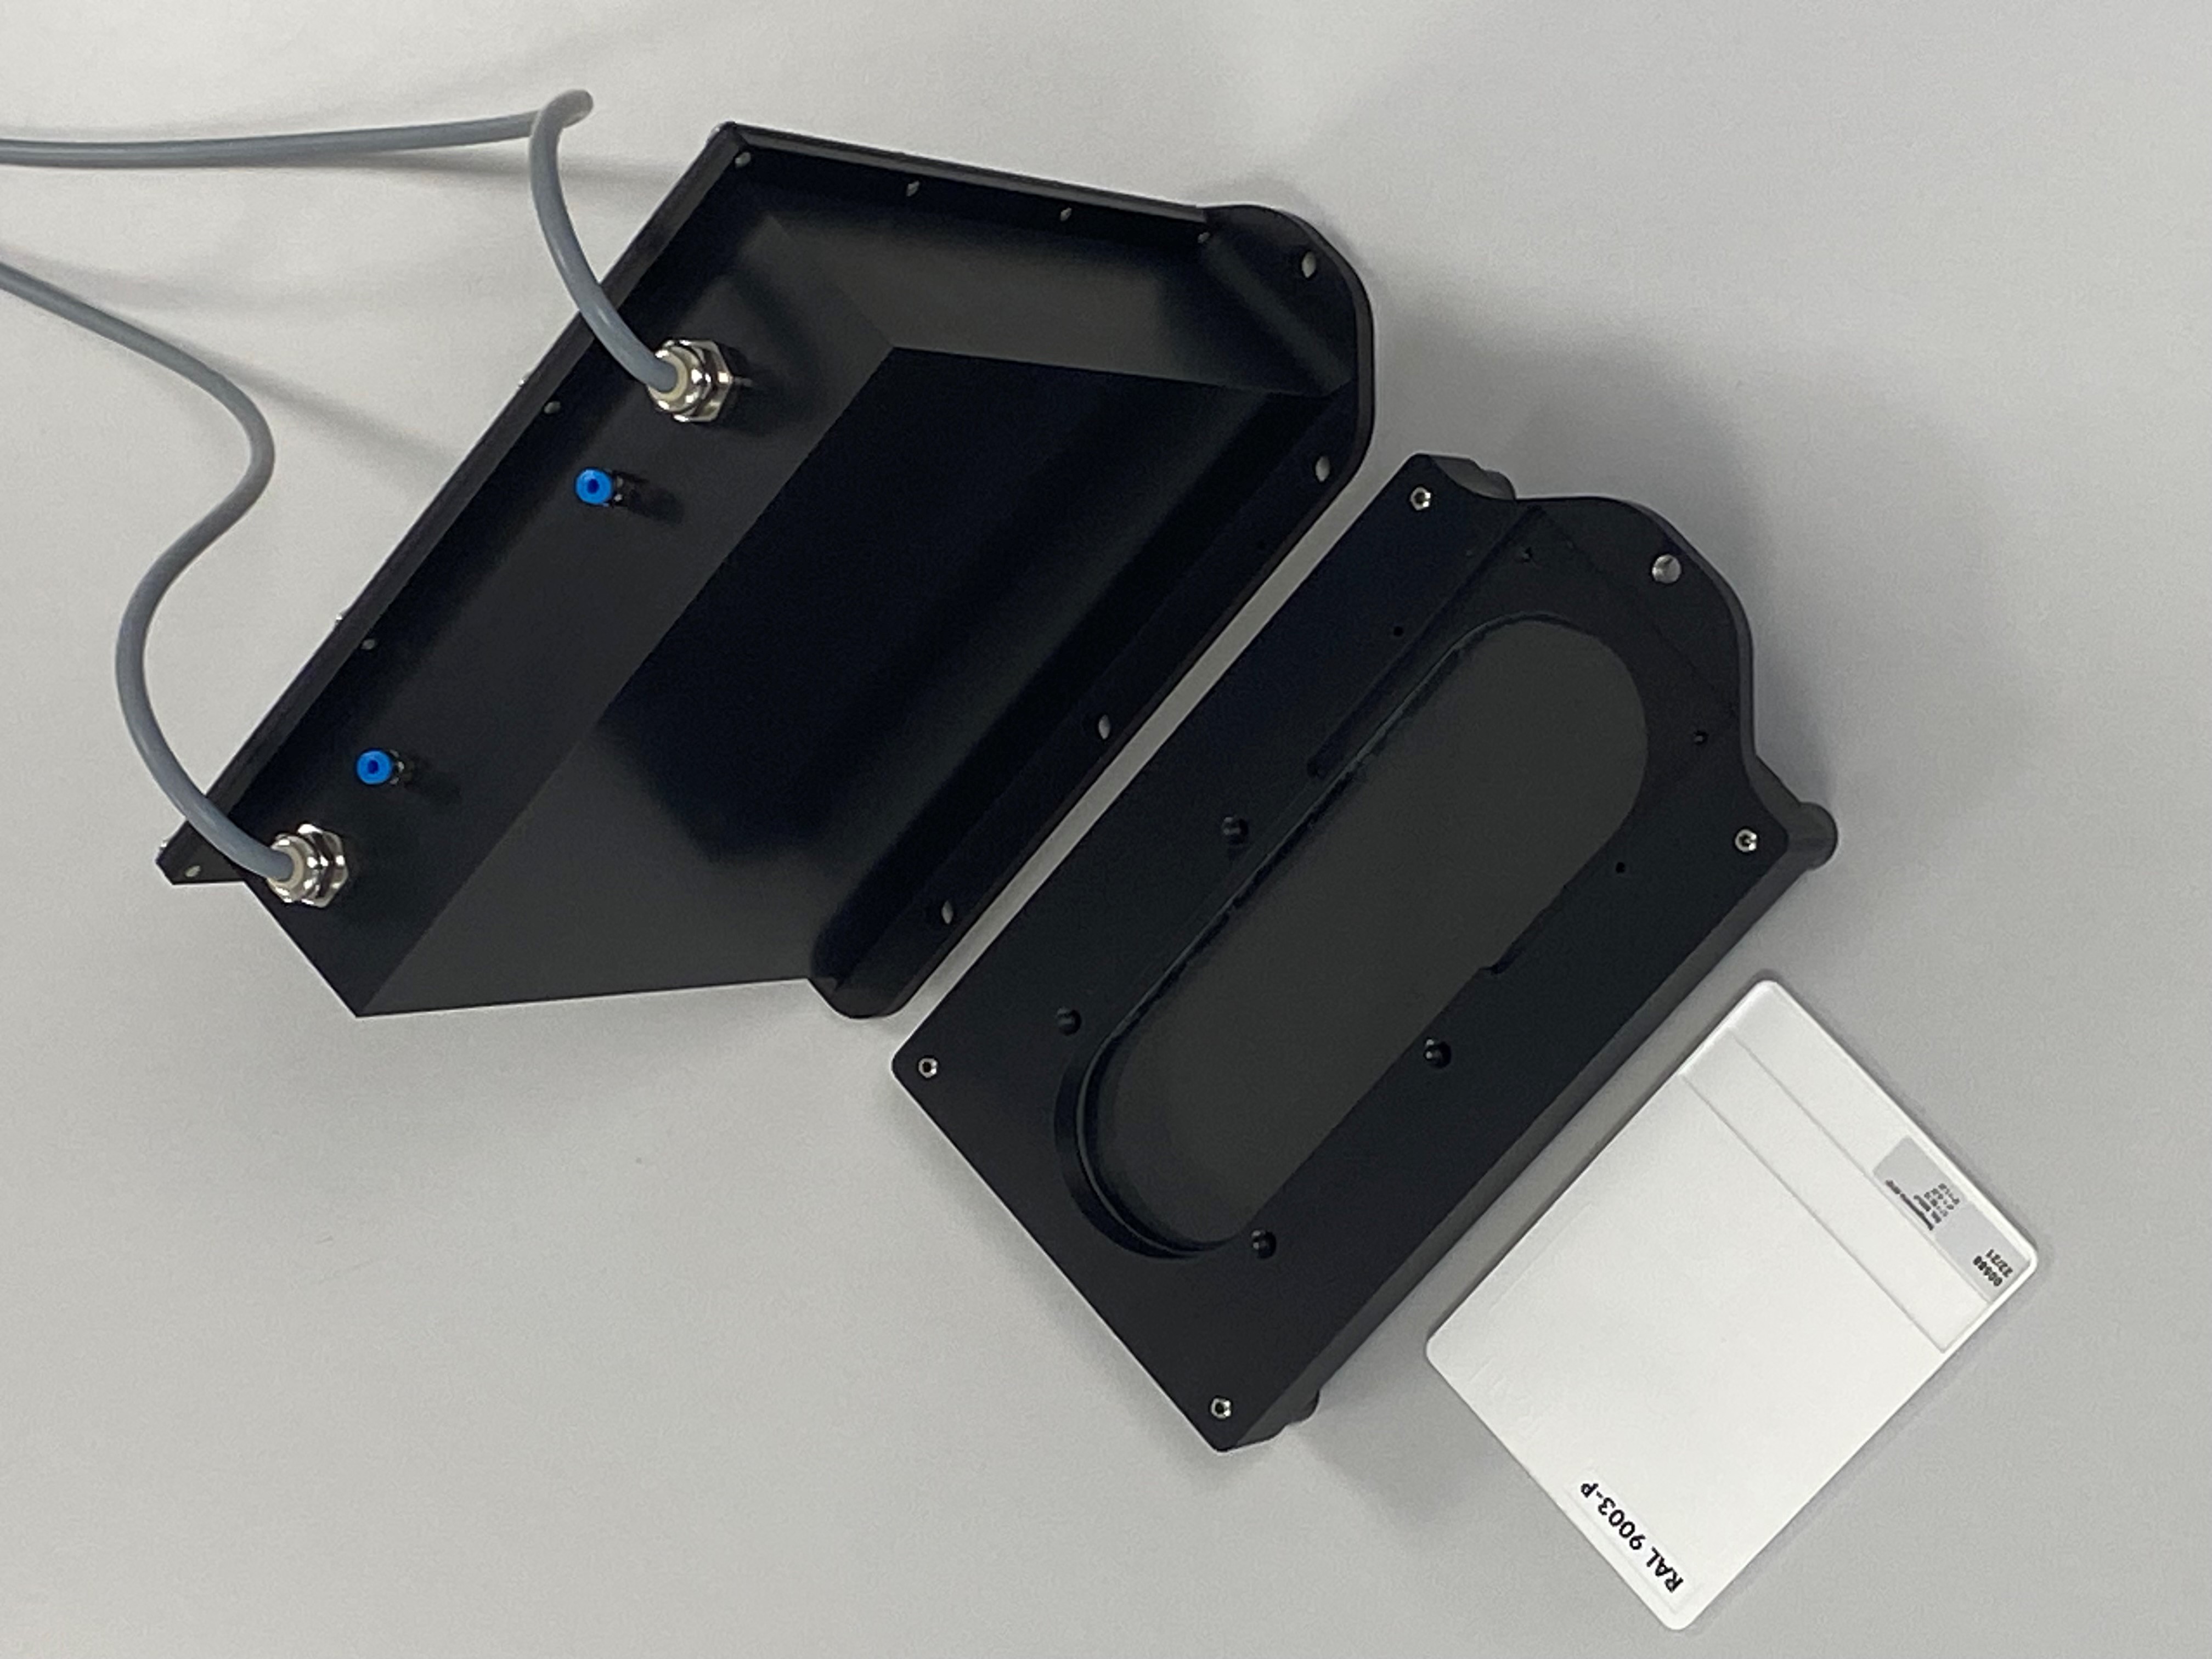 SPECTRO-3-0°/45°-MSM-INLINE-ANA + SPECTRO-3-0°/45°-MSM-CMU (인라인 색상 측정 시스템) 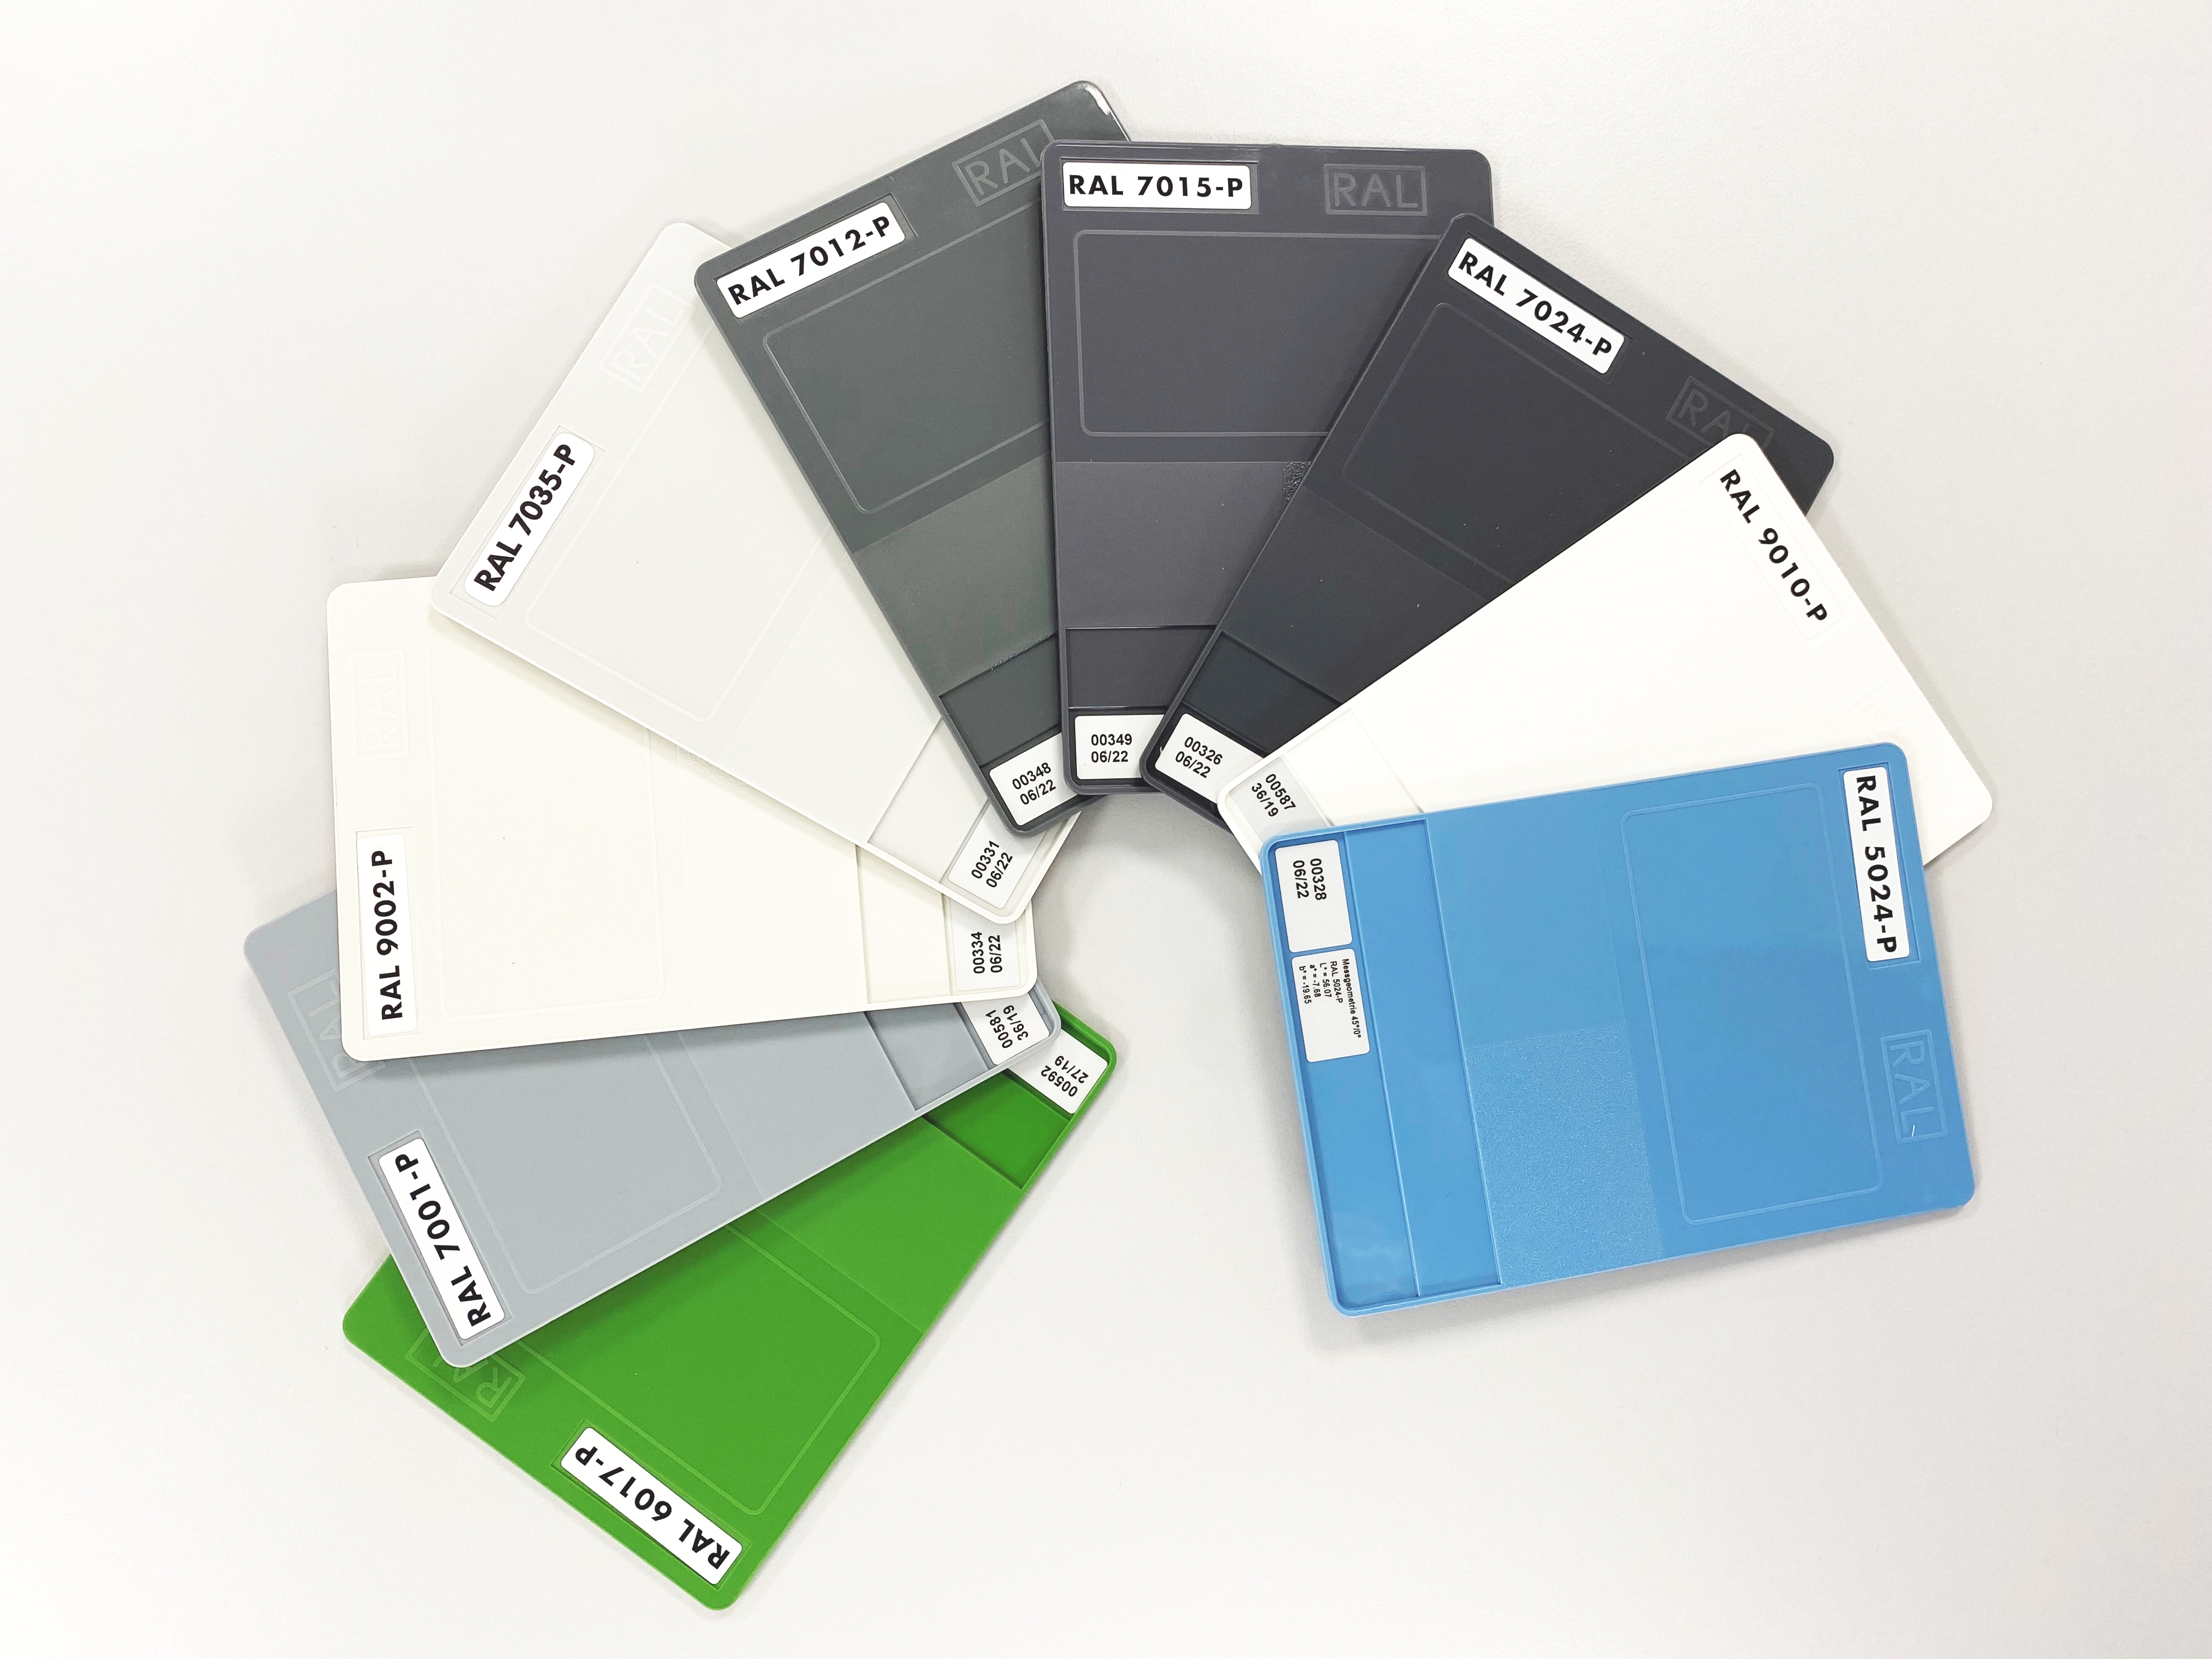 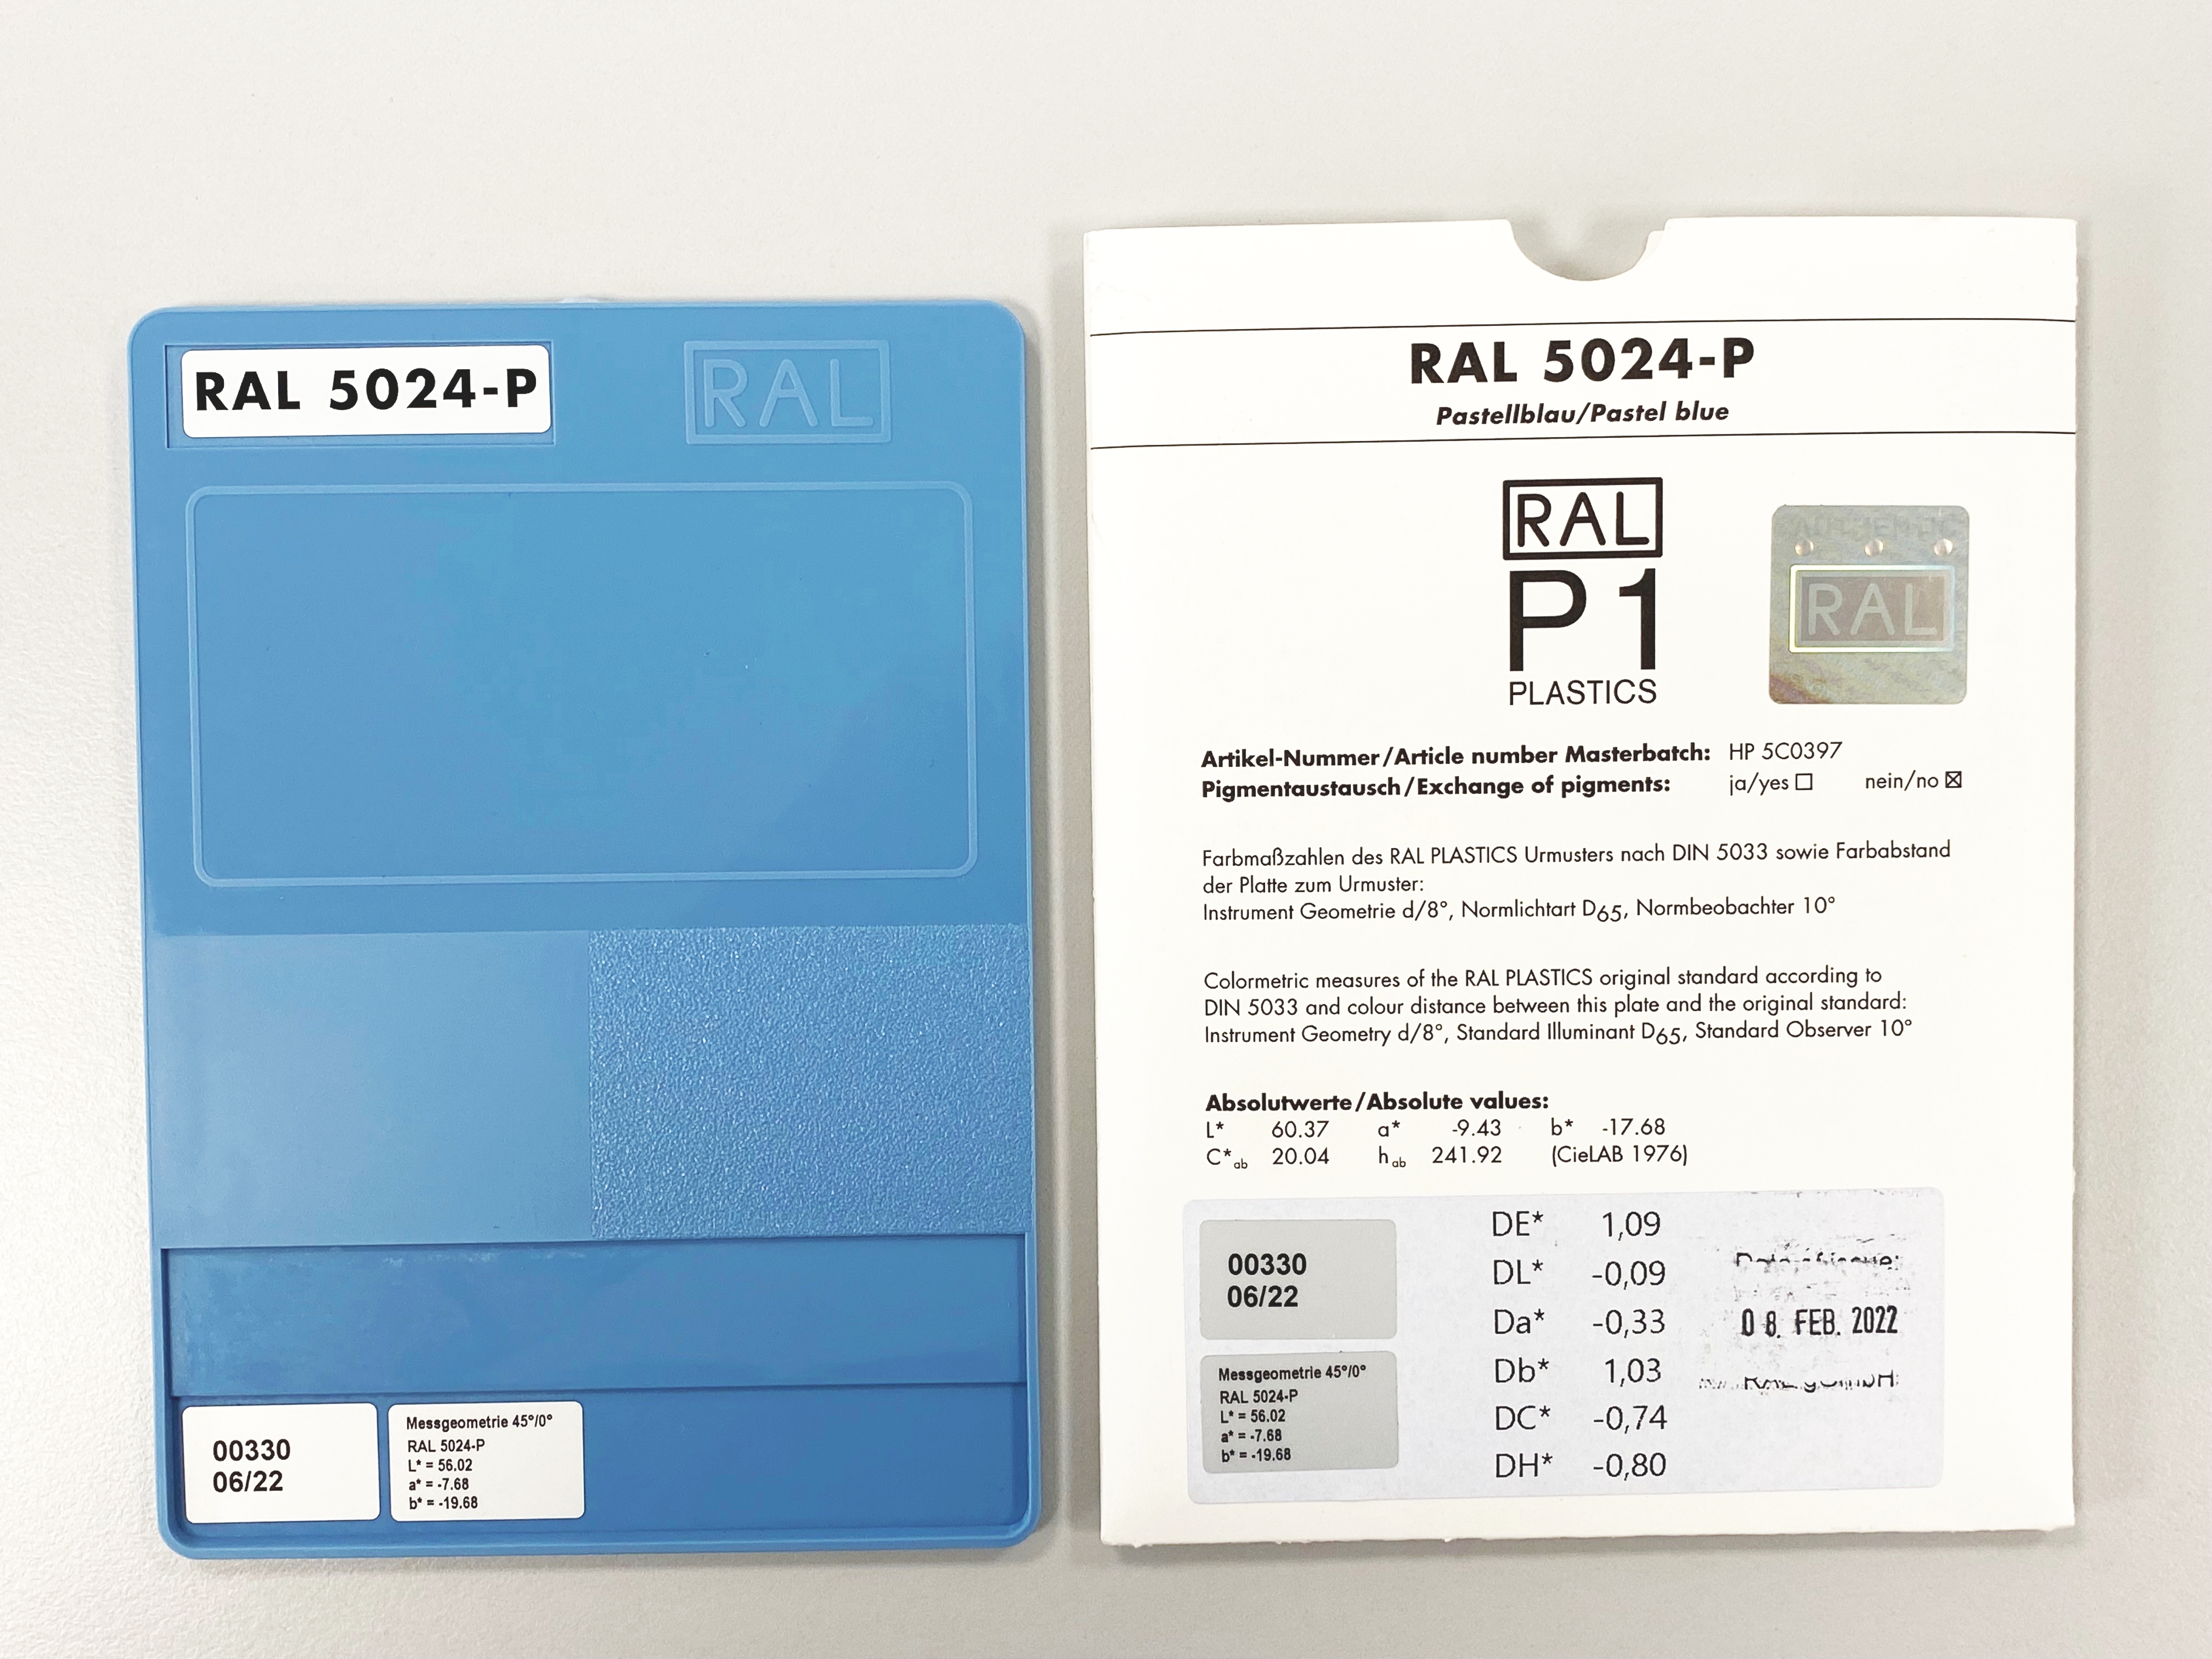 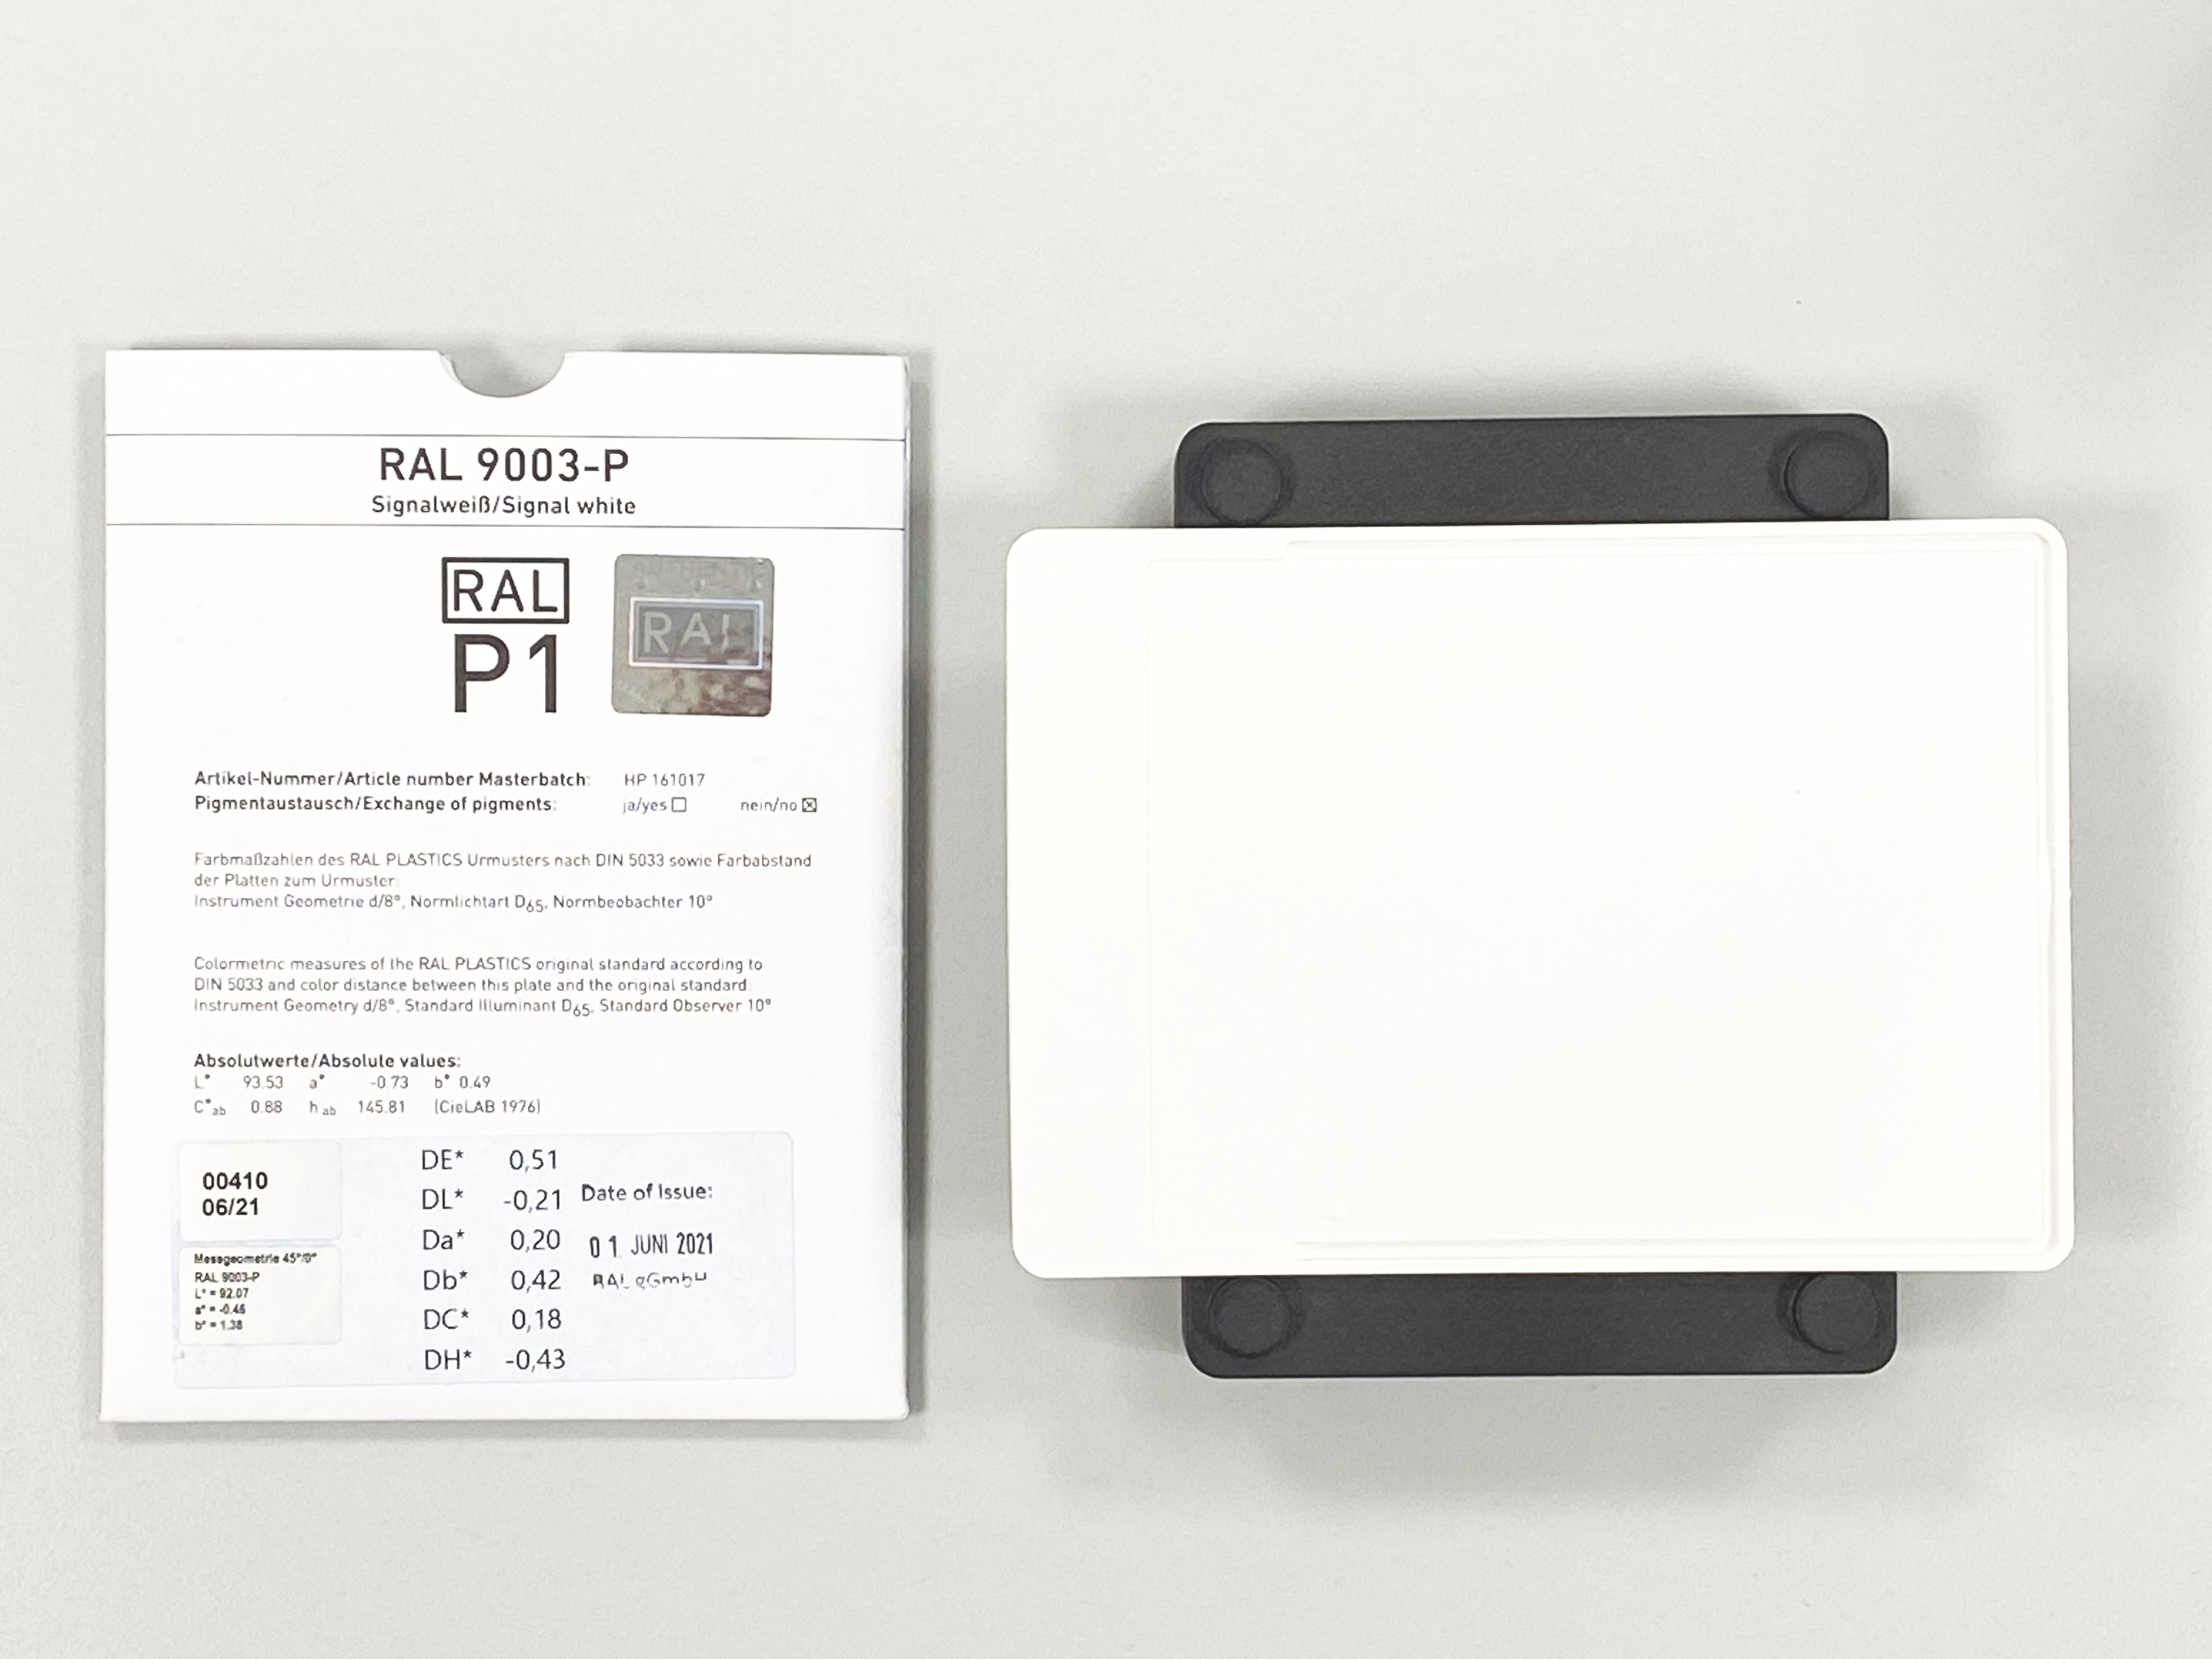 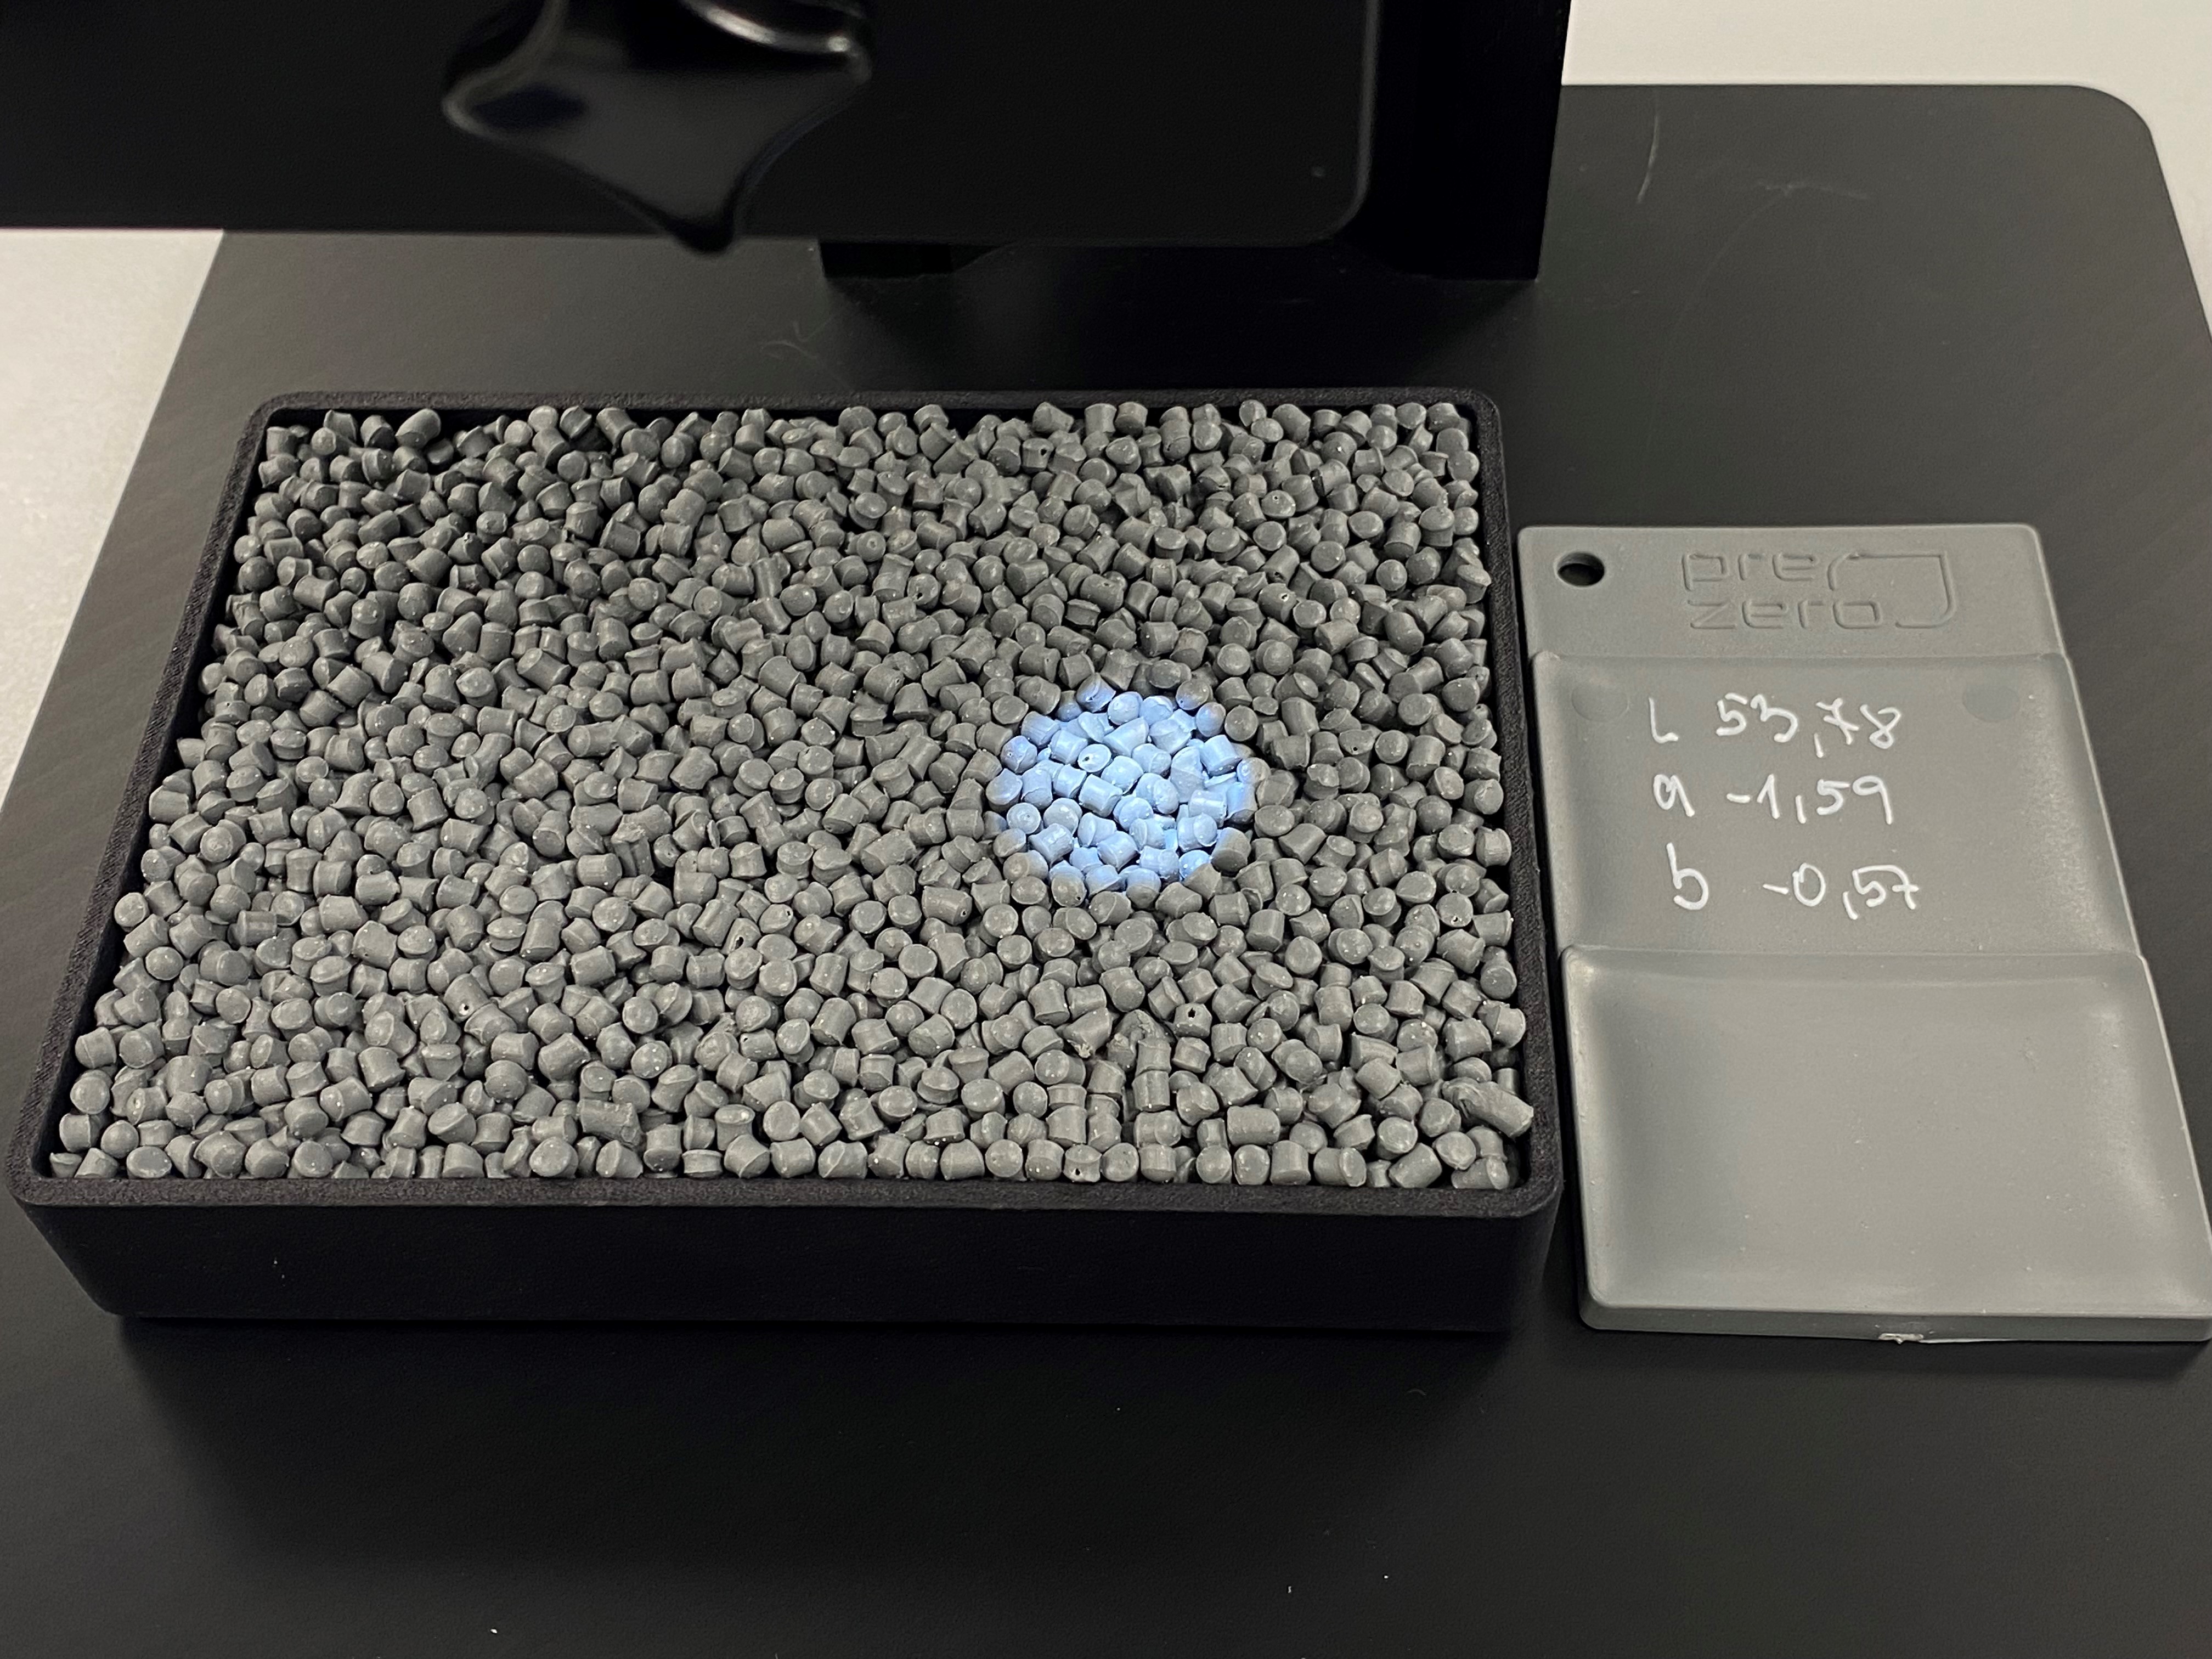 RAL 플라스틱 색상 카드를 이용한 보정 또는 사출성형 색상 플레이트 및 재생원료를 이용한 보정 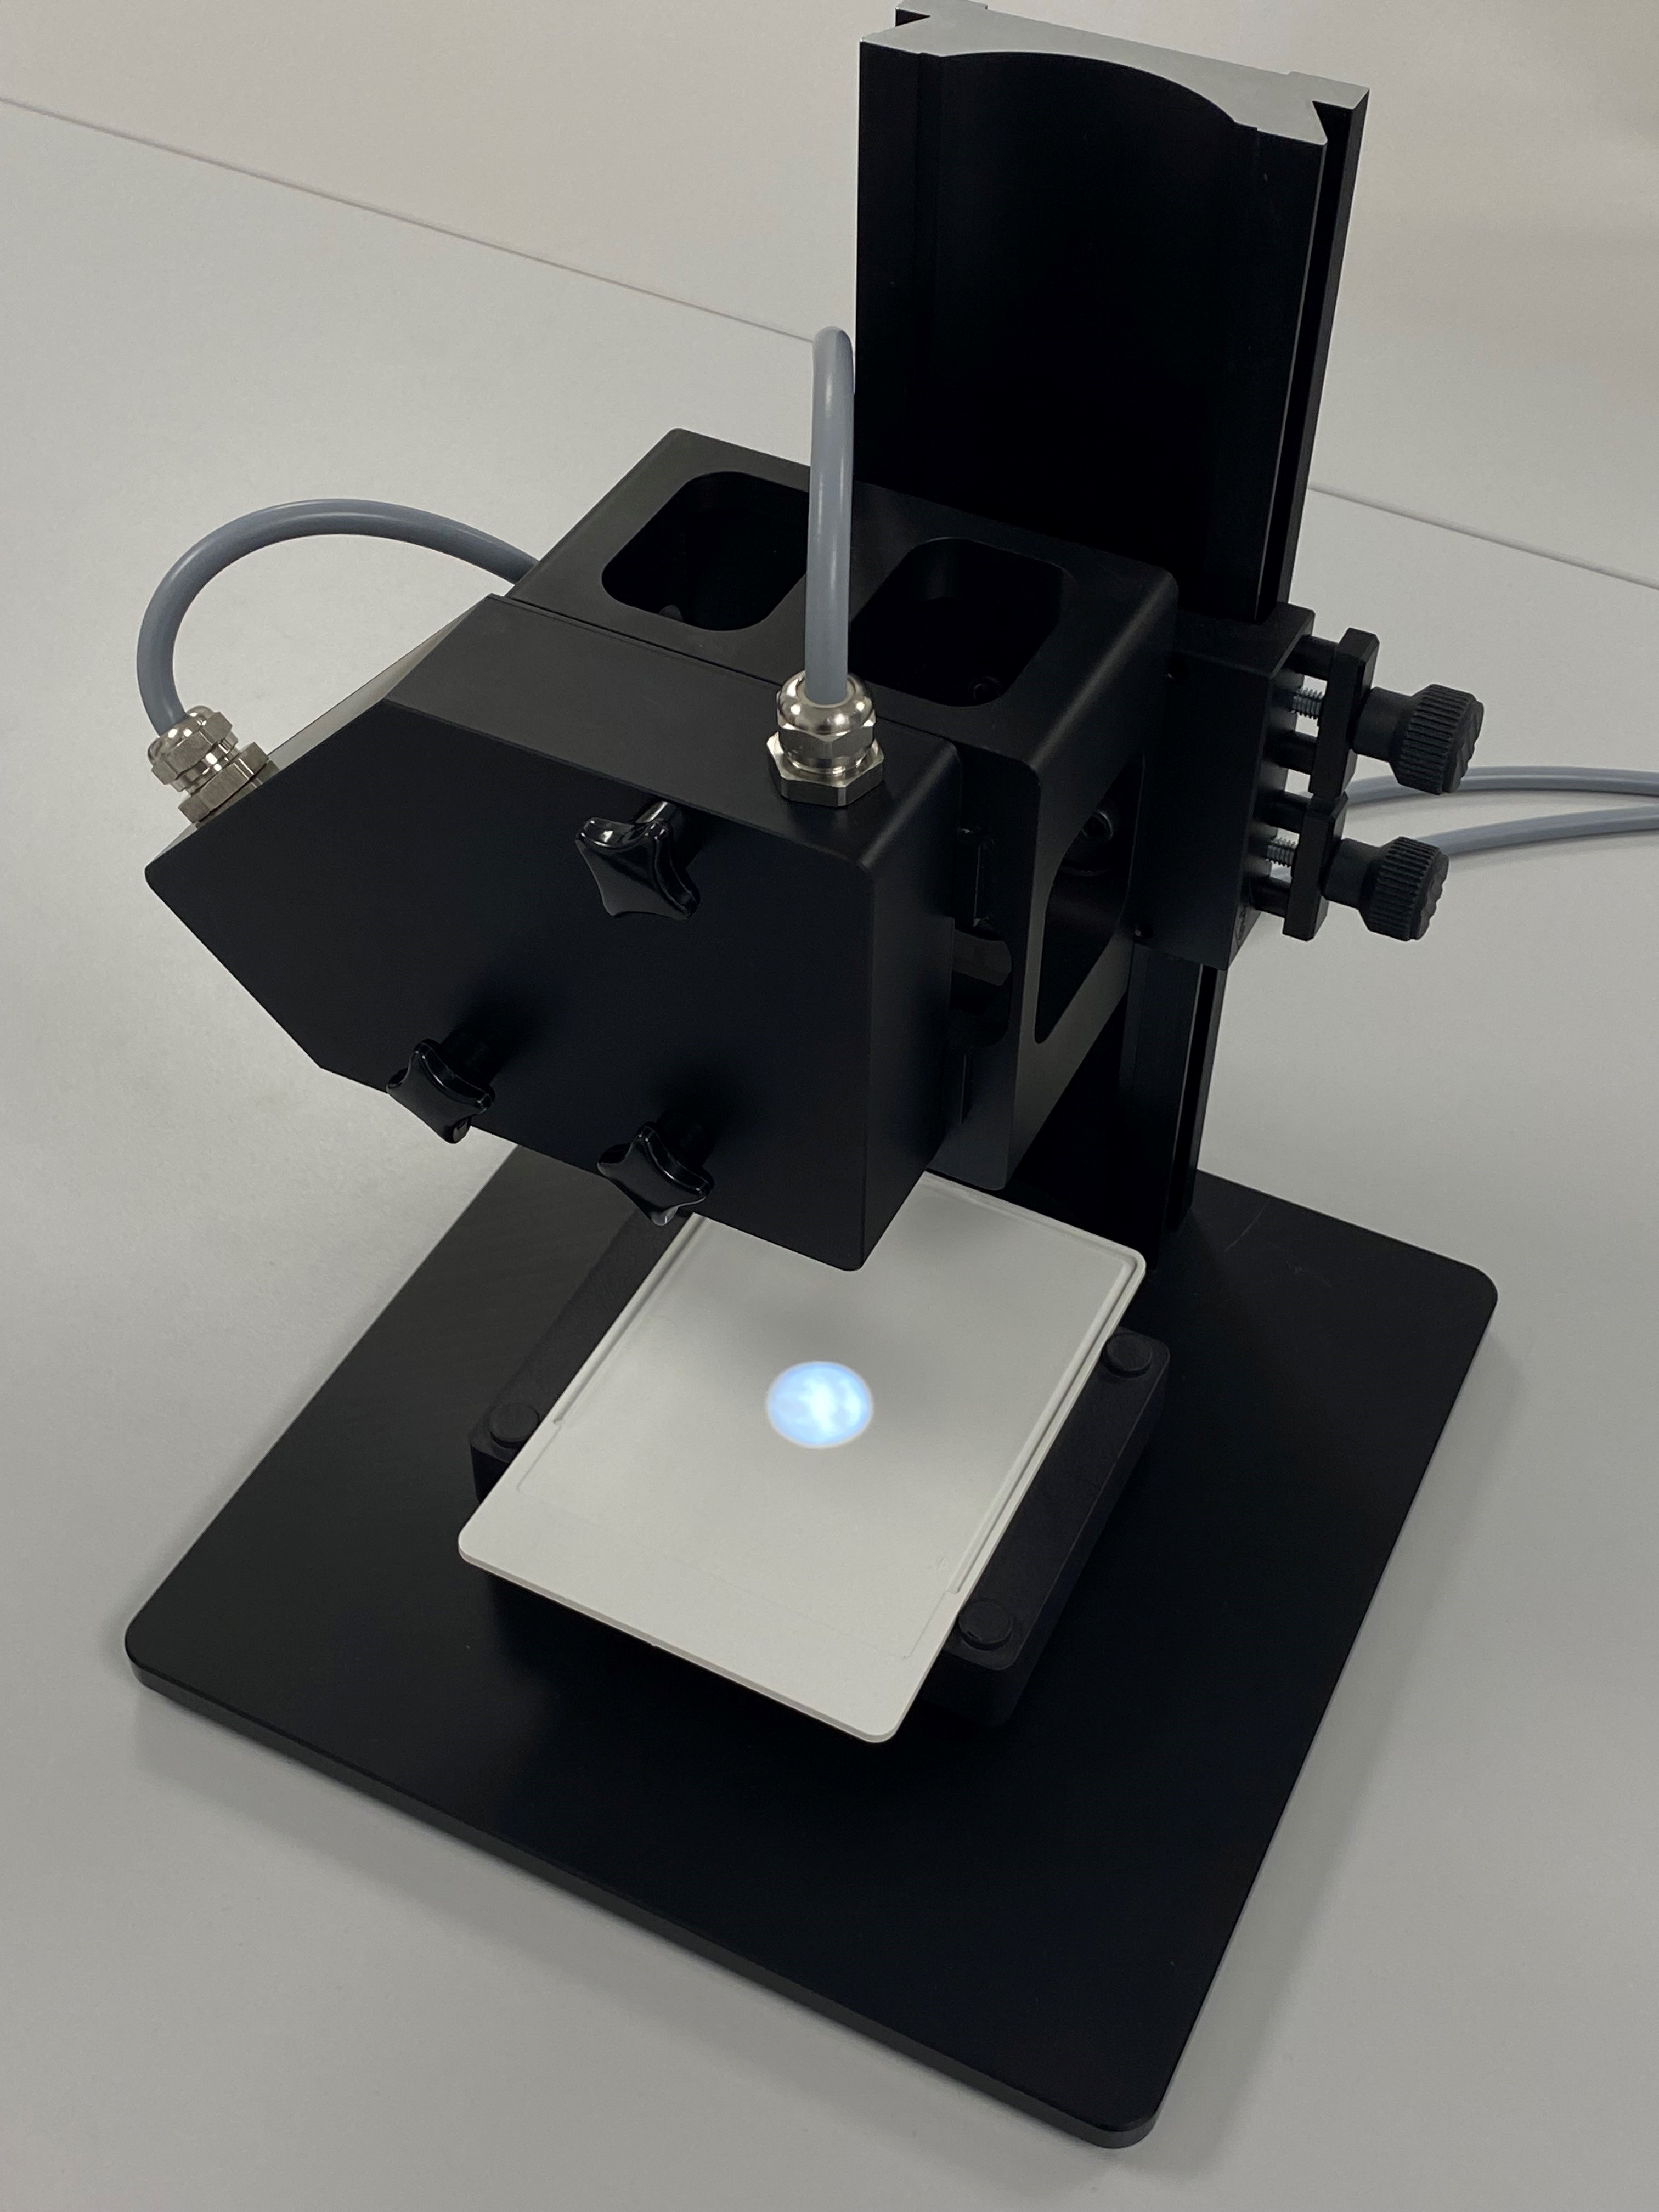 SPECTRO-3-FIO°-MSM-ANA-DL + KL-D-0°/45°-85-100-D-S-A3.0-VIS SPECTRO-3-0°/45°-MST (인라인 색상 측정 시스템) 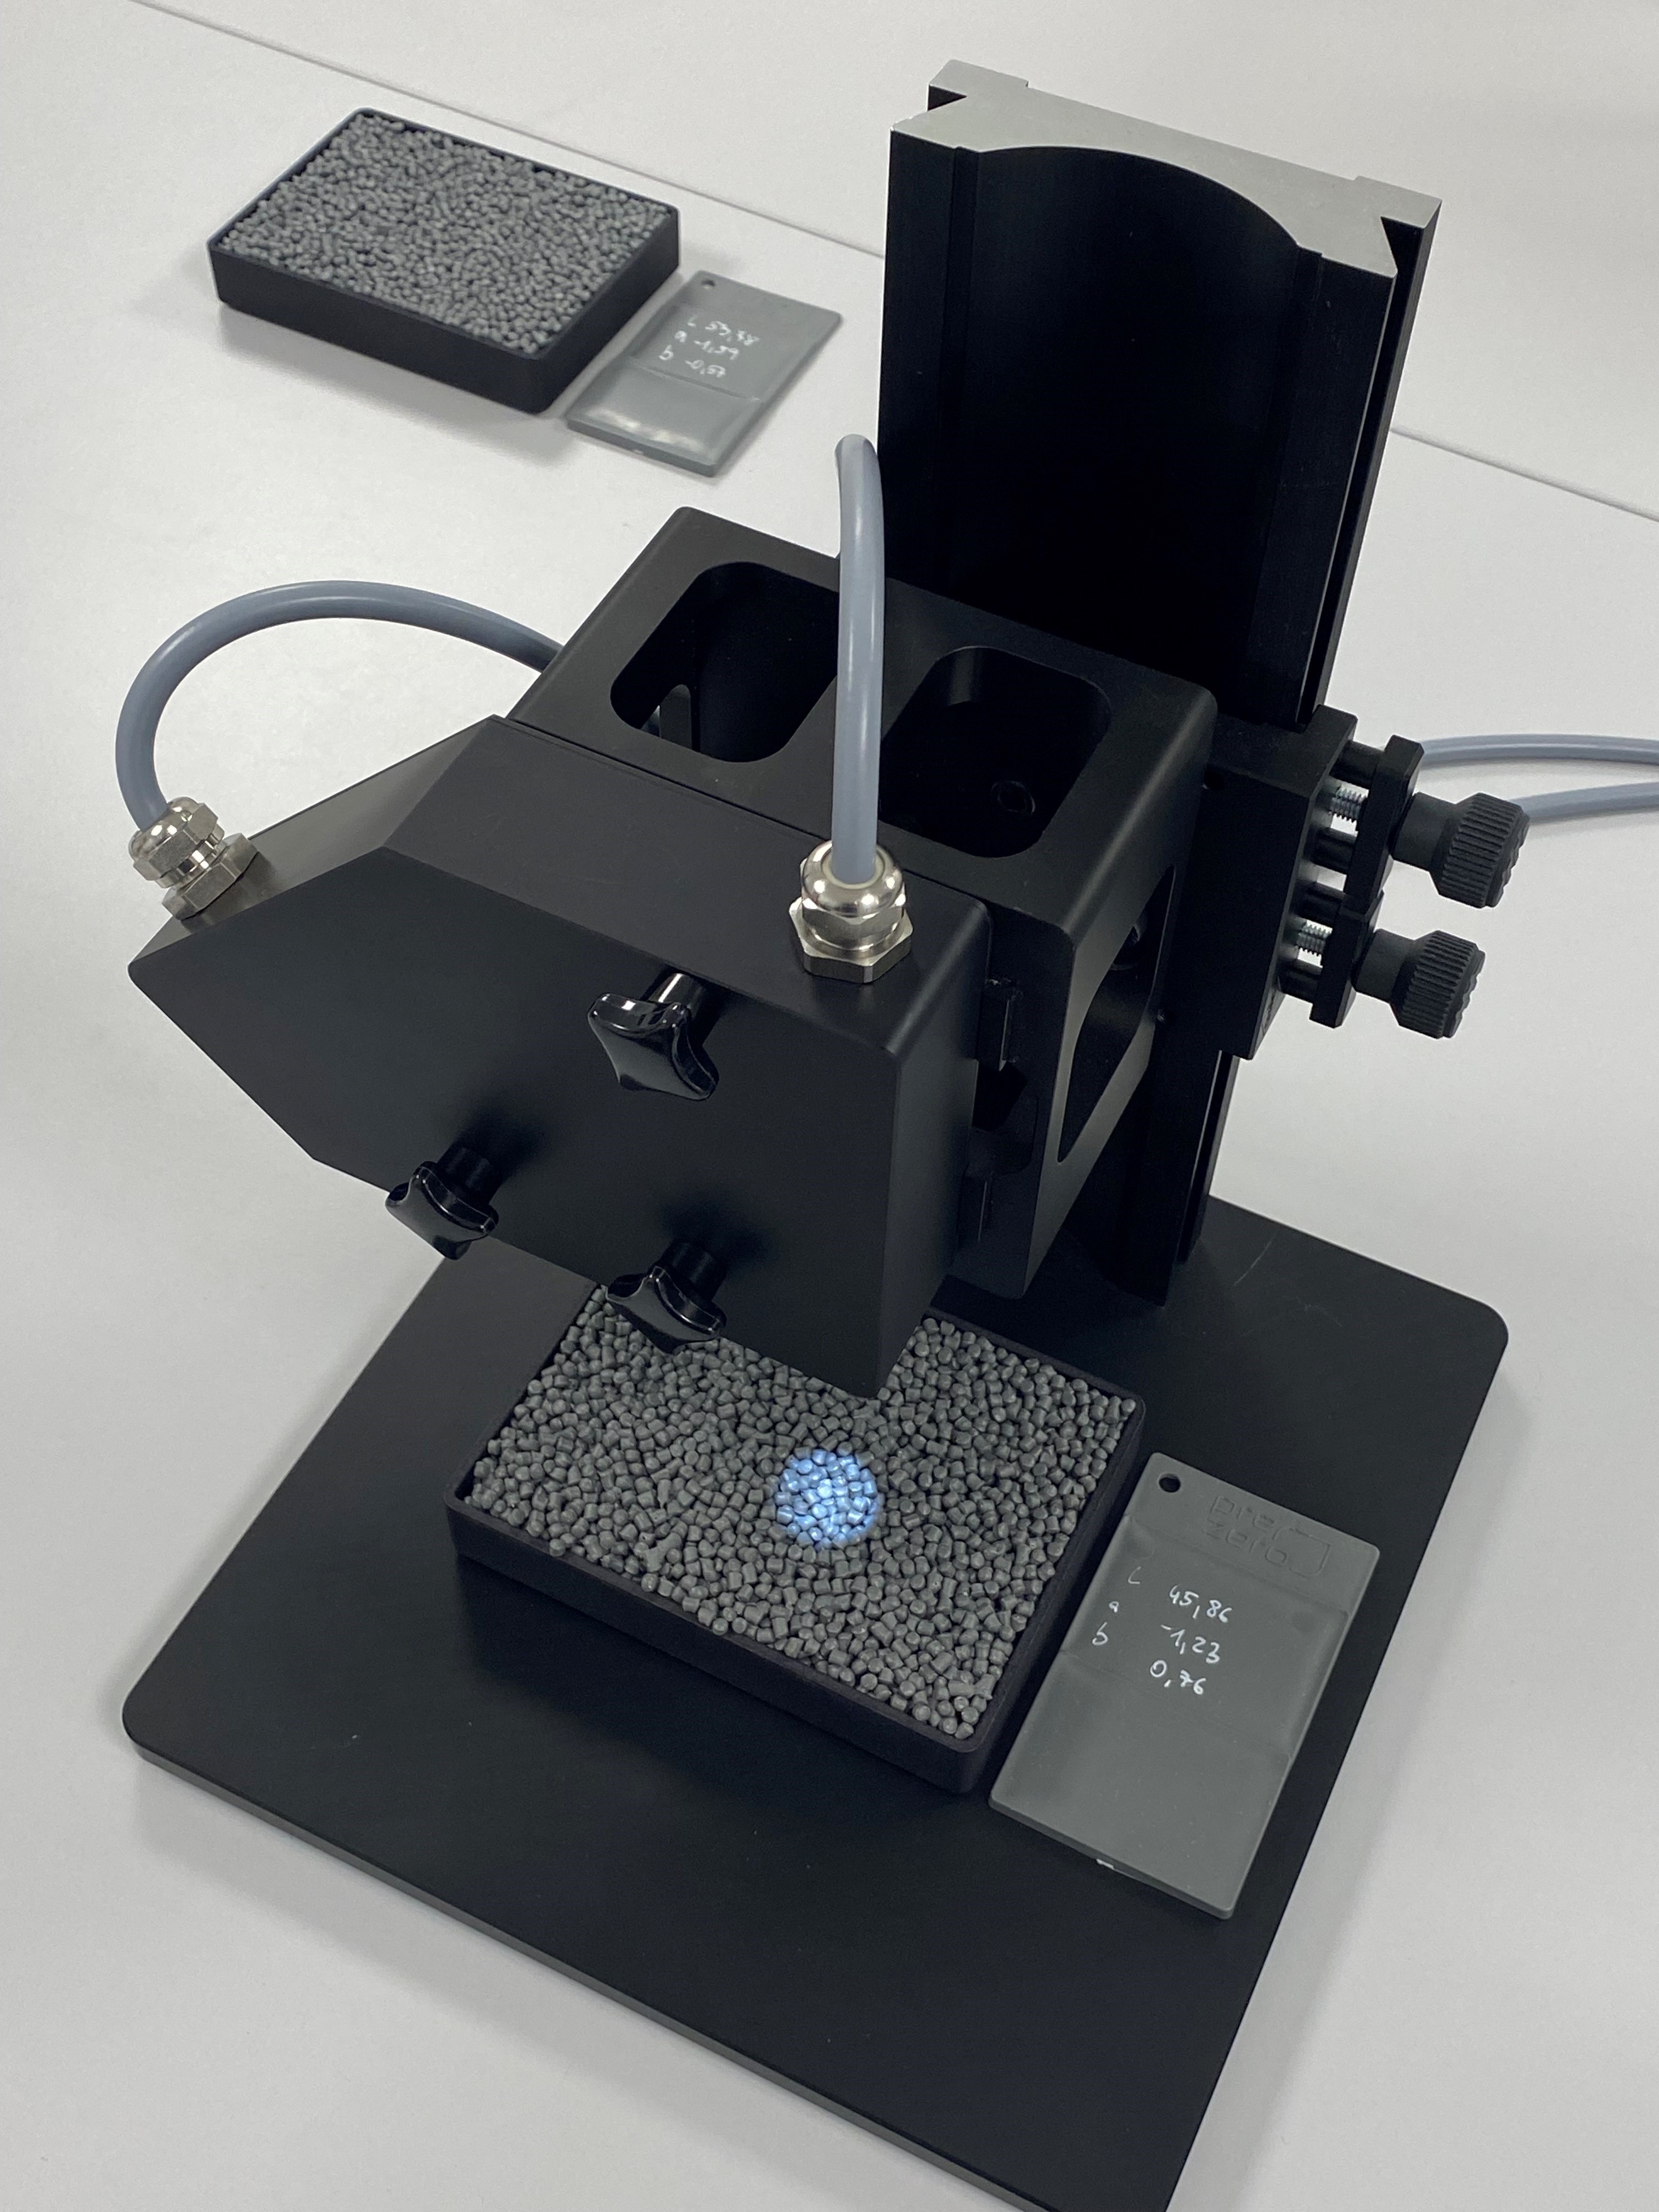 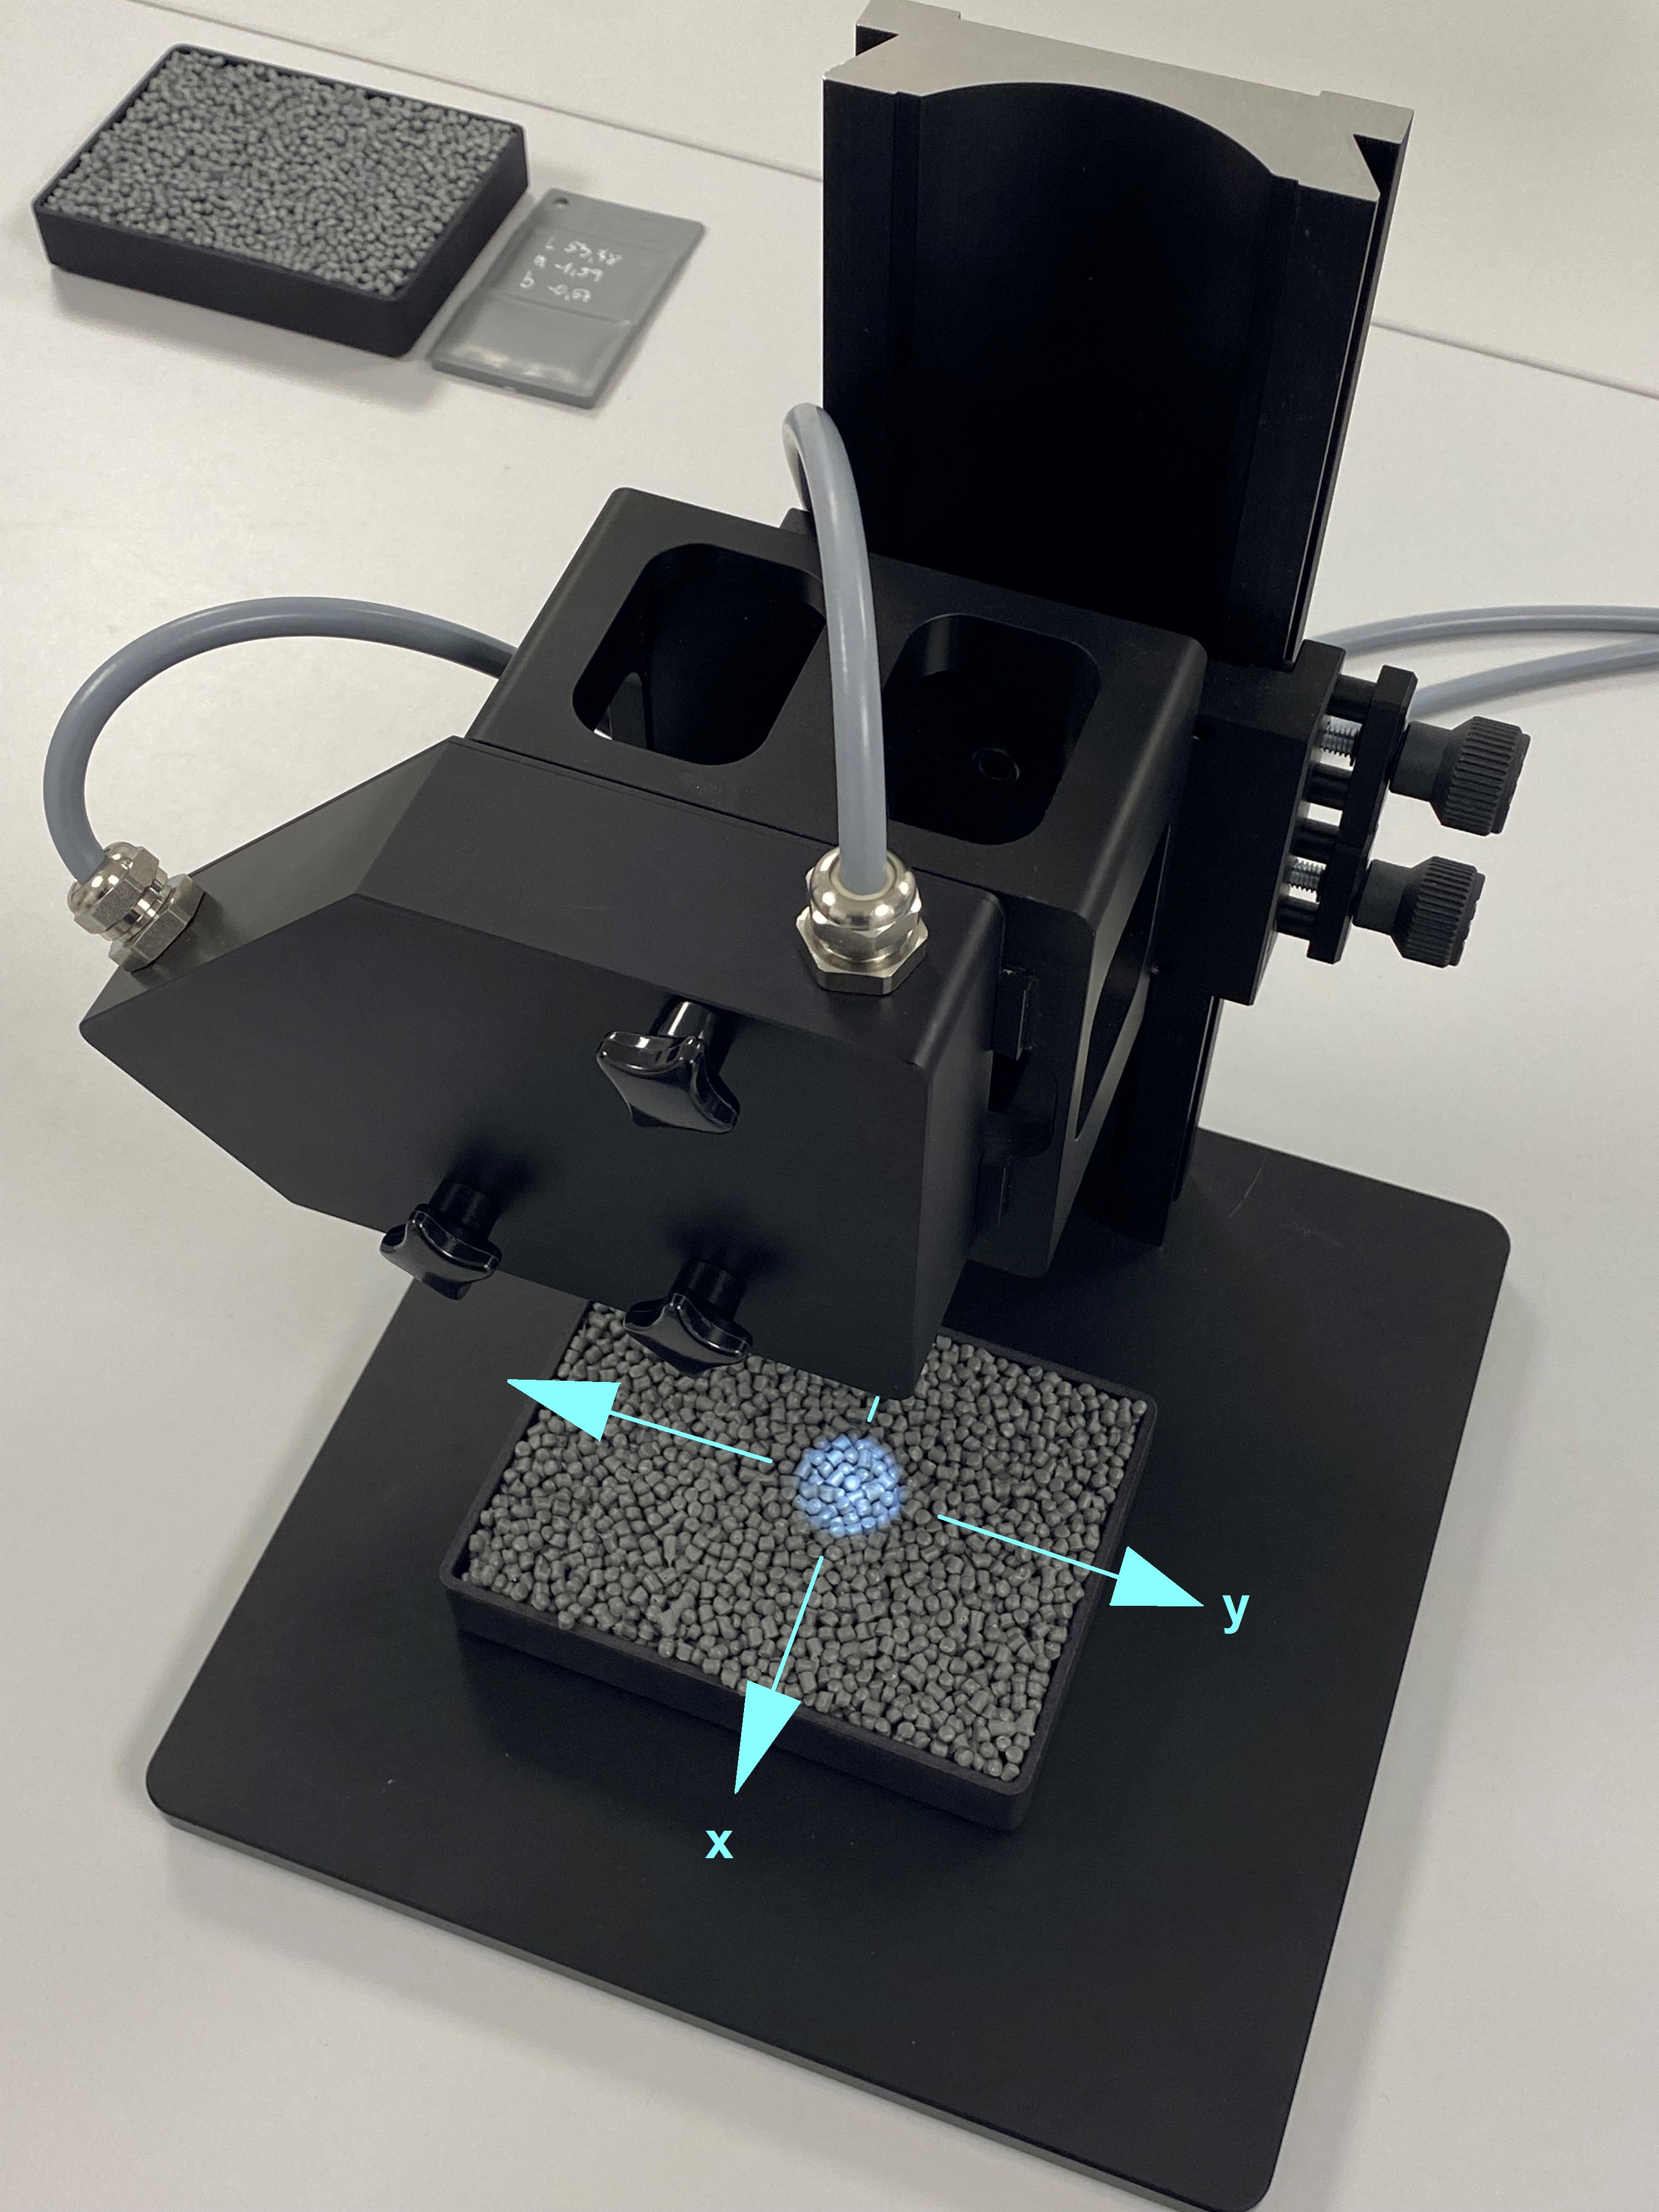 |
11.10.2023 (
| The increasing use of recyclates in the plastics industry means that efficient product control is assuming ever-greater importance. Whilst laboratory-based random quality control was sufficient in the past, the industry is increasingly considering the deployment of 100% control, especially in terms of the color gradient. Sensor Instruments has launched a number of inline systems to perform this function. Providing production staff with information about recyclate production at a very early stage, this covers not only the trend in the color of the recyclates, but the color of the recyclates in combination with their temperature, whilst monitoring the product flow level. The product flow level is important for exact determination of the recyclate color, whilst also providing timely information about a possible blockage of the sieve immediately after the vibrating feeder. The data is also made available for quality assurance via a digital-serial interface (Ethernet).
|
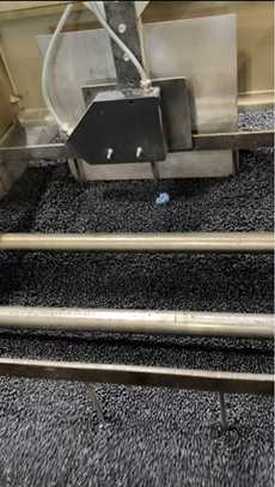 SPECTRO-3-FIO-MSM-ANA-DL (Inline color measurement system) |
2023년 8월 24일
| 때로는 팔로우, 즉 따르는 것이 의미가 있습니다. 예를 들면 양심에 따르는 것 또는 지인의 진지한 조언에 따르는 것. 인스타그램이나 링크드인 팔로우는? 이에 관해서는 의견이 갈릴 수 있습니다. 메인스트림은? 작가 노발리스의 말을 빌리자면, “모두 좋습니다! 다만 언제나, 어디서나, 모두에게 좋은 것은 아닙니다”. Sensor Instruments에서는 개별적인 길을 선호하며, 바로 그런 이유에서 때로는 따르는 것이, 예를 들면 컬러 팔로우가 의미 있습니다. 당사의 귀중한 시장 동반자들은 바로 재생원료의 색상 분야에서 지금까지 큰 활약을 해왔습니다. 플라스틱 재활용 분야에서는 이제 재생원료의 색상 측정을 위해 제공되는 휴대용 색상 측정기를 시험실에 하나라도 갖추지 않은 기업을 거의 찾아볼 수 없게 되었습니다. 그 기기들은 의심할 여지없이 유용합니다. 기대하는 만큼 조작이 편리하고, 저렴한 가격에 정밀성을 갖추었습니다. 정밀성?. ► Press release (Word/pdf) |
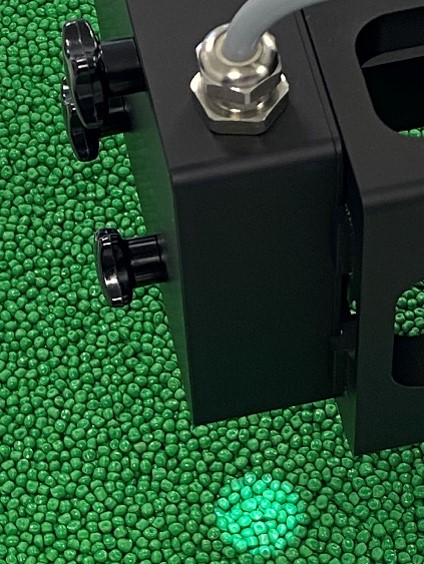 의 인라인 색상 측정 시스 |
2023년 8월 18일
15 April 2021
| 자사 제품을 수명주기 전 과정에 걸쳐 모니터링할 수 있는 최상의 방법은 무엇인가? R-Cycle의 디지털 제품 여권(Digital Product Passport), 줄여 말해 DPP는 이를 위한 뛰어난 기반을 제공합니다. DPP의 이용 시에는 간단한 방법으로 제품 및 재활용 관련 데이터를 알아볼 수 있습니다. DPP는 다양한 방식의 코드를 사용하여 열 수 있습니다. QR 코드의 사용, 슬리브 또는 일반 라벨 형태로 제품에 부착하는 스마트 디지털 워터마크의 사용, 그 외에도 사출 성형 부품에 레이저로 마킹하는 3D 코드의 사용이 가능합니다. 디지털 워터마크가 복제 불가능한 것에 비해, QR 코드는 위조하기 쉽니다. 하지만 Gabriel-Chemie의 TAGTEC 마스터배치와 조합 시 QR 코드도 '안전함(safe)' 등급으로 분류될 수 있습니다. Gabriel-Chemie의 TAGTEC 마스터배치는 선택의 폭이 광범위한 광발광 마커를 포함하며, Sensor Instruments의 특수 광센서 기술을 이용하여 감지할 수 있습니다. TAGTEC 표시 제품은 모조 불가능함이 입증되었고, DPP가 제공하는 가능성들과 결합하여 극히 견고하면서 신뢰도 높은 공급망 모니터링을 실현할 수 있습니다. ► Press release (Word/pdf) |
 |
15 April 2021
| Surface coatings are often applied by spraying. Ideally, objects should be coated homogeneously. Air pockets in the spraying medium, partial covering of the nozzle outlet apertures or an abrupt pressure fall in the spraying system can result in inhomogeneities in the spray cover and thus uneven coating of the workpiece. Timely recognition of deviation from the ideal spraying procedure can be performed via continual spray jet control. The spray jet control systems of the SI-JET series and the SPECTRO series from Sensor Instruments GmbH provide information about the spraying quantity, the length of interruptions and the spray jet symmetry. Three-jet systems (SI-JET-CONLAS3 and SI-JET3) two-jet systems (SPECTRO-2) one-jet systems (SPECTRO-1) and continuous light barriers (L-LAS-TB-…-SC) are available to perform the respective task. ► Press release (Word/pdf) |
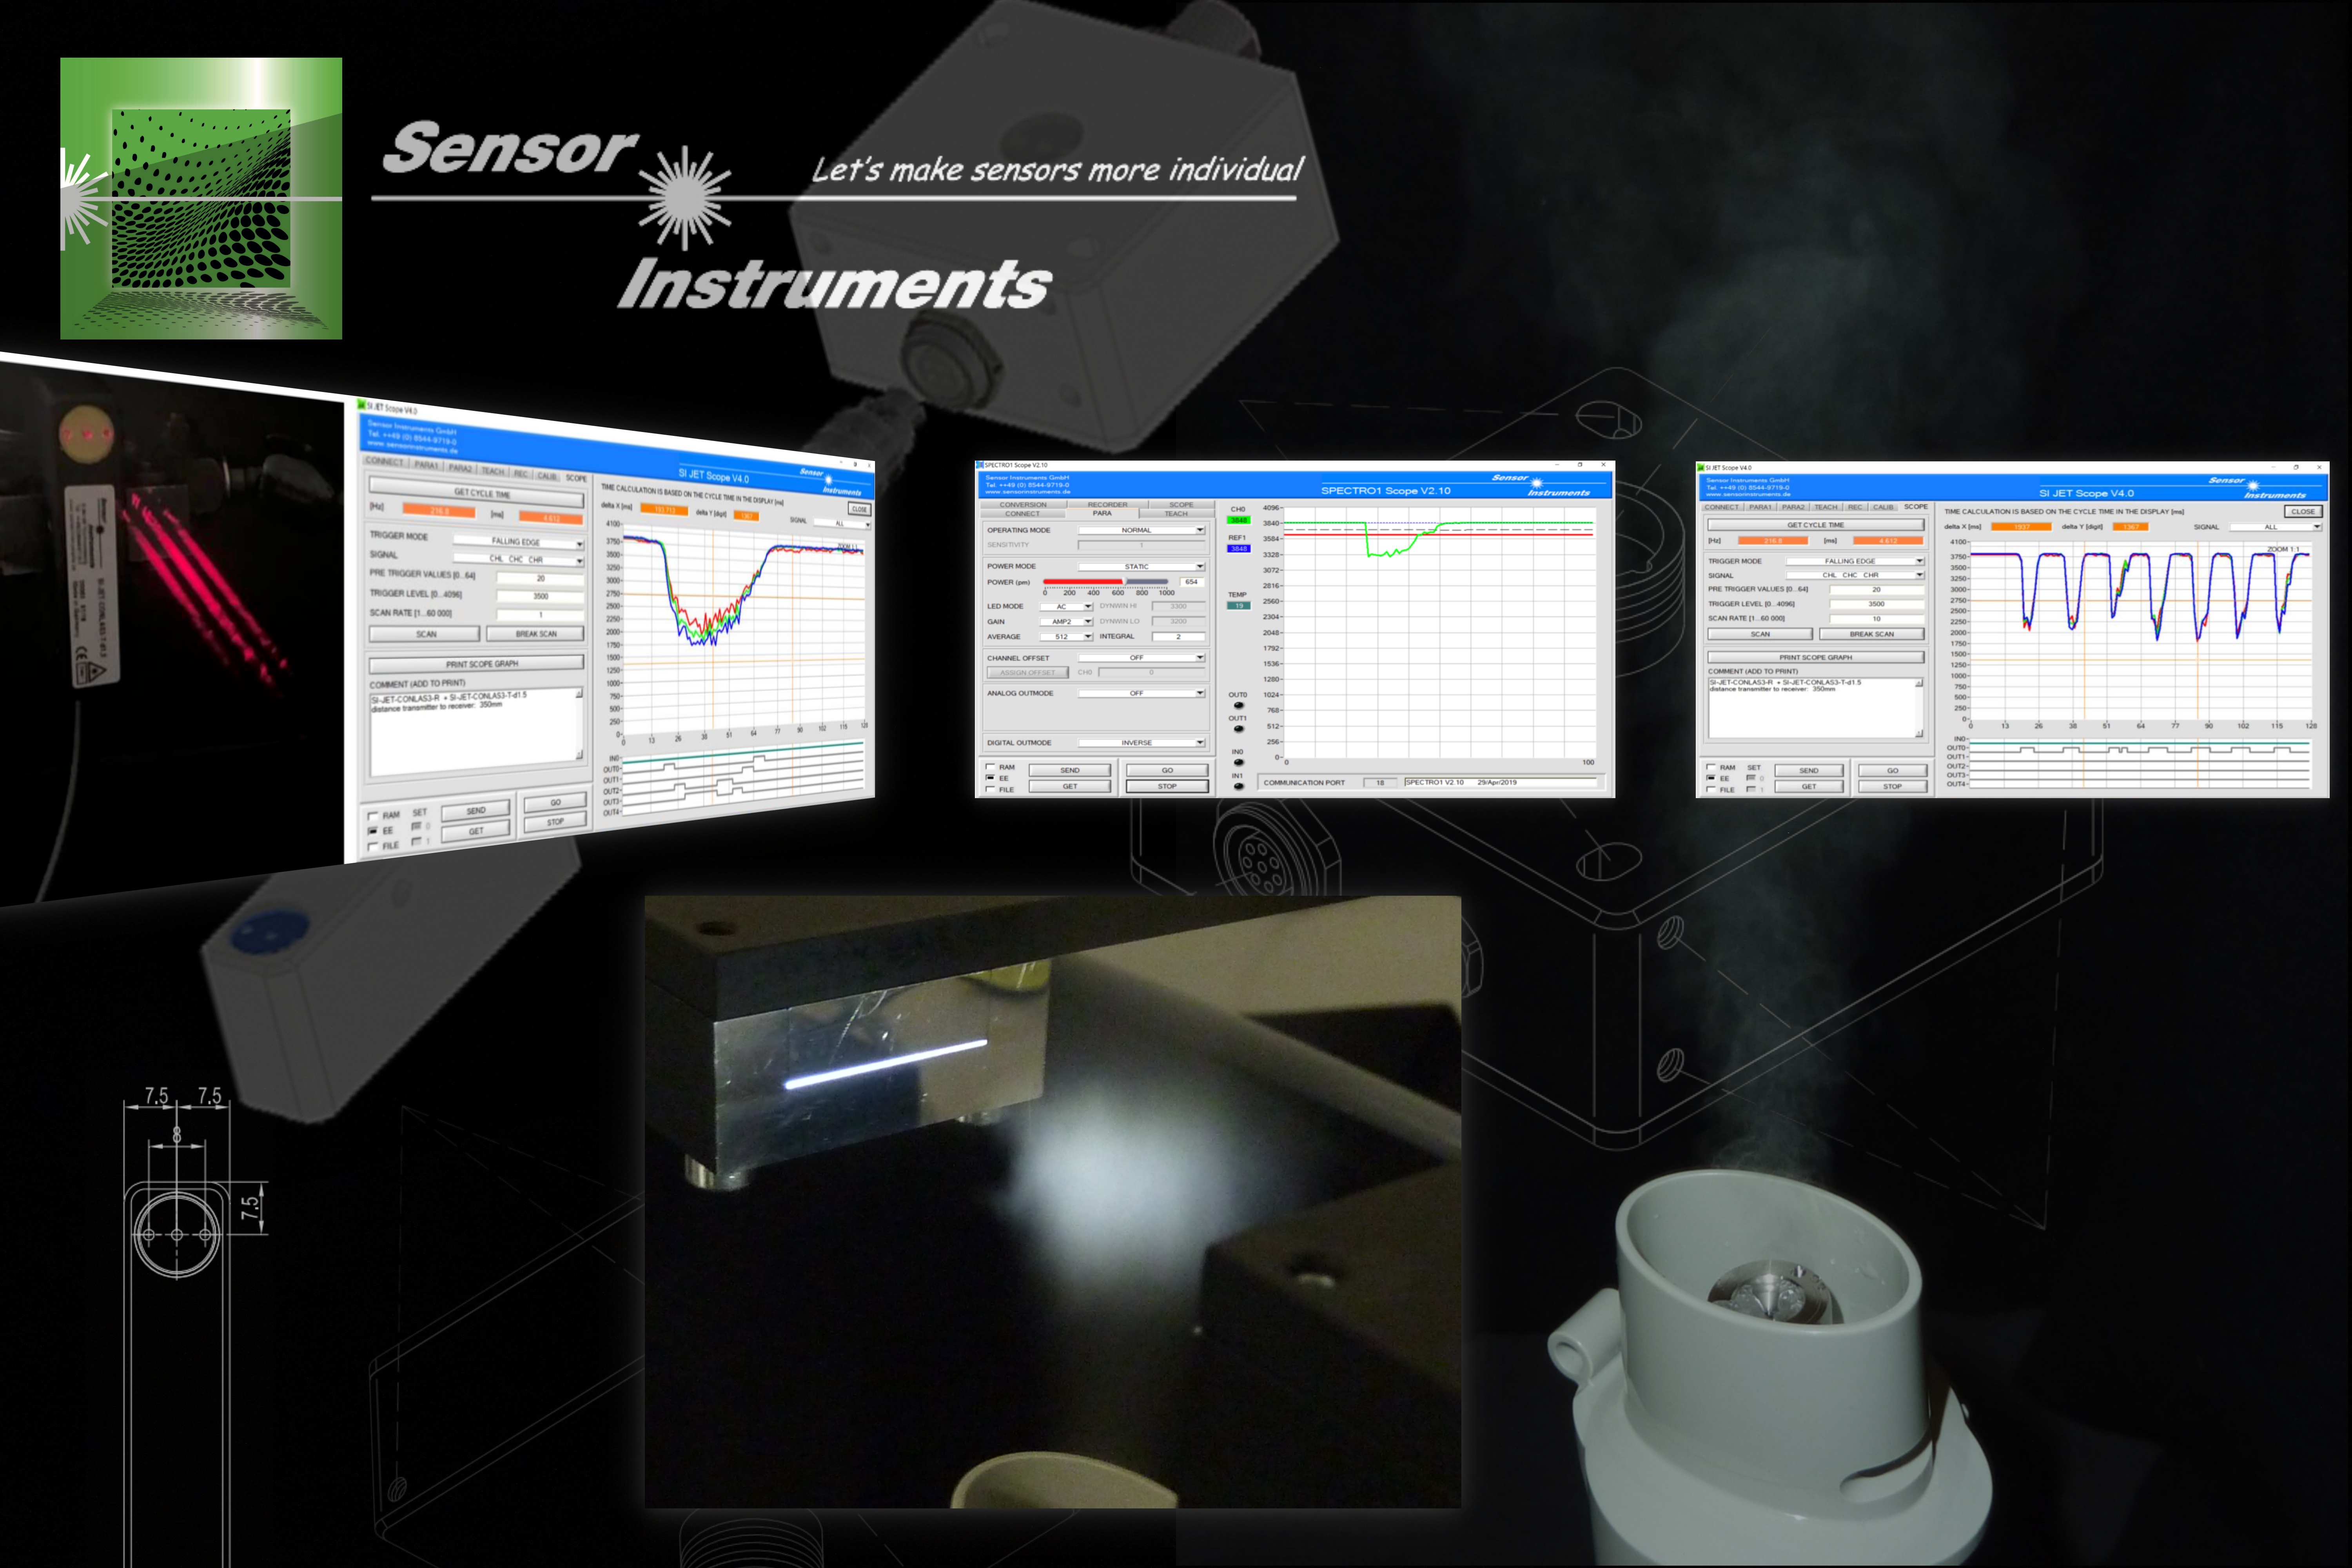 SI-JET Series SPECTRO-2 Series SPECTRO-1 Series L-LAS-TB-AL-SC Series |
15 April 2021
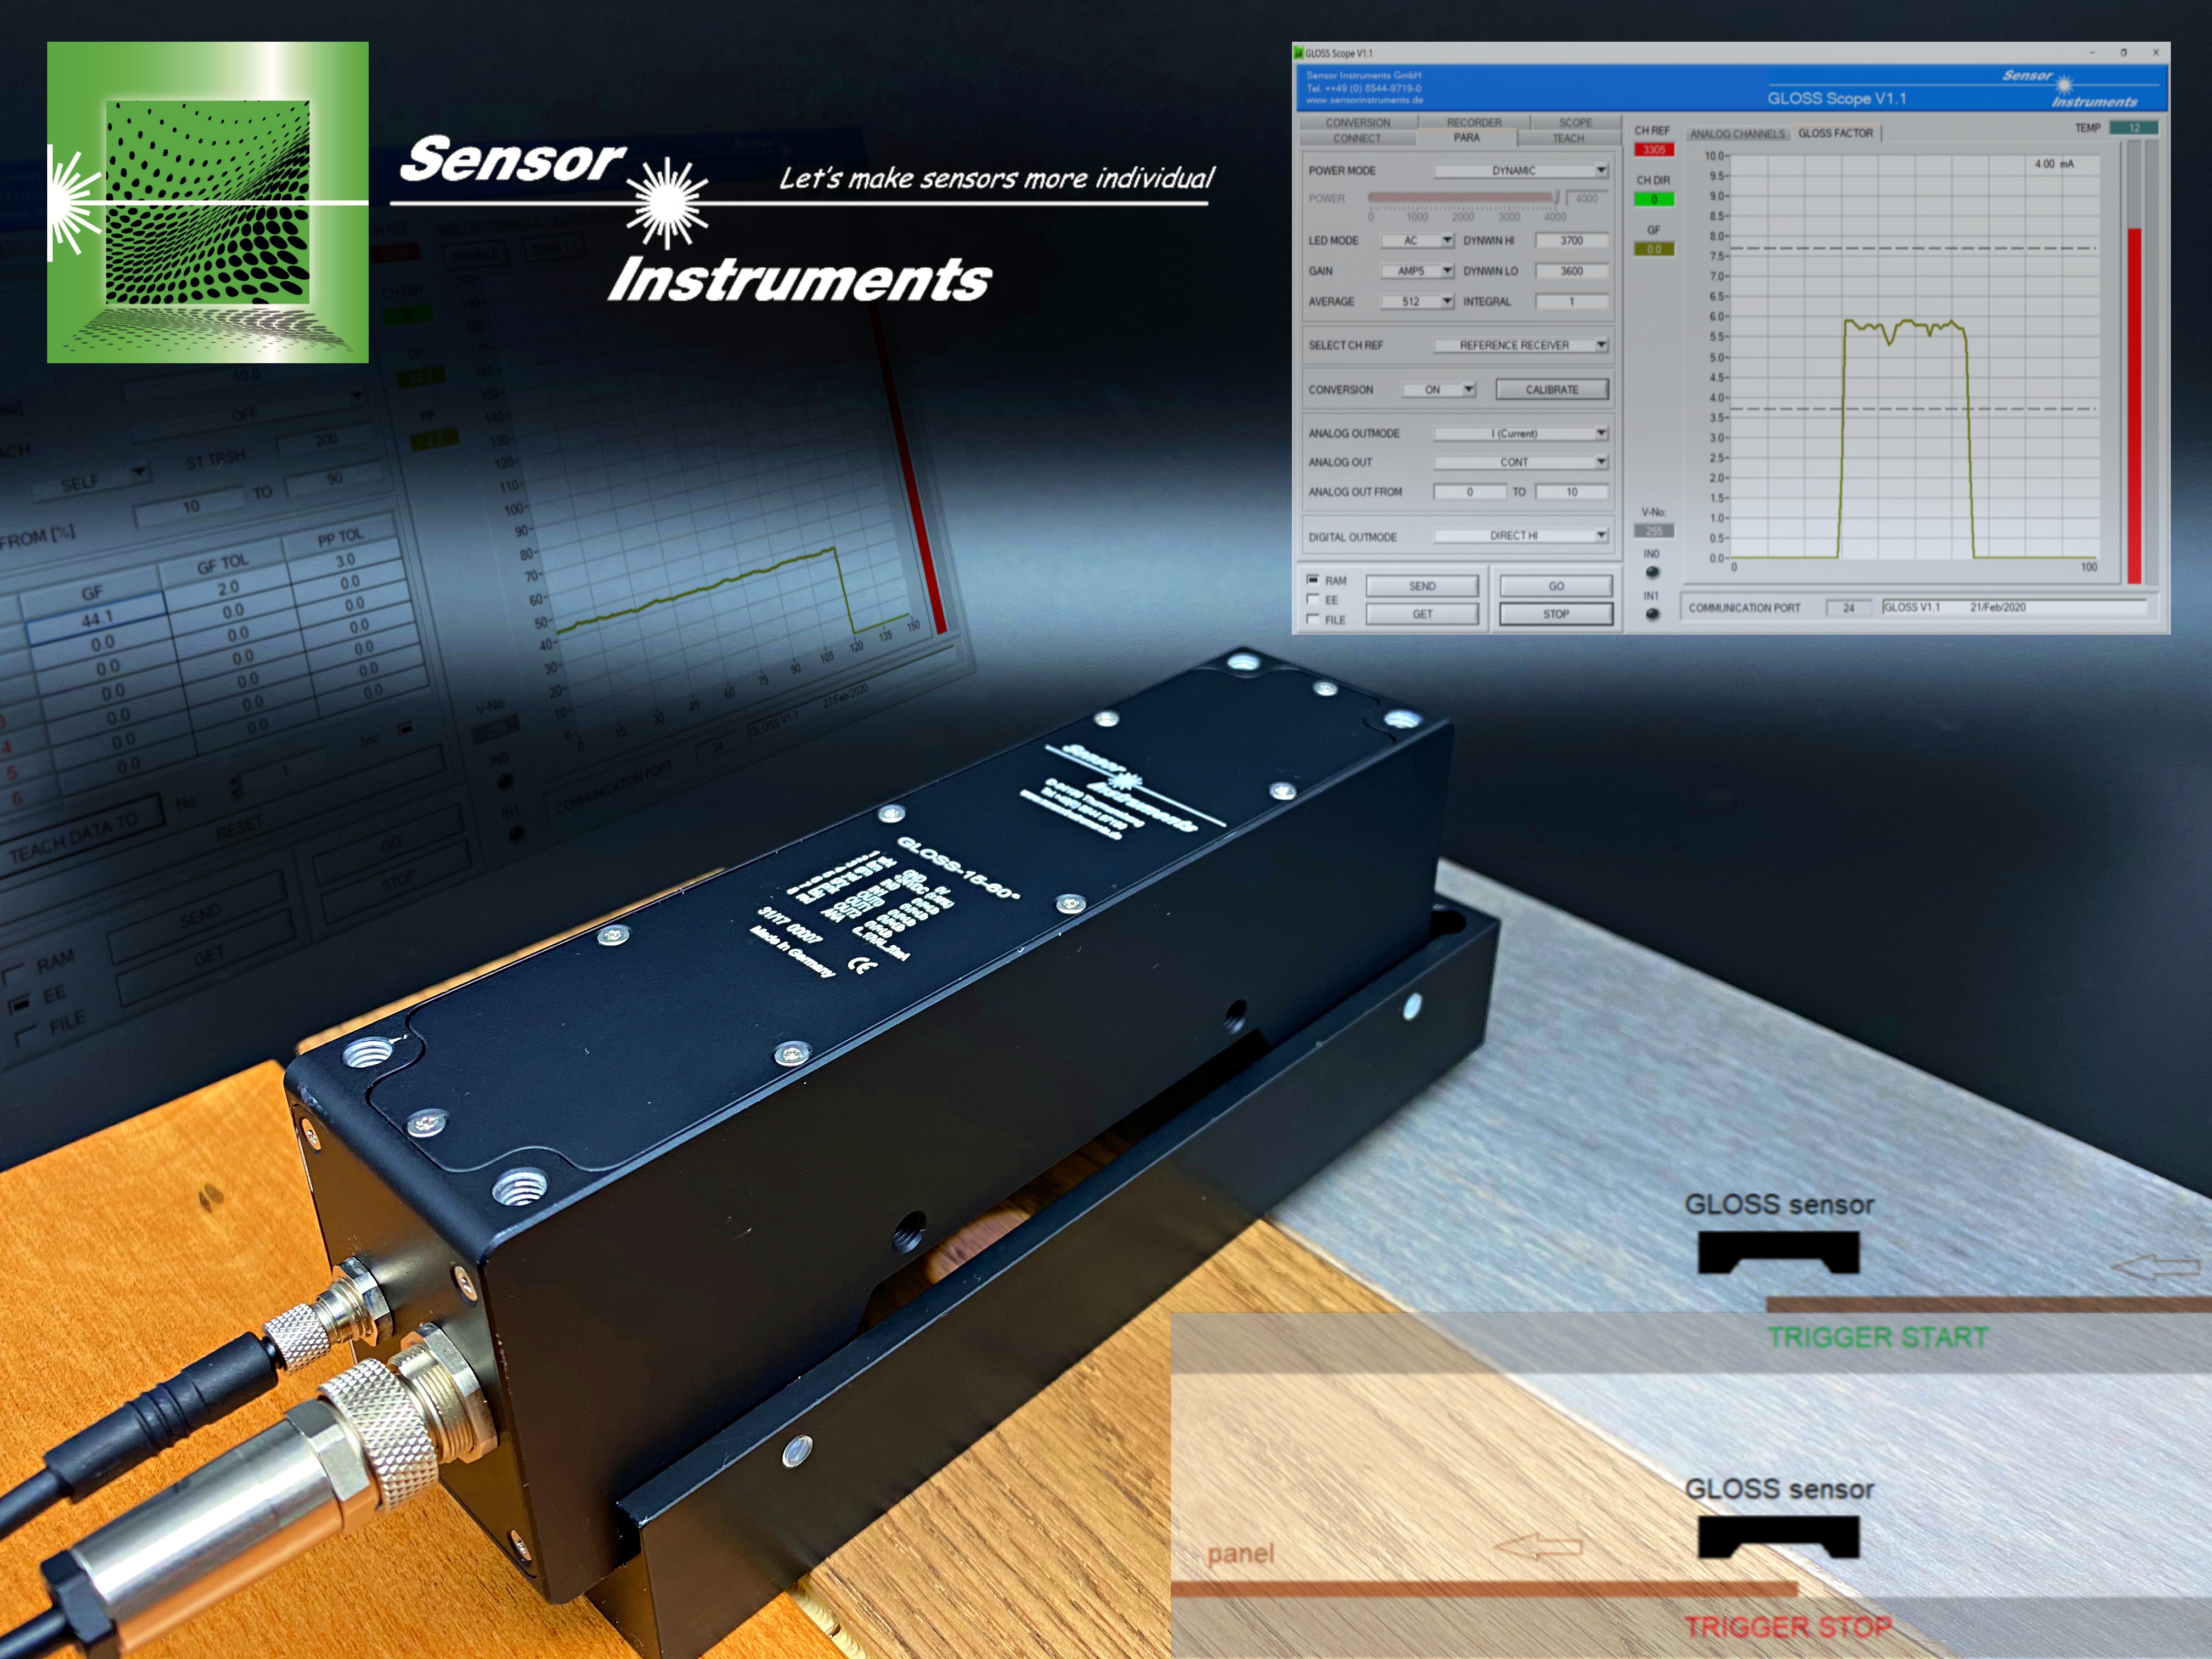
| The human eye reacts principally to differences in contrast (differences in gloss) and color. For example, if we look at freshly-installed floor boards, we immediately notice even the smallest differences in color and gloss between the individual panels. It comes therefore as no surprise that manufacturers do their very best to minimize difference in color and gloss between the individual panels. The checking process conducted to this end was previously performed using hand-held offline measuring units; Sensor Instruments GmbH has developed an inline alternative. Our GLOSS series gloss detection sensors can measure the gloss grade of painted wooden panels in the angles 20°, 60° and 85° at a distance of 20mm, 15mm and 5mm to the surface (depending on the sensor type: GLOSS-20-20°, GLOSS-15-60°, GLOSS-5-85°). ► Press release (Word/pdf) |
 GLOSS-20-20°, GLOSS-15-60°, GLOSS-5-85° GLOSS Series |
16 February 2021
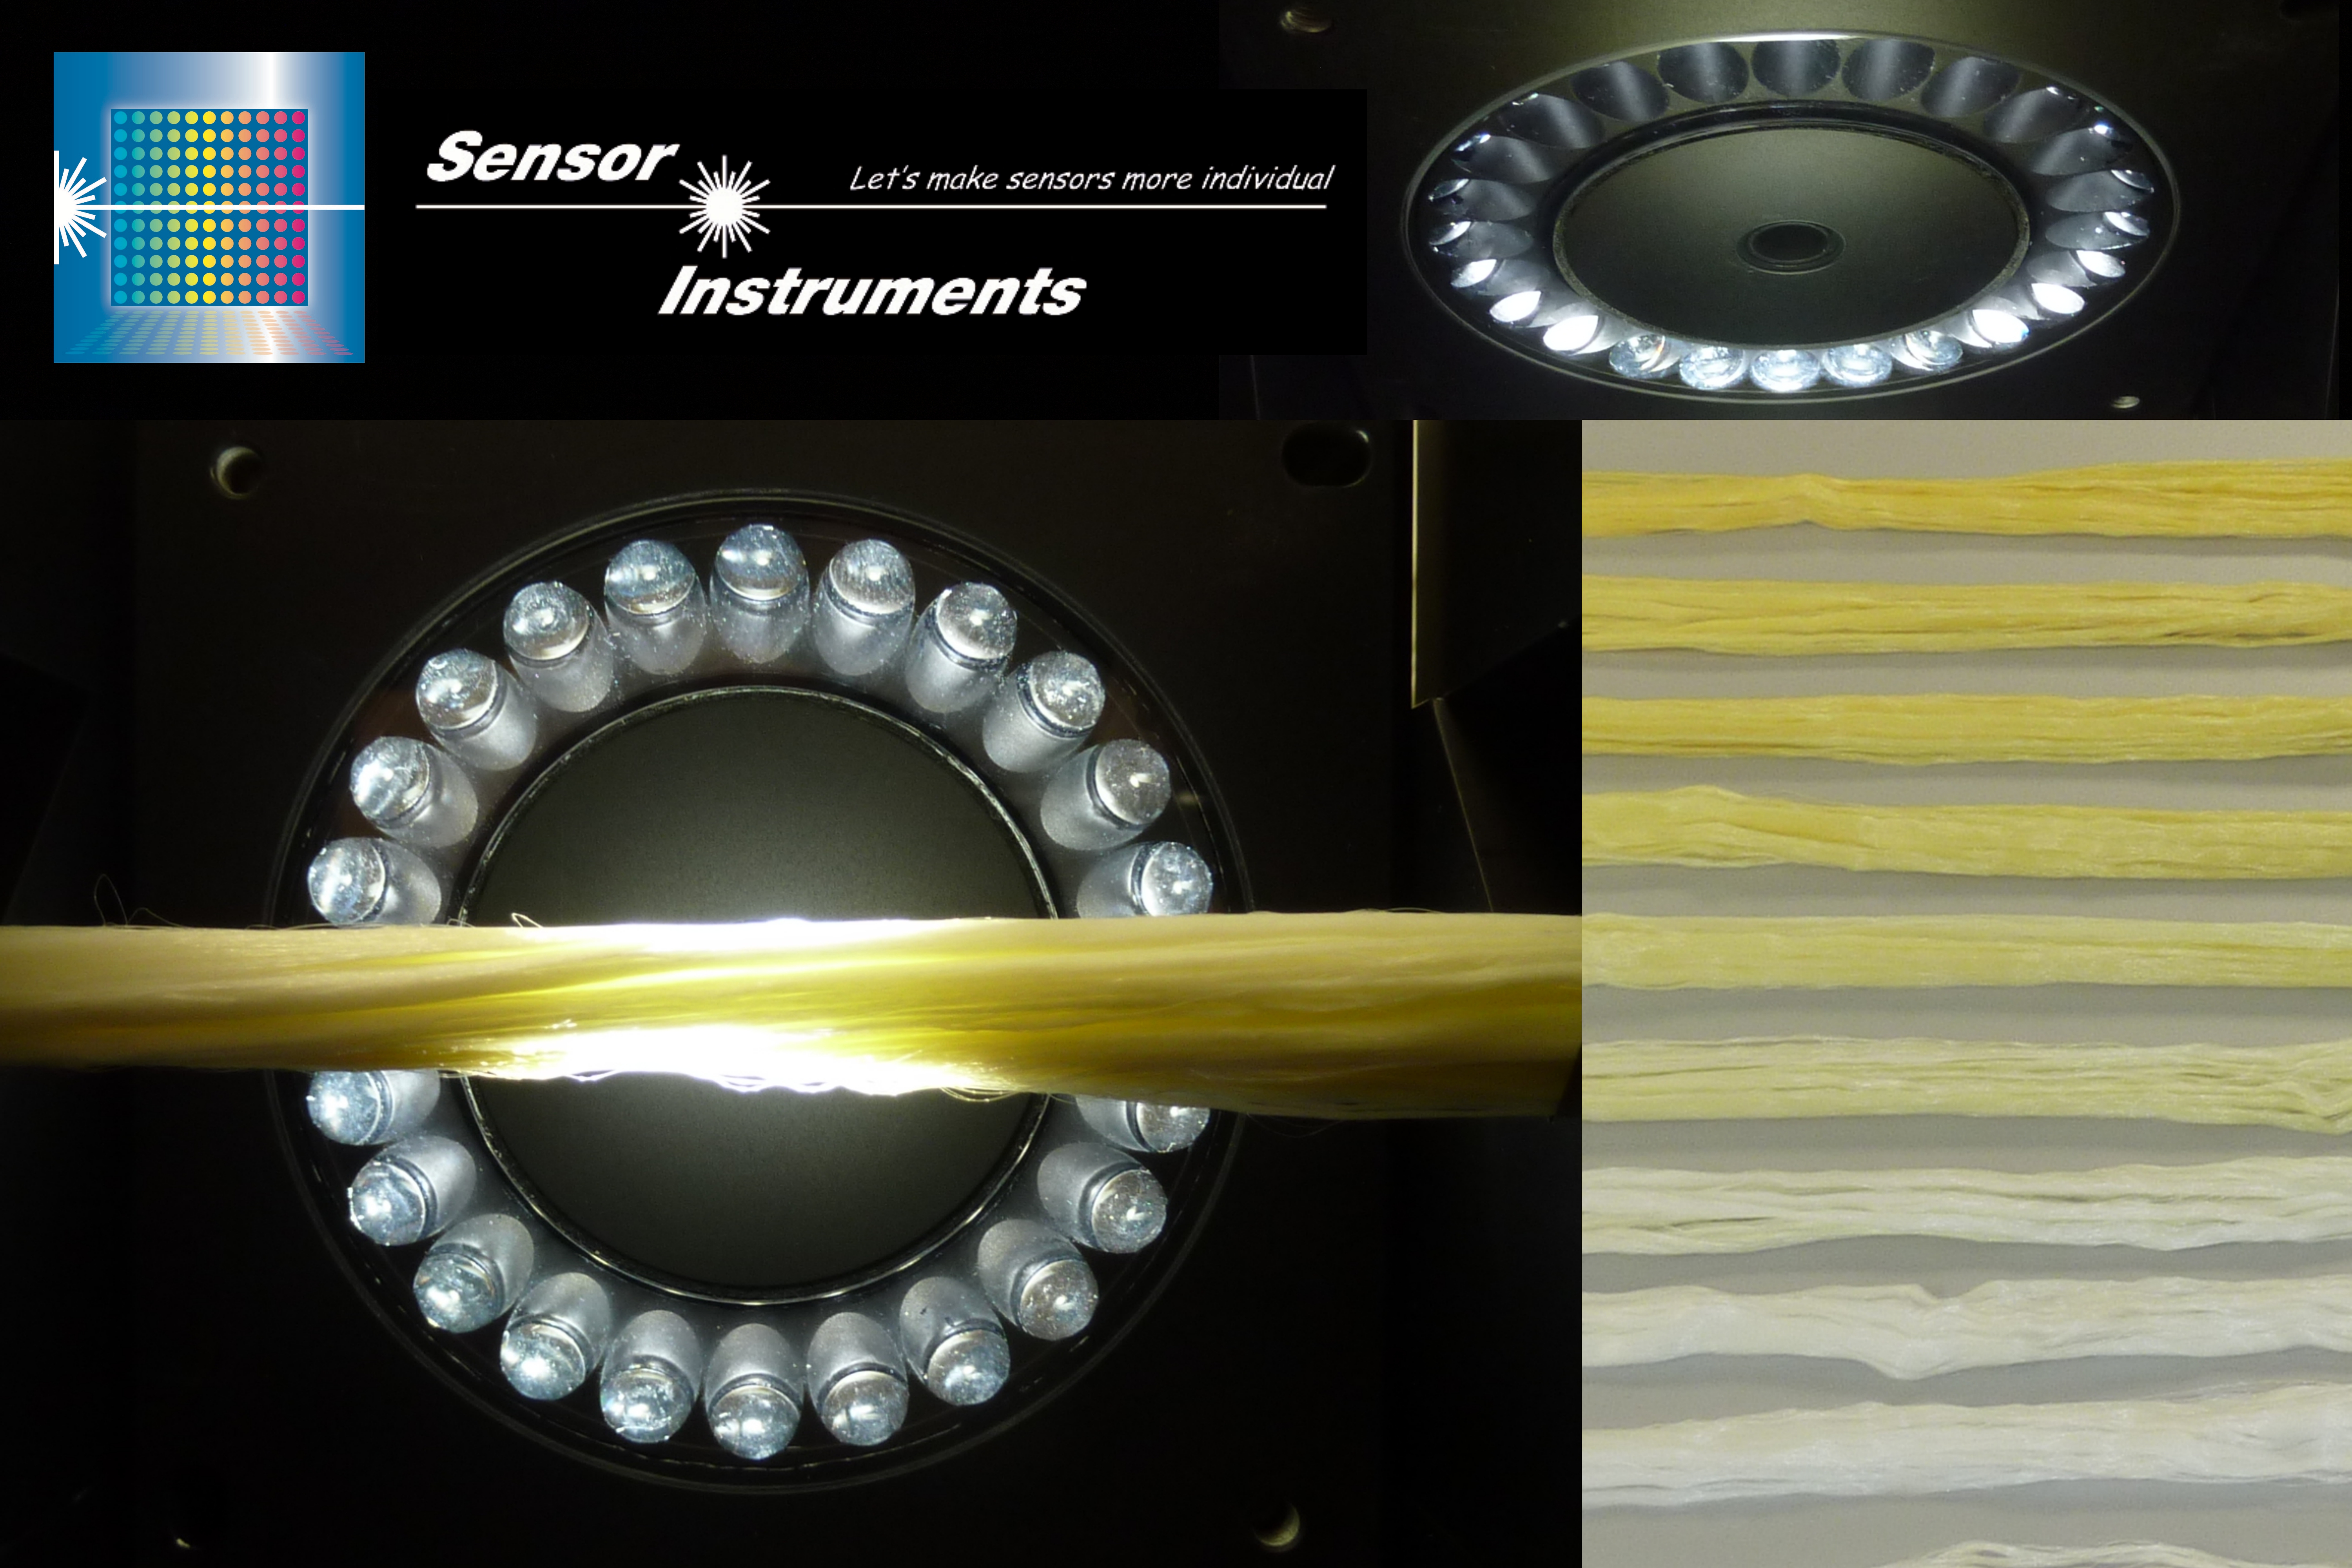
| The color tone of textile fibers should, as far as possible, be measured at the start of the textile dyeing process using inline measurement. The information about the actual color tone (the actual value) can be compared with the color tone target using the PLC. The difference between these two color values provides information as to whether a more or less color should be added to the color bath. A SPECTRO-3-28-45°/0°-MSM-ANA-DL is suitable for measuring the color of the fiber strand which is fitted with a 45° illumination and detects the color under 0°. It is thus possible to avoid the great majority of direct reflection as comes from dye which is still damp during measurement. The distance between the sensor and the color strand is typically 28 mm and the detection range assumes a diameter of c. 10 mm with this clearance. ► Press release (Word/pdf) |
 SPECTRO-3-28-45°/0°-MSM-ANA-DL SPECTRO-3-MSM-ANA Series |
8 February 2021
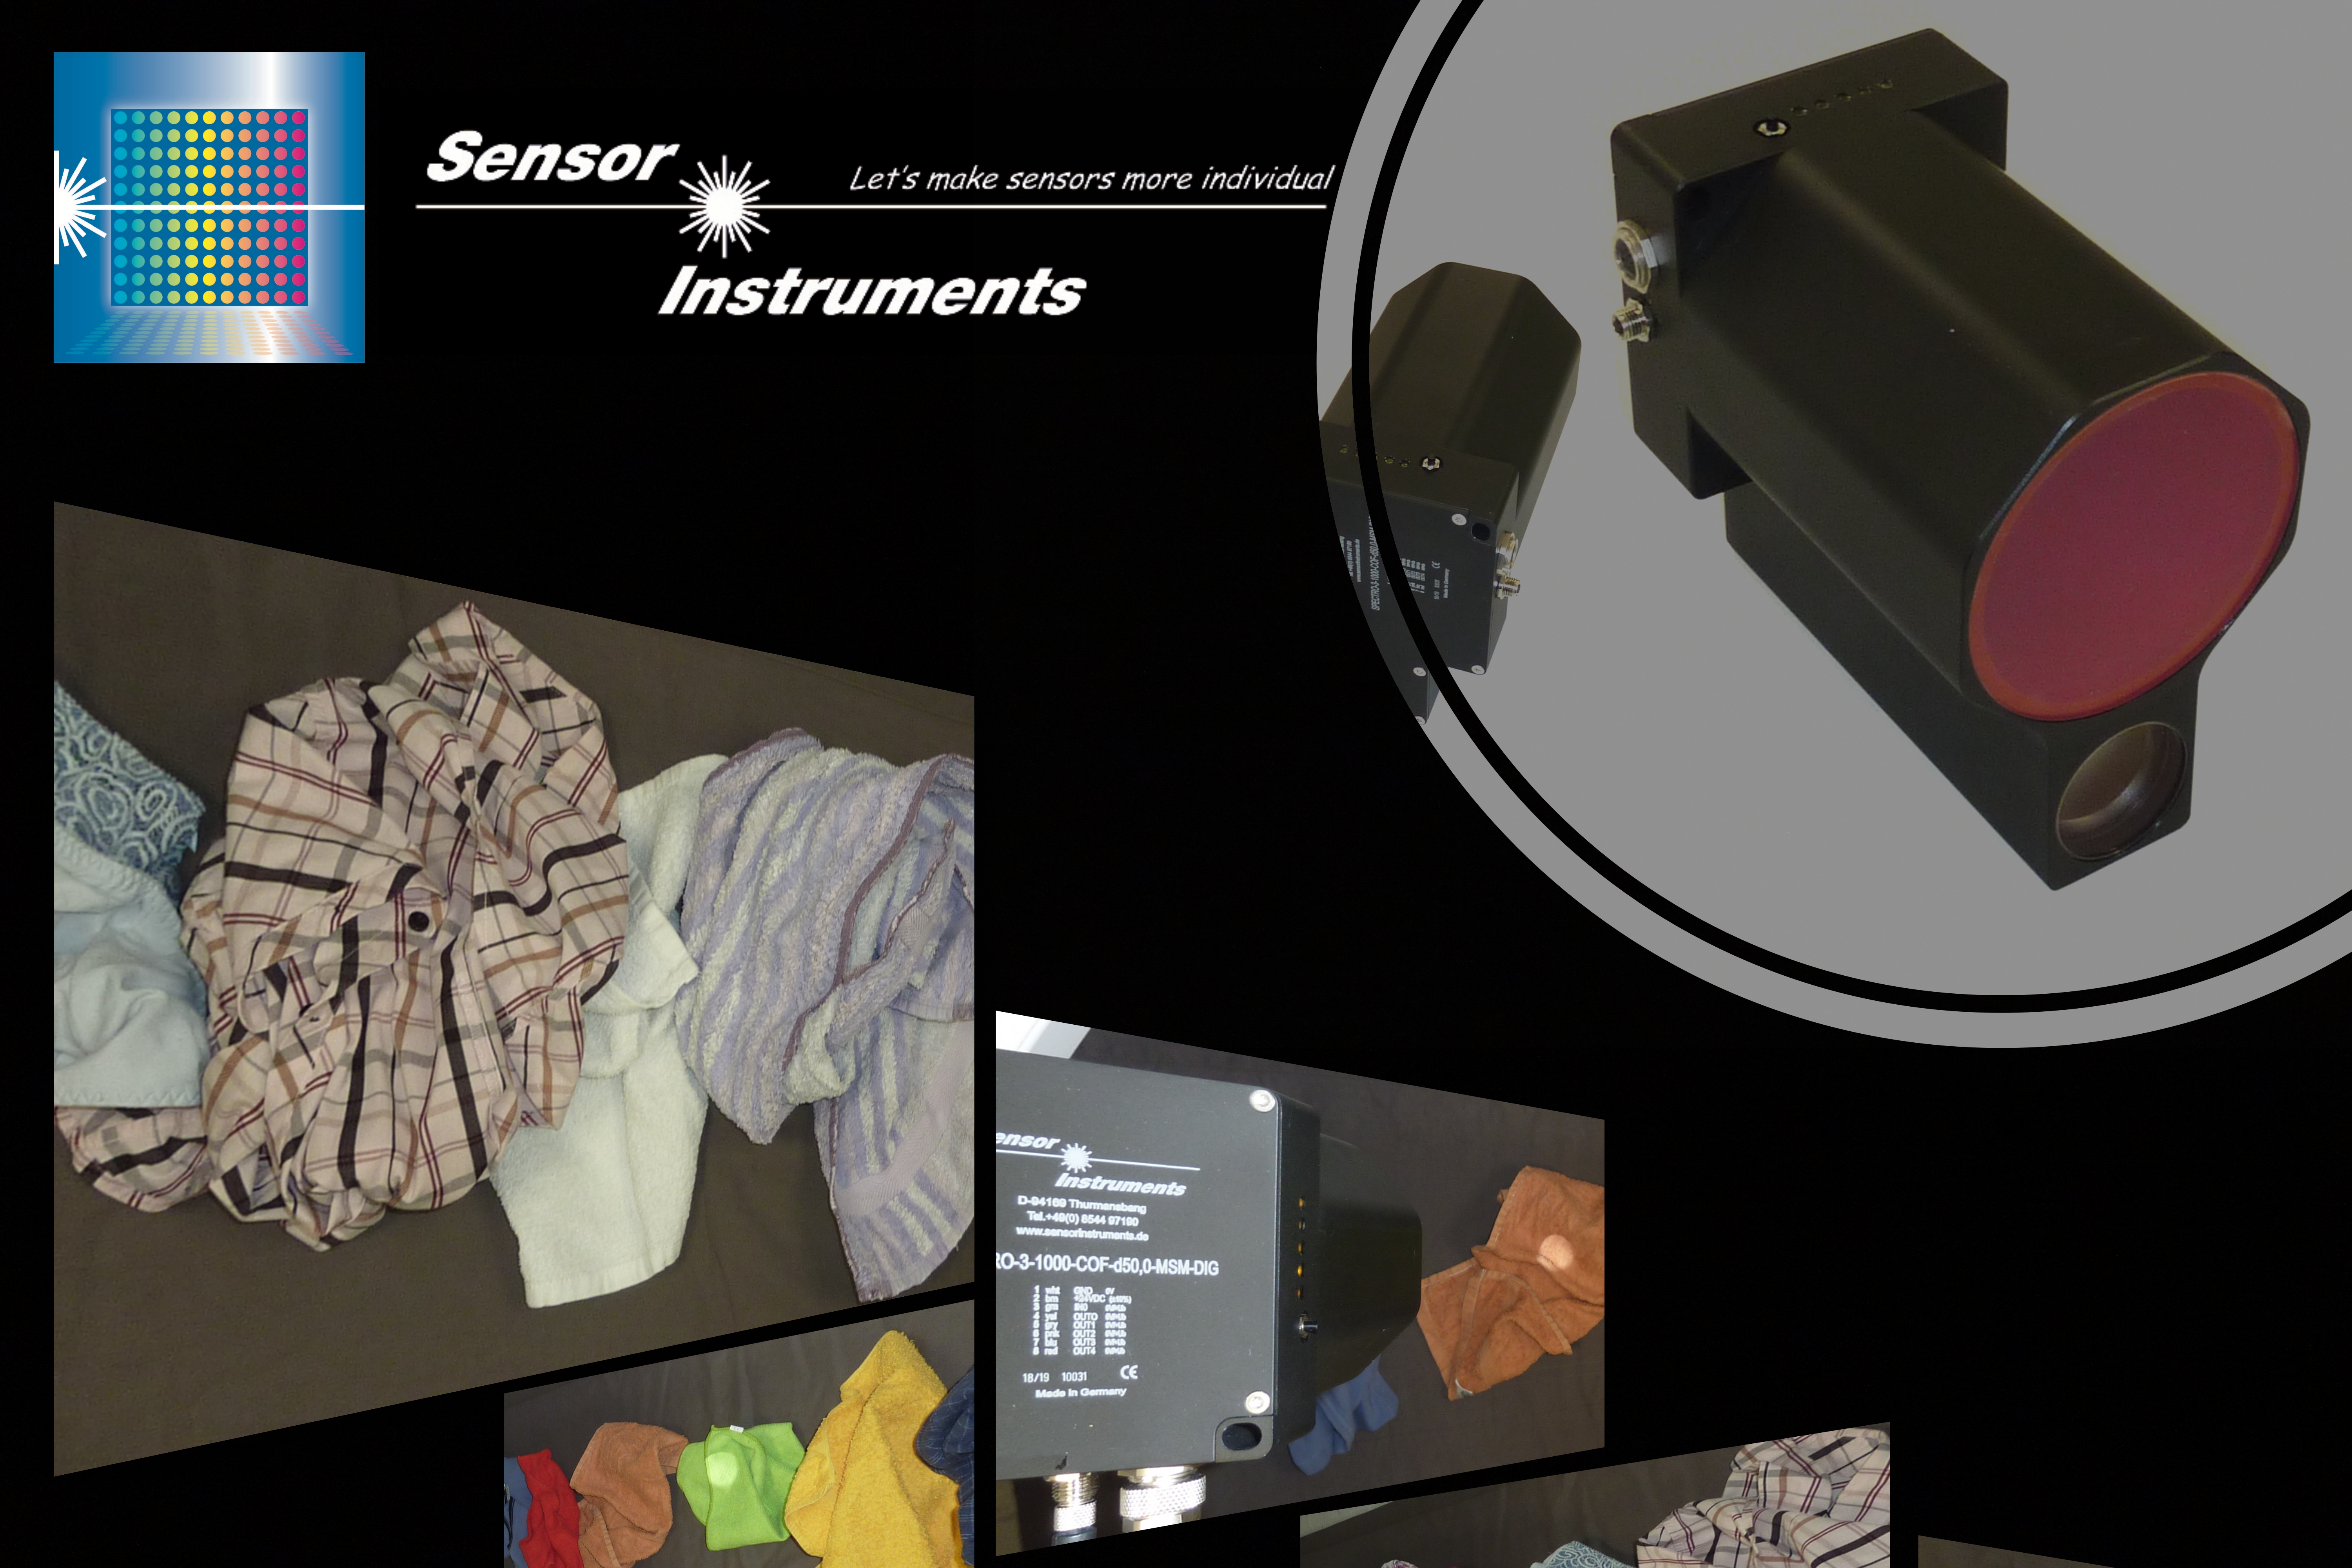
| Different colored second hand clothes, transported on a conveyor belt, should be differentiated. At this, the orientation of the respective textile is randomly, which means randomly folded, flat or exaggerated positioned. Furthermore, the clothes will be transported serial on the conveyor belt, normally with a certain gap between the respective textiles, thus, the surface of the conveyor belt can be seen from the top side. Additionally, the speed of the conveyor belt is constant and approximately 1m/s. Once the color is detected, a special high-pressure nozzle is blowing the respective clothing item out from the conveyor belt and into a foreseen container. For the preliminary studies a color measurement sensor type SPECTRO-3-1000-COF-d50.0-CL-MSM-DIG is used. ► Press release (Word/pdf) |
 SPECTRO-3-1000-COF-d50.0-CL-MSM-DIG SPECTRO-3-MSM-DIG Series |
29 January 2021
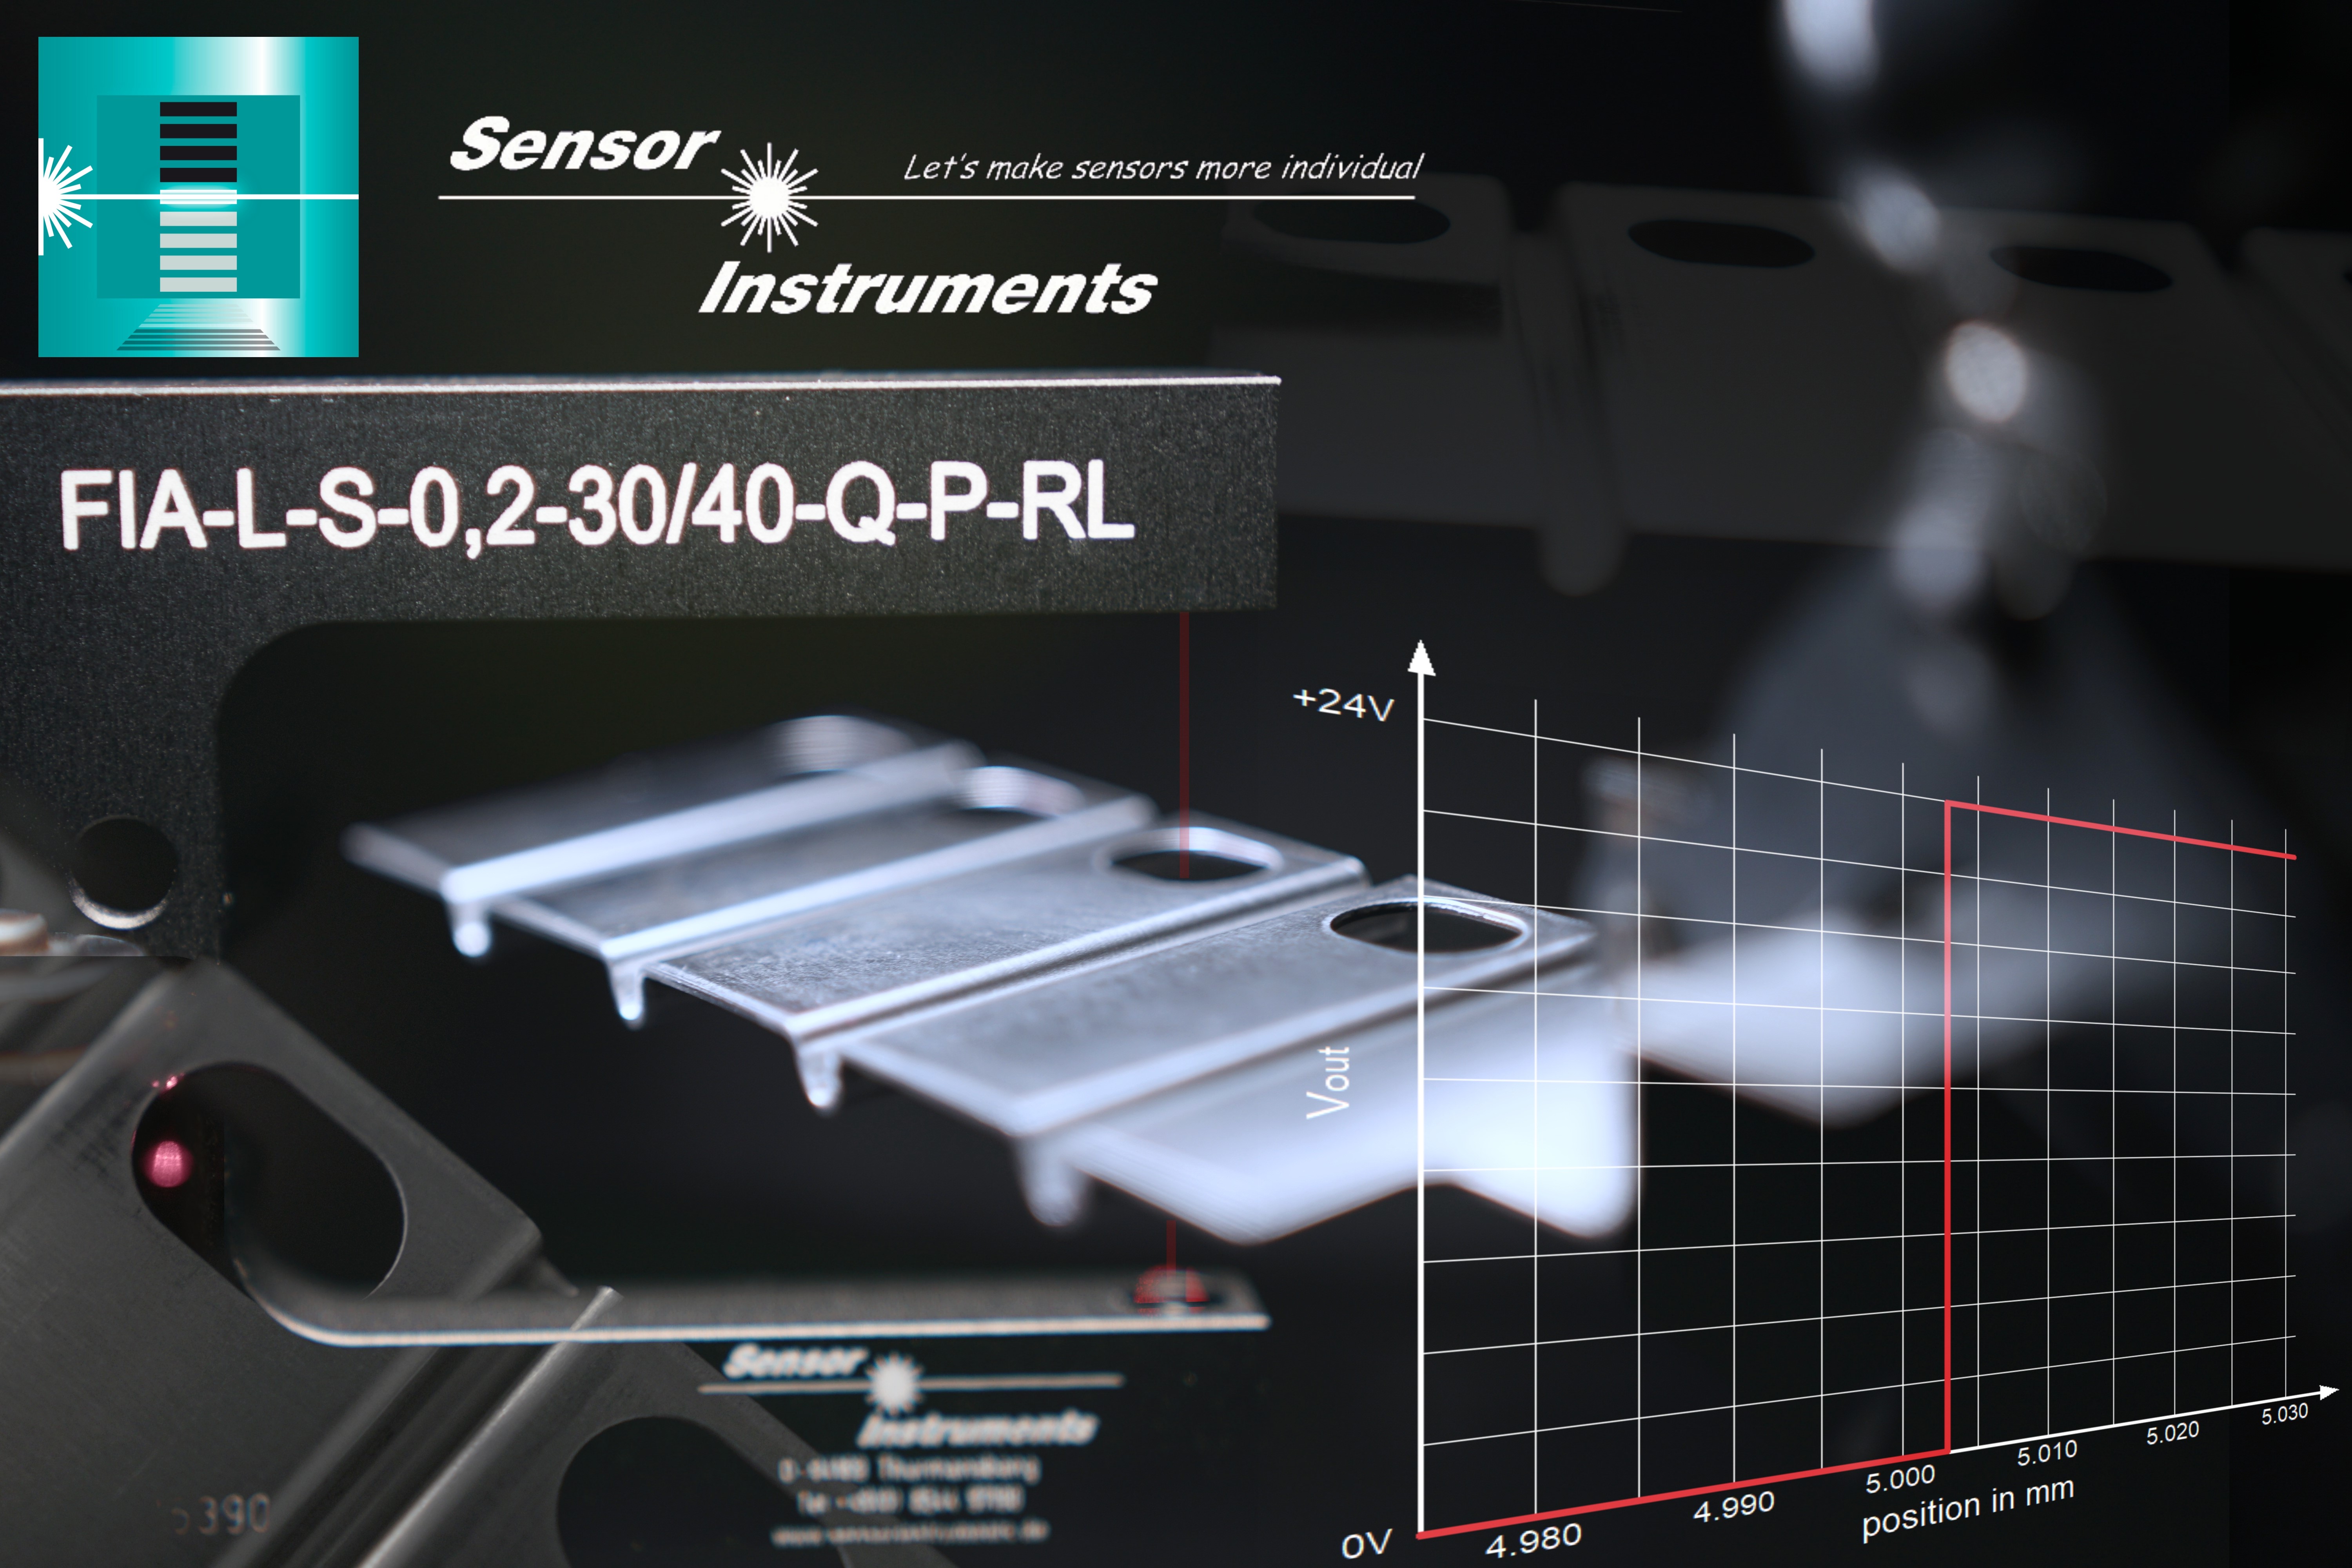
| During the production of punched articles, the punching procedure requires the exact positioning of the punching strips as the processing of the punching strip is performed in a number of process steps in the punching machine. The metal band must be positioned exactly within the punching tool after every processing step (punching and bending procedure). The position notification is usually performed within a stroke procedure (0°…180°) using a through beam light barrier and assignment of the respective rotary encoder position during the signal exchange of the light barrier. Ideally, the through beam light barrier should be a fork light barrier and should be able to be integrated in the punching tool, something which requires robust sensors which can resist mechanical vibration. The light barrier should be cutting oil resistant and insensitive to soiling. Quick running punching machines under the presses running at several thousand strokes per minute require a very high switching frequency and a high degree of position-exactness. The fork light barriers of the FIA-L series from Sensor Instruments GmbH were designed especially for this deployment. In addition to a high degree of insensitivity to extraneous light, a high level of oil resistance, a small laser spot size of 0.2mm in diameter, a low optical divergence of the red laser beam and a high position exactness of better than 5µm, the FIA-L-RL series provides a switching frequency of 25kHz. ► Press release (Word/pdf) |
 FIA-L-S-0,2-30/40-Q-P-RL FIA-L Series |
25 January 2021
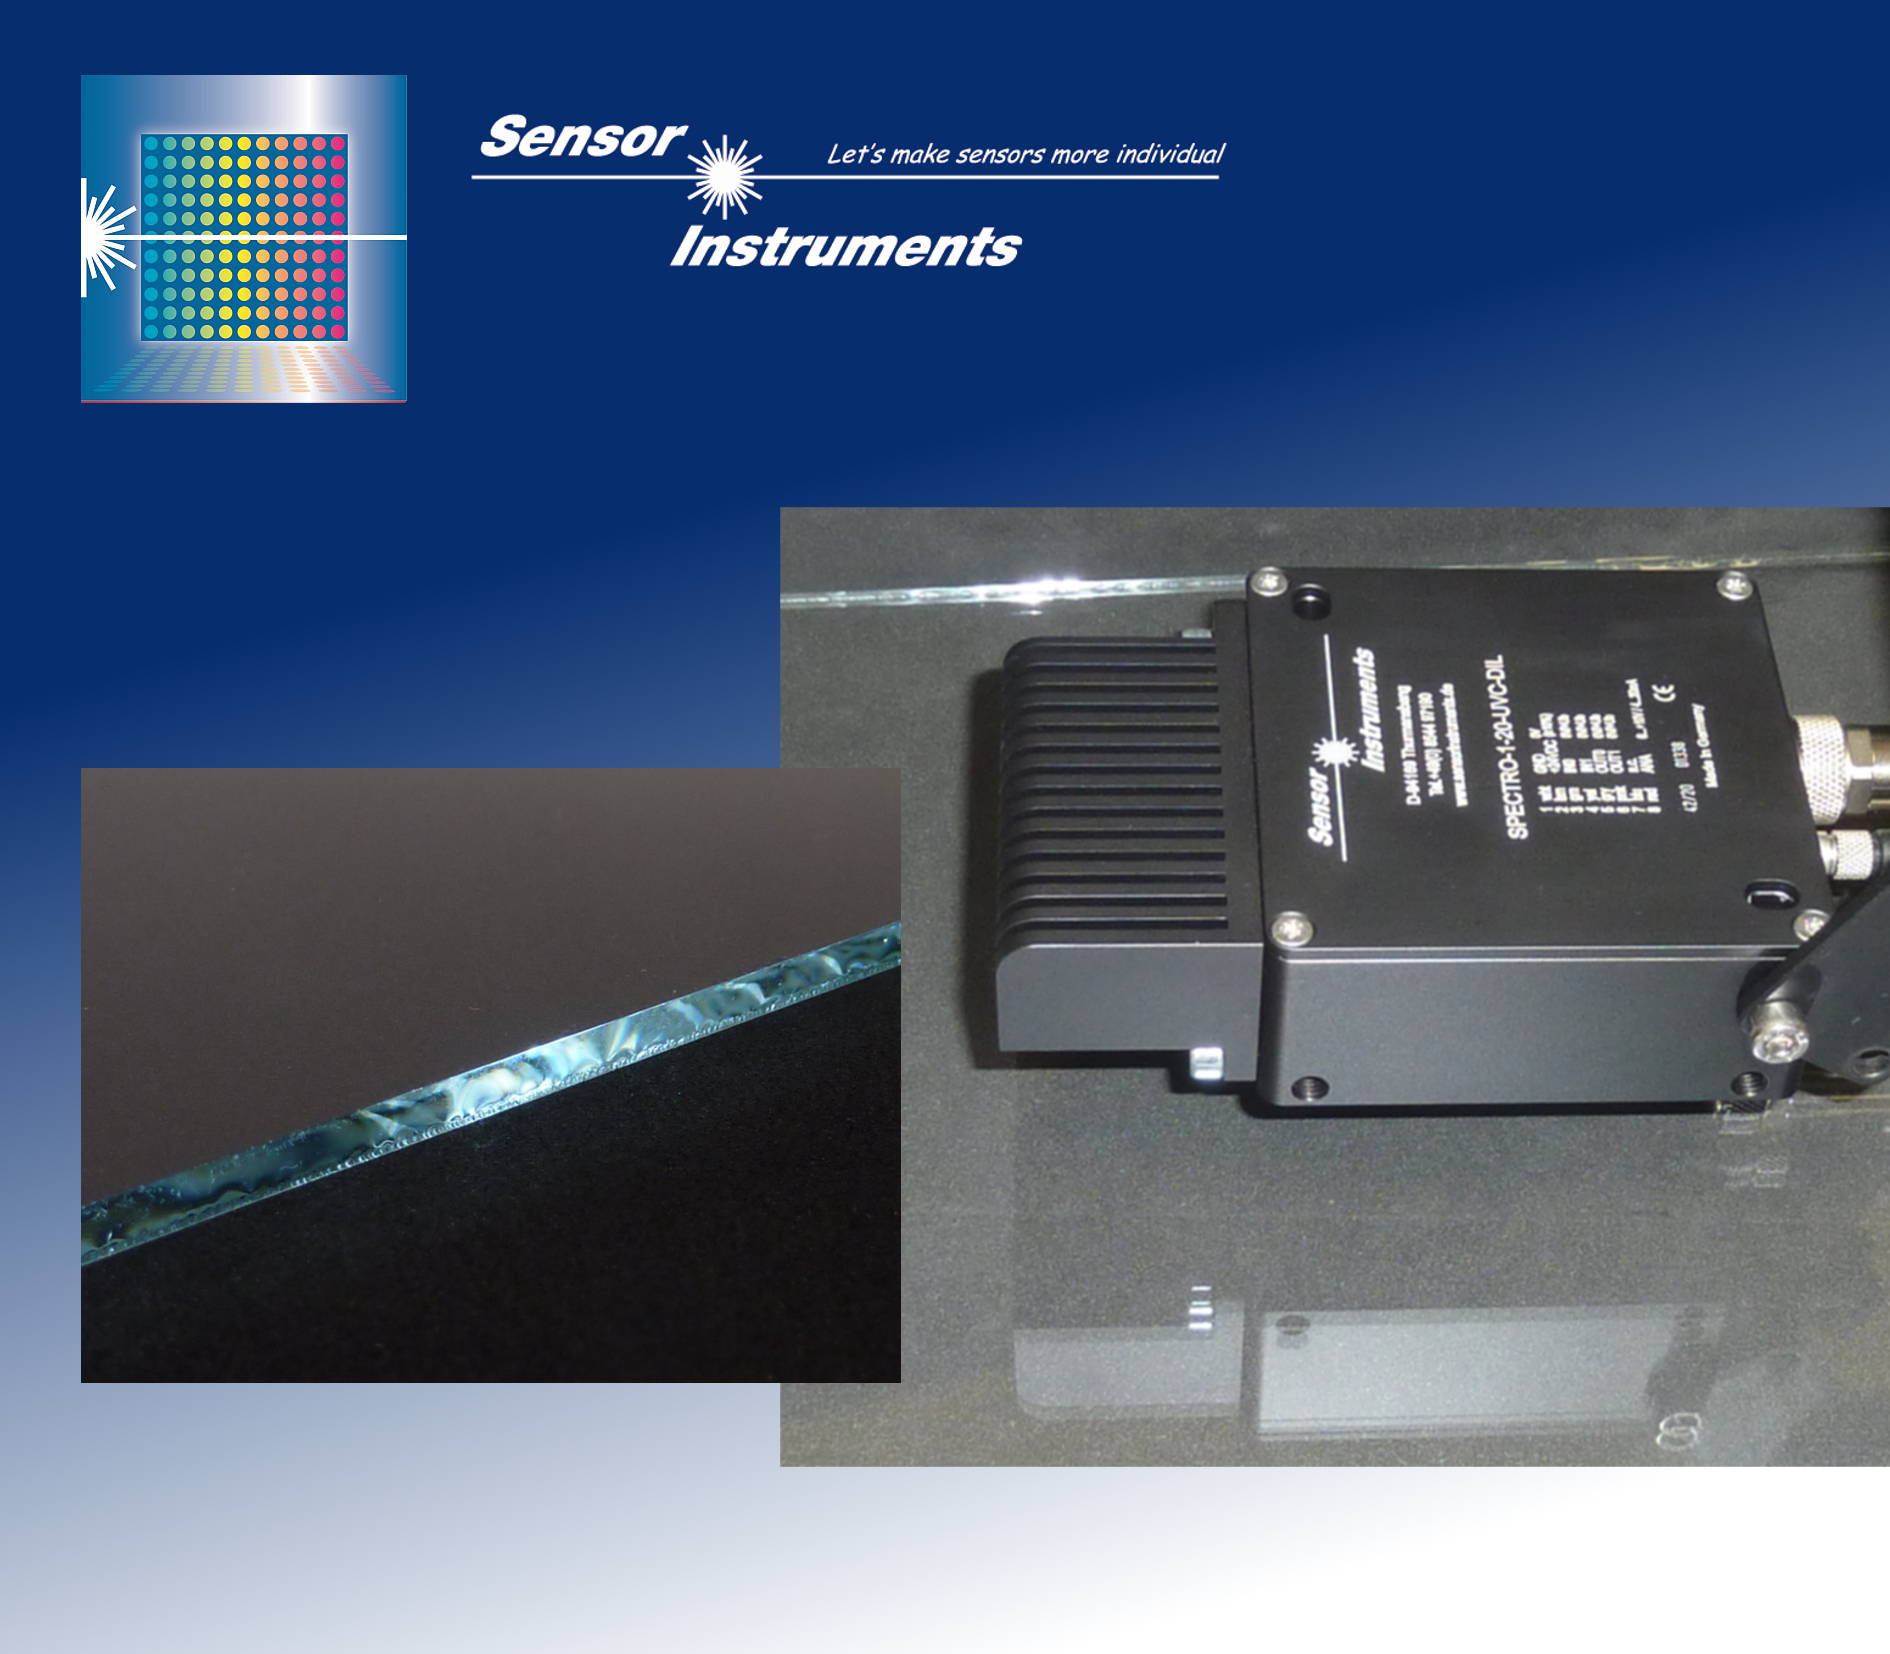
| Float glasses develop their form, thickness and surface properties through the transport of the glass melt on liquid tin. The glass melt floats on the tin bath and develops a plane surface adapted to the tin bath (tin side). The glass surface facing away from the tin bath (fire side) is heated by a gas burner until a certain temperature profile develops so that the glass melt can cool gradually and thereby assume its later form. When processing the float glass further, it is important to know where the tin side is located and where the fire side is located. Tin microinclusions can influence a number of issues such as the electrical resistance of the glass surface (the application of metal contact strips on a car rear window). It is also of decisive importance in other matters such as the application of further layers on the glass surface (e.g. nano layers) as to which side of the float glass is coated. The SPECTRO-1-20-UVC-DIL UVC contrast sensor from Sensor Instruments GmbH permits control of the glass surface in terms of its tin or fire side. ► Press release (Word/pdf) |
 SPECTRO-1-20-UCV-DIL SPECTRO-1 Series |
21 January 2021 SPECTRO-M-10-MIR/(MIR1+MIR2) - Press release #4
| The use of oils is imperative in the forming process of metals. For example, the application of cutting oils to metal bands ensures low wear on the punching tools. Drilling oils make an essential contribution to the protection of the drilling and milling tools during chipping processes. Oils also serve to protect semi-products such as sheets and metal foils against corrosion. After further processing, it is important to remove the oil residues from the finished products as completely as possible. This task is performed by special cleaning systems, in which the metal parts are washed and blown dry. In order to ensure that environmental specifications are maintained during the application of the oils, and to ensure that the process is economical, it is advisable to ascertain the quantity of the oil applied. Oil quantity measurement can be performed INLINE. A number of measurement procedures are available to this end and which constitute the focus here. The cleaning process can be monitored using the same sensors. The challenge is to determine even small quantities of oil residue accurately, preferably INLINE. Electrically conducting components such as copper busbars or power current lines require the lowest possible transfer resistance. A residual oil layer would pose a problem as this restricts the conductive efficiency to a considerable degree. ► Press release (Word/pdf) |
 SPECTRO-M-10-MIR/(MIR1+MIR2) SPECTRO-M Series |
22 December 2020 SPECTRO-M-10-MIR/(MIR1+MIR2) - Press release #3
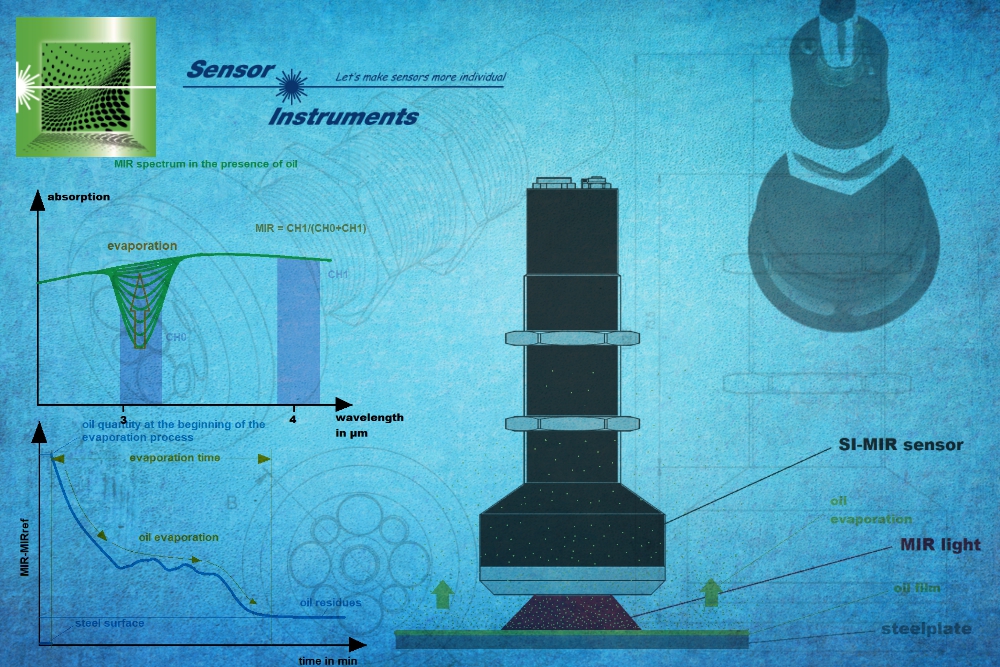
| Producers of blanked and flexible parts are increasingly using evaporated punching and drawing oils. Such processes need an outcome which minimizes the oil residue on the punched or formed metal parts in order to obviate the need to subject the products to a cleaning process. The question is: how much of the oil remains on the component and how long does the evaporation process take? Our SPECTRO-M series answers this question! To this end, we applied five drops of oil (5x20µl) to a degreased steel plate and spread it over a 70mm diameter surface. The oil layer thickness at the start of the measuring procedure amounted to some 25µm. The SPECTRO-M-10-MIR/(MIR1+MIR2) sensor was then placed on the center of the oil and the measurement started: The MIR sensor was used to view two measuring windows, both of which were located in the mid-wavelength infrared light range (MIR range). One of these two wavelength range windows reacts to the presence of oil (here referred to as CH0), whilst the second measuring window (CH1) gave no reaction. This change in the two measuring windows upon the presence of oil can be used to ascertain the amount of oil within the detection range. ► Press release (Word/pdf) |
 SPECTRO-M-10-MIR/(MIR1+MIR2) SPECTRO-M Series |
14 December 2020 SPECTRO-M-10-MIR/(MIR1+MIR2) - Press release #2
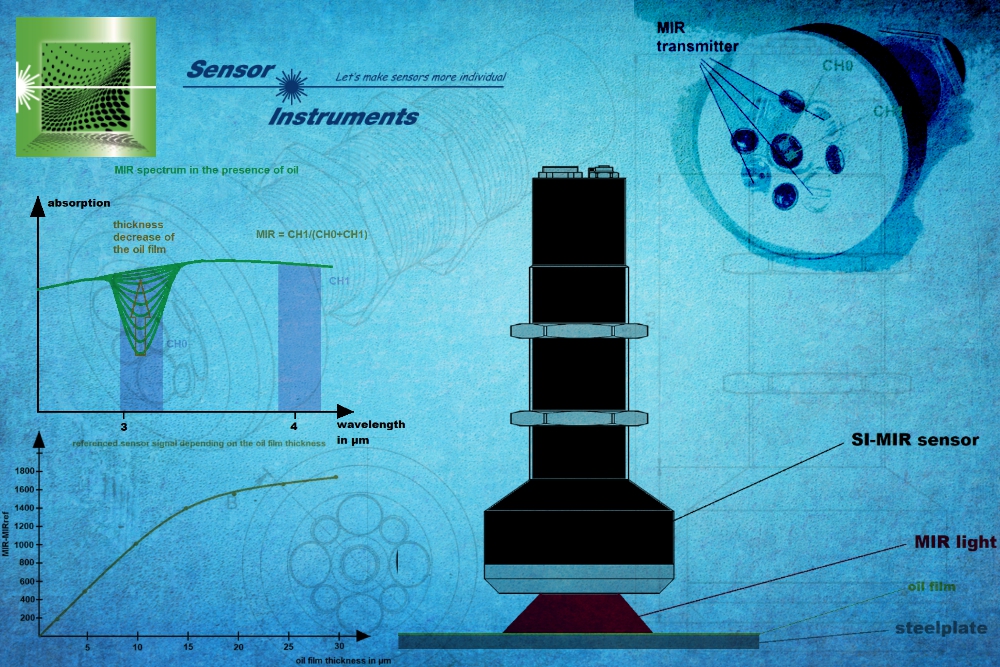
| Those wishing to measure the layer thickness e.g. of a homogeneous layer of printing ink on paper can adopt the grammage method as an adequate approach. The grammage of a printing ink is not all that different from that of paper with a thickness of between 0.05 mm and 0.2 mm. The use of accurate scales should be able to produce a reliable result. What happens when we replace printing ink with oil and paper with a 1 mm steel sheet? We would probably come to the limits of the grammage method. We still need a reliable method of determining the thicknesses of oil layers without too much effort. One possible solution is the fluorescence method, using UVA light to stimulate fluorescence. Secondary emissions are emitted in the visible wavelength range. The intensity of the fluorescence establishes the measure for the thickness of the respective oil layer. We should take into consideration however, that the signal strength (fluorescence) is not only dependent on the layer thickness but also the nature of the oil used and the metal surface which functions as a reflector and exerts an influence on the signal level. There are also a number of oils with only a minimal or no fluorescence effect and which cannot be measured to establish the layer thickness. Taking the mid-wavelength infrared light range (MIR) into consideration, we see that the oils previously investigated all exhibit a significant absorption in a certain wavelength range, whilst other wavelength ranges do not respond to the presence of oil. Were we to exclude this oil-sensitive wavelength window from the MIR spectrum and then compare its absorption behavior in standardized fashion with the absorption observed in a second, oil-neural wavelength window, we have a first approximation of a proportional relationship between the thickness of the oil layer and the standardized signal. The SPECTRO-M-10-MIR/(MIR1+MIR2) sensor if fitted with exactly this wavelength window. ► Press release (Word/pdf) |
 SPECTRO-M-10-MIR/(MIR1+MIR2) SPECTRO-M Series |
2 December 2020 SPECTRO-M-10-MIR/(MIR1+MIR2) - Press release #1
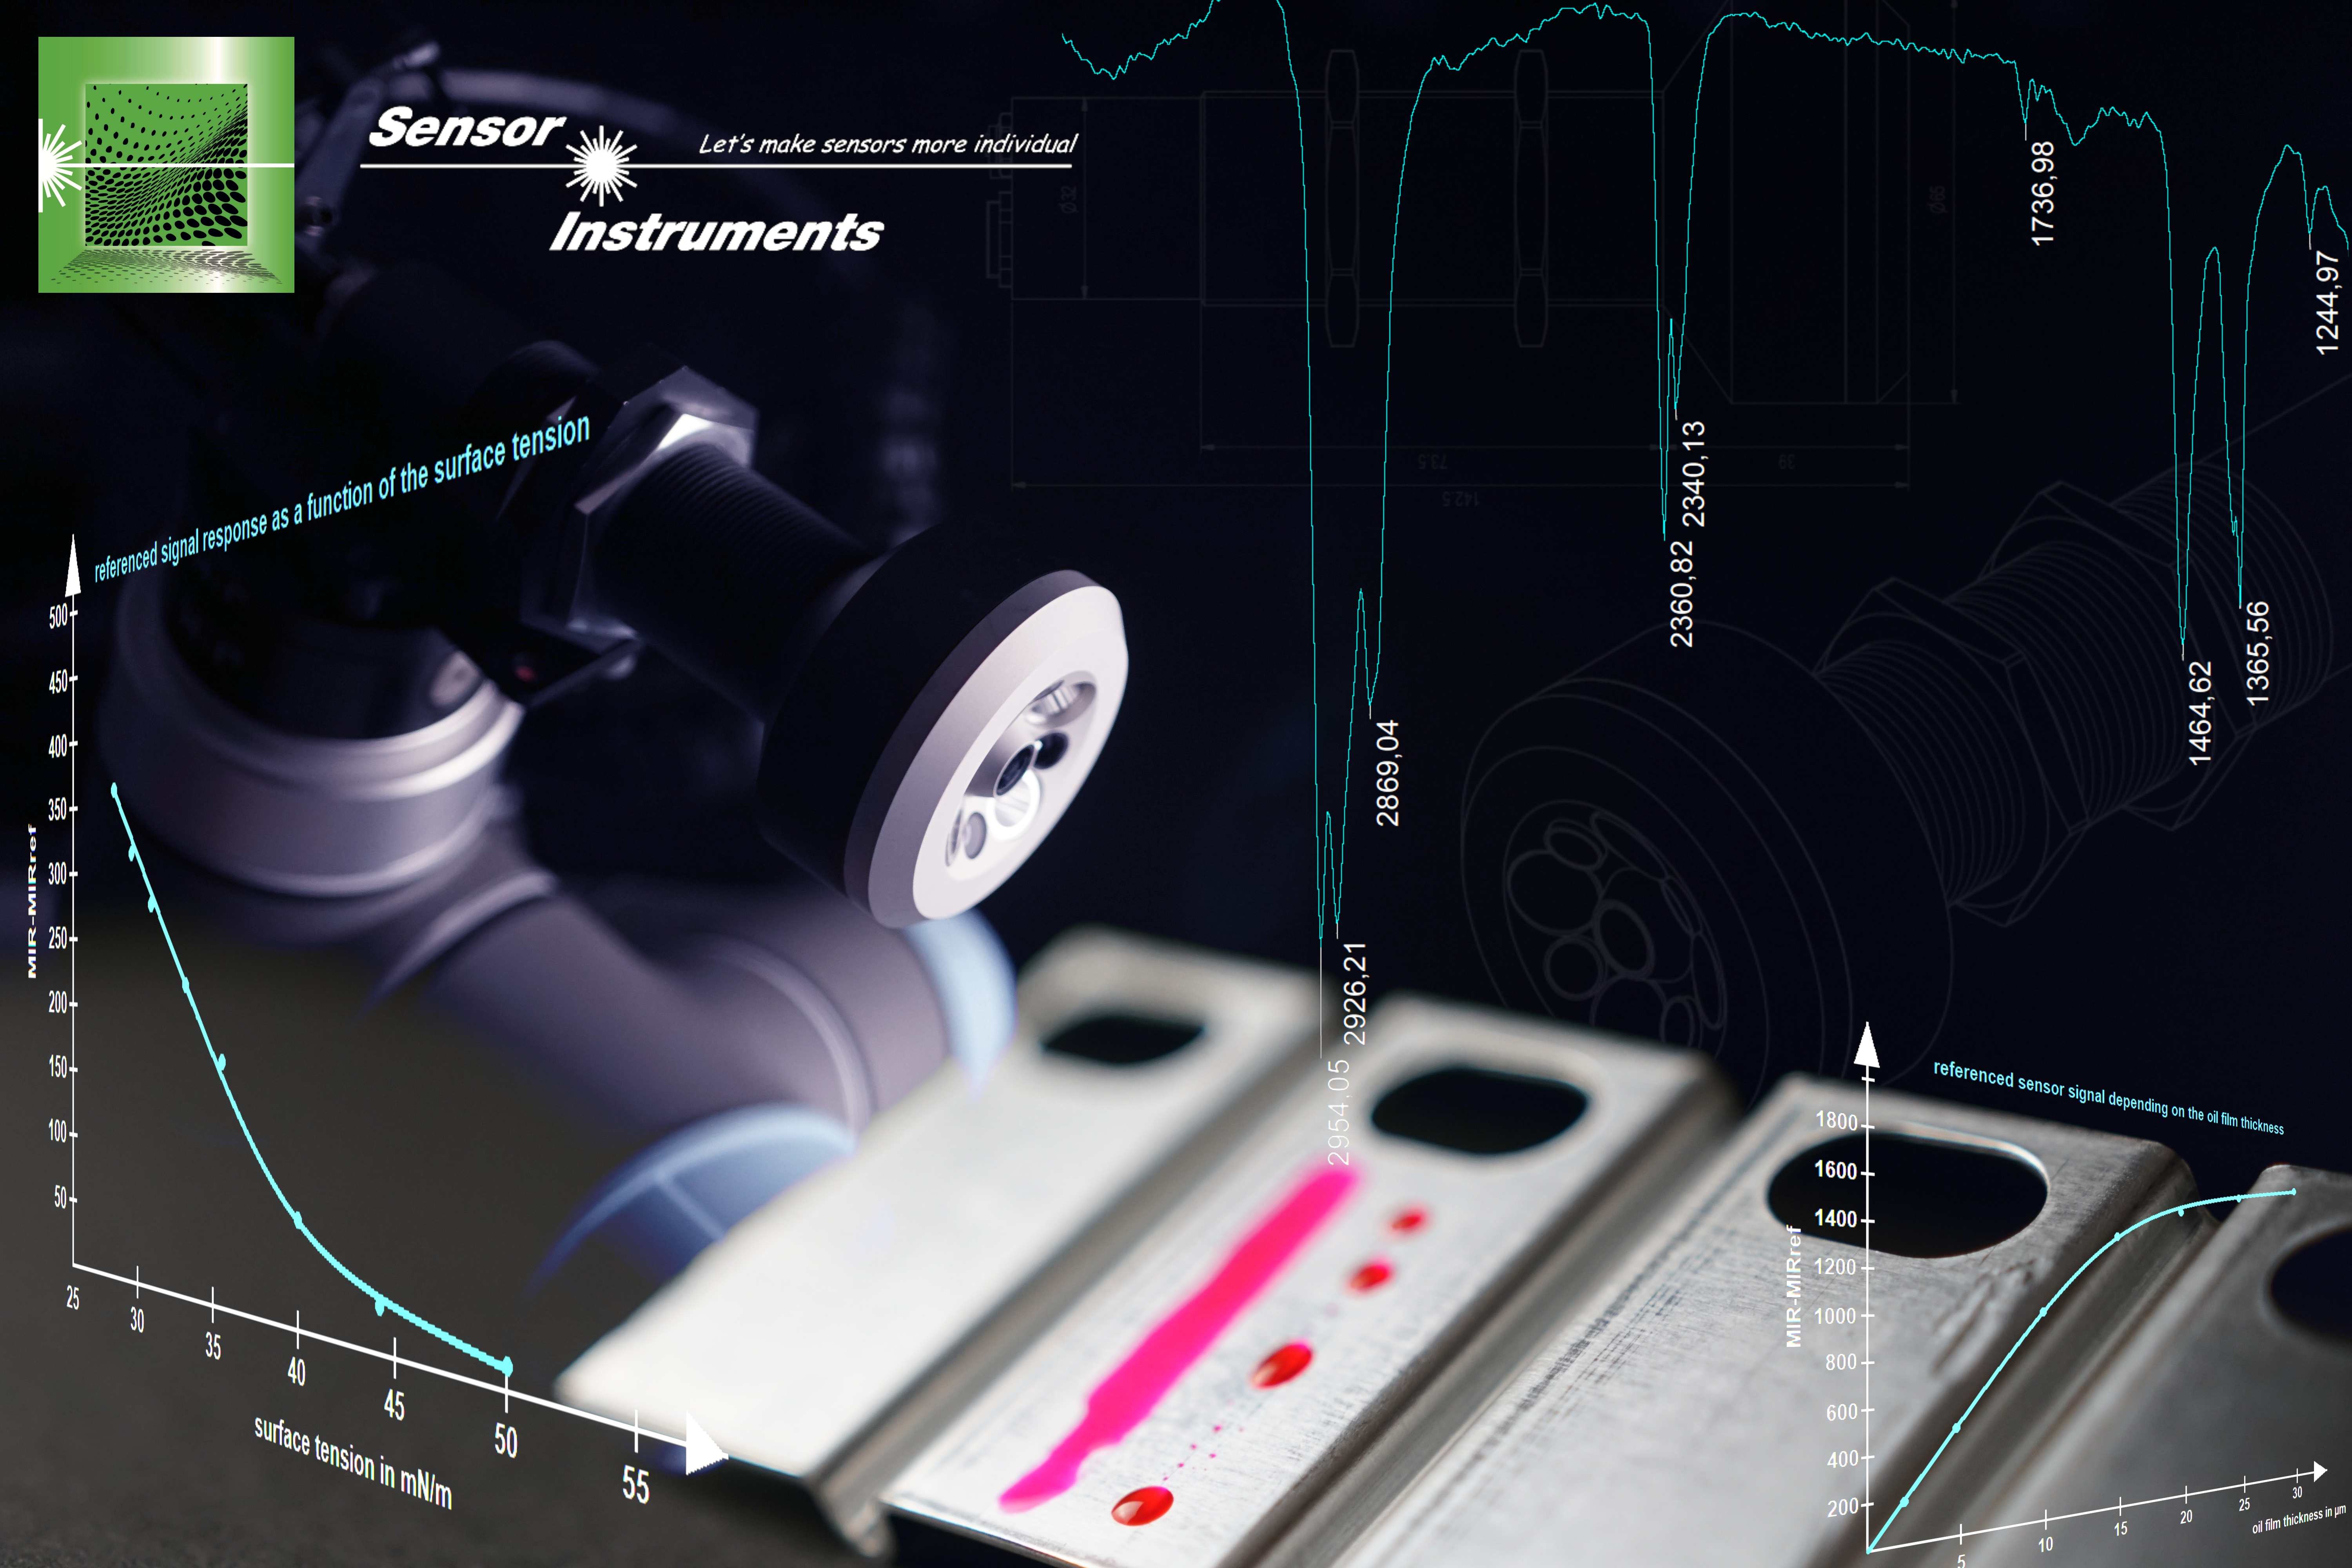
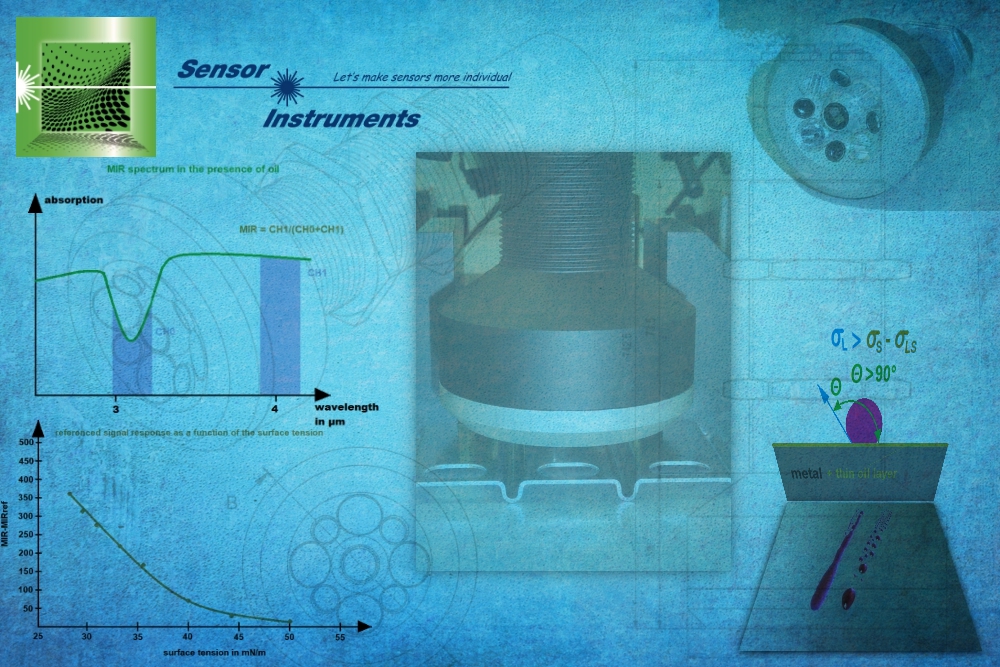
| The tension is rising! The users of cleaning units for metal parts – e.g. stamped parts – wait with baited breath to see what the washing sequence brings forth. Has the surface tension exceeded the threshold of 38 mN/m or has it even climbed to 44 mN/m? A metal component is generally taken to have been de-greased if one of these values (which of the two, depends on the intended application) has been exceeded. Previously, test ink was used to demonstrate the surface tension. These liquids are available in various surface tension values, usually starting with 30mN/m to 50mN/m in steps of 2mN/m (30mN/m, 32mN/m, …, 48mN/m, 50mN/m). If the test ink does not roll off the metal surface after application, the surface tension of the metal part lies above the value specified for the test ink. On the other hand, if the test ink does roll off the metal surface, the surface tension of the metal lies below the value specified for the test ink. In this way, the surface tension can be ascertained with an accuracy of 2mN/m. What does the surface tension mean in relation to the property of the respective metal surface? De-greased metal surfaces present a surface tension above 50mN/m (ascertained with the test ink method). On the other hand, if a metal surface is covered with an oil film, (for example, through oiling the punching strip before punching), the value of the surface tension can fall under 30mN/m, depending on the thickness of the film. The test ink method is therefore capable of determining whether the metal surface is covered with an oil film, or whether it has been removed (de-greased). Even oil films of less than 1µm can be demonstrated with this method. Experiments with various oils have shown that almost all oils have a selective absorption rate in the mid-wavelength infrared light range (MIR). Using this characteristic means that the comparison of two MIR wavelength ranges (one range is the neutral range, i.e. the wavelength range in which no noticeable absorption occurs as a result of the oil) can be used to determine the thickness of the oil layer after calibration of the SPECTRO-M-10-MIR/(MIR1+MIR2) measurement system, and in a subsequent step, to display the respective surface tension value. ► Press release (Word/pdf) |
 SPECTRO-M-10-MIR/(MIR1+MIR2) SPECTRO-M Series |
26 October 2020
| The arrival of plastic recyclates.
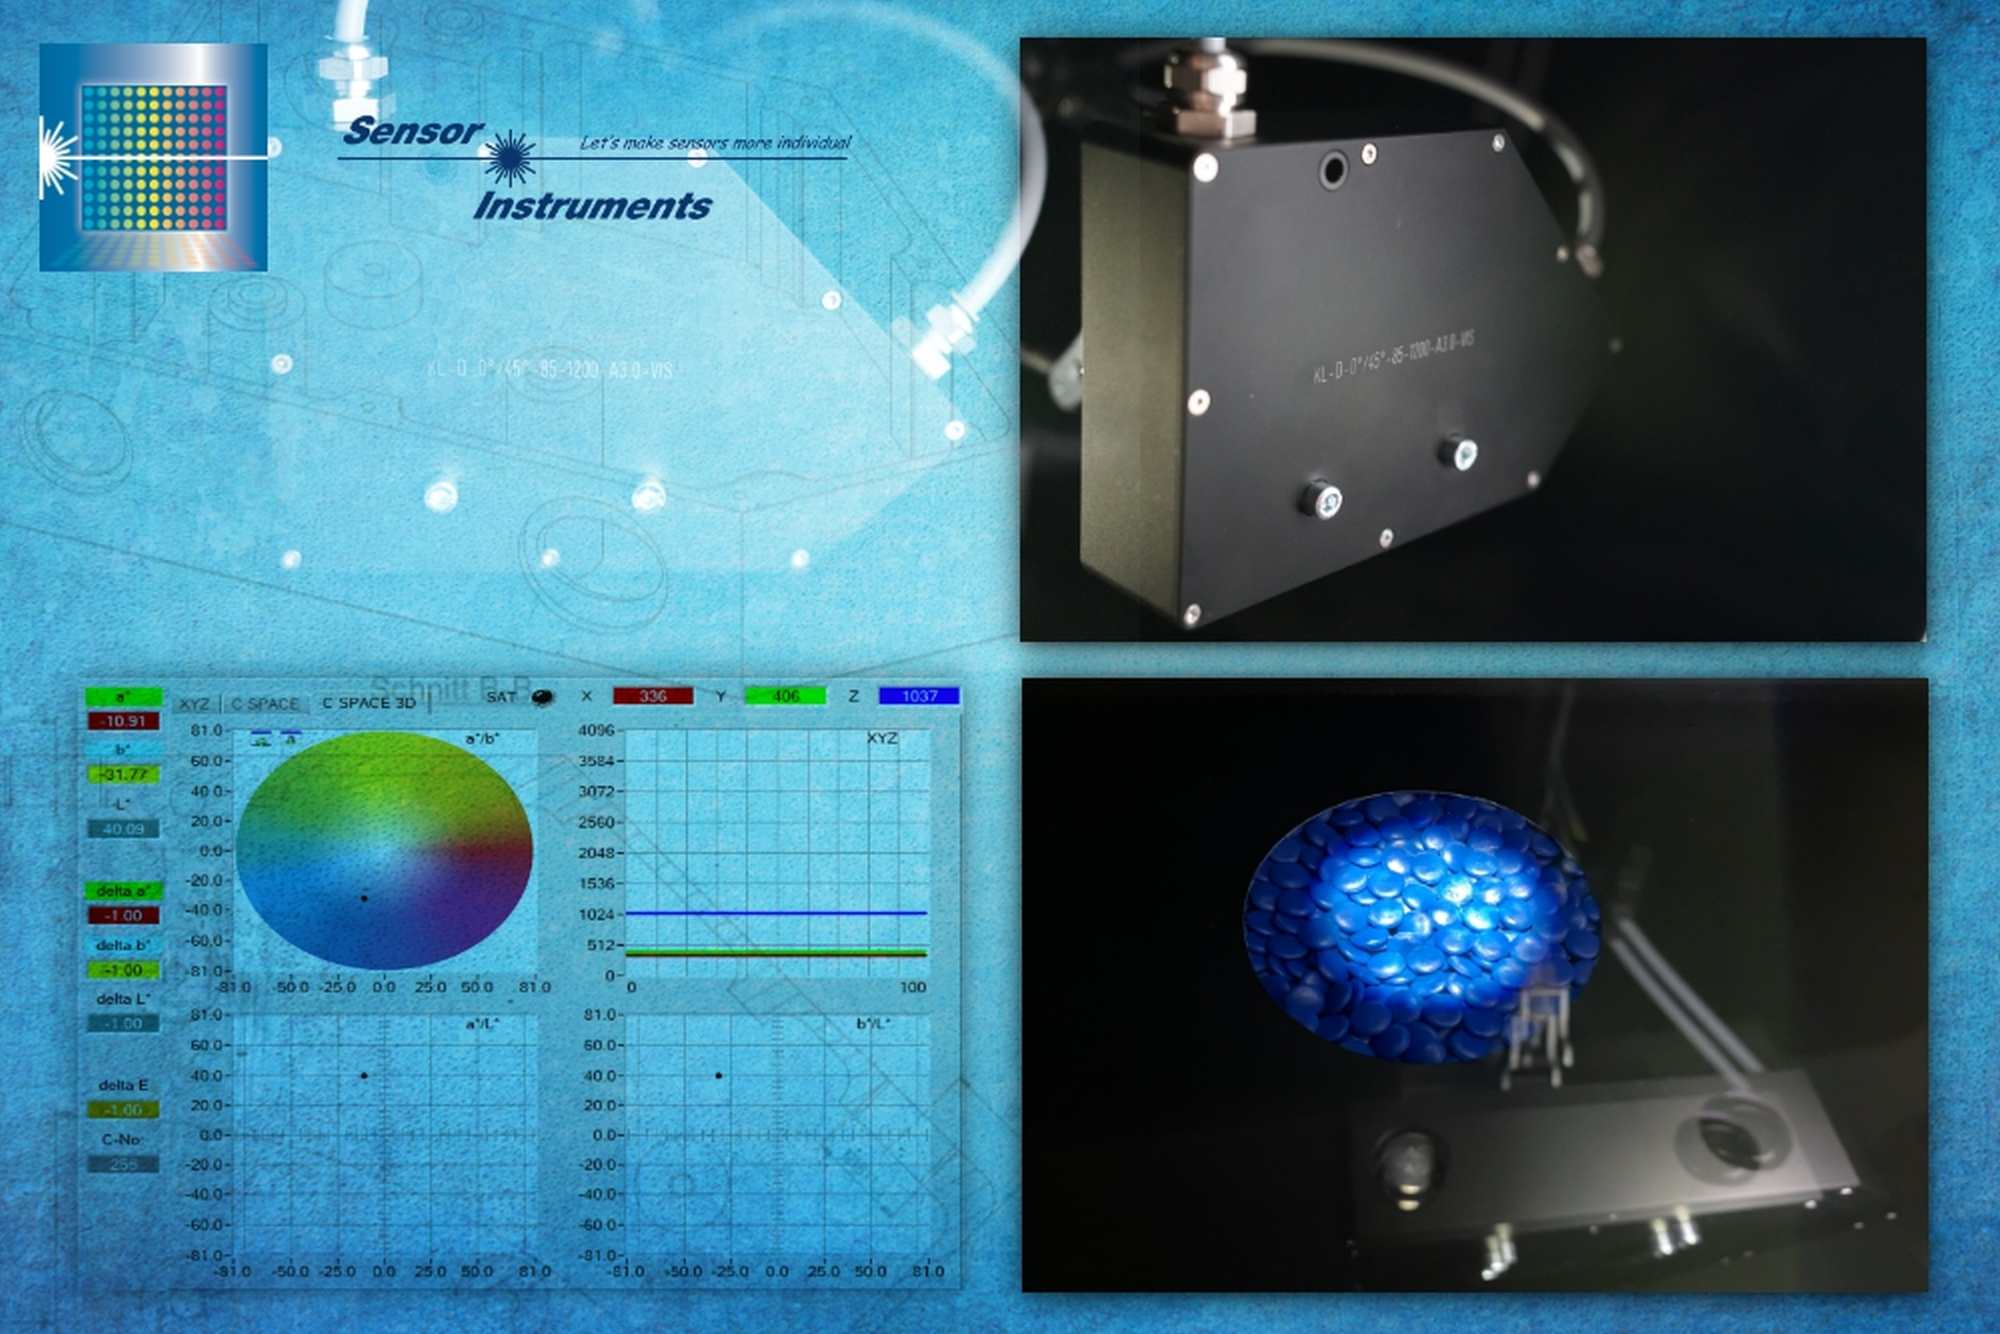
A difficult birth! After standing in the shadow of virgin materials for many years, plastic recyclates have now come into their own. There are many reasons for this: whilst the complex technical procedures to which recycled plastic must be subjected rendered them uneconomic, technological improvements mean that the quality could be improved whilst reducing costs. Despite these advances, without the decision on the part of the EU to change the legal framework to effect the sustainable use of plastics, recyclates would have remained uneconomic. For example, an EU directive has established a minimum amount of plastic recyclates to be used in plastic bottles. Despite their improved properties, plastic recyclates still do not approach the quality of virgin material. For example, color deviations in comparison to the target state are still common. Color value targets can only be reached by the targeted addition of virgin material. Determining the exact quantity of new material to be added requires color measurement of the plastic recyclate. Color measurement is performed INLINE. The high ambient temperature means that color measurement system is realized as a fiber optic system (KL-D-0°/45°-85-1200-A3.0-VIS) and works in accordance with the 0°/45° color measurement procedure. When using a white light spot diameter of 25 mm, an average is ascertained optically over a large number of pellets, so that the evaluation unit connected to the fiber optic front end SPECTRO-3-FIO-MSM-ANA-DLcan determine a precise color value (L*a*b* or xyY). The color values are transmitted to the control of the metering unit and depending on the color deviation from the target, the metering unit will add virgin material as required. ► Press release (Word/pdf) |
 SPECTRO-3-FIO-MSM-ANA-DL + KL-D-0°/45°-85-1200-A3.0-VIS SPECTRO-3-MSM-ANA Series |
31 July 2020
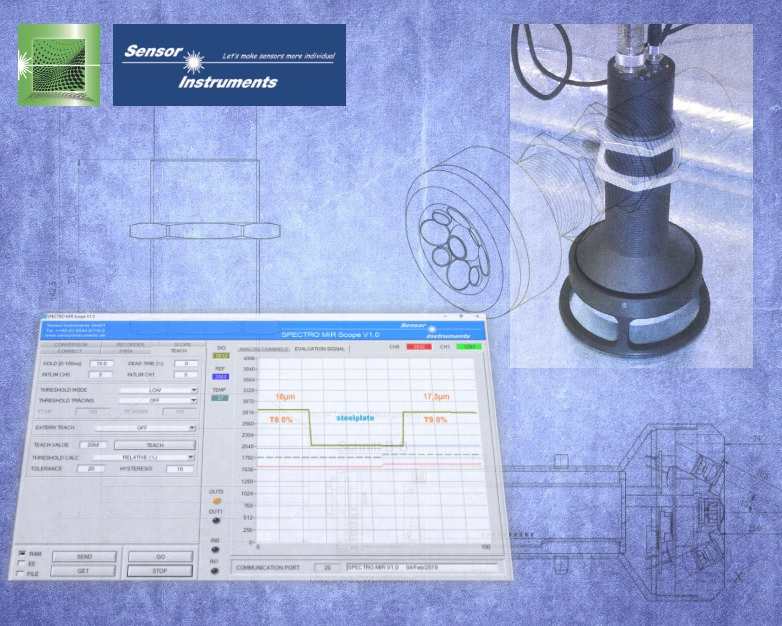
Measuring the thickness of thin and transparent plastic films It is important to be able to measure the thickness of stretch films after production, including after the stretching procedure. The SPECTRO-MIR-10 measurement system enables fast and precise inline and offline measurement and is not affected by extraneous light. The Windows®-Software SPECTRO MIR Scope V1.0 can be used to calibrate the measurement system to the respective film type. In addition to the parametrization software, the monitoring software SPECTRO MIR Monitoring V1.0 is available, which is used to save measurement data and display it graphically and numerically, including trends. ► Press release (Word/pdf) |
 SPECTRO-MIR-10 SPECTRO-MIR Series |
30 June 2020
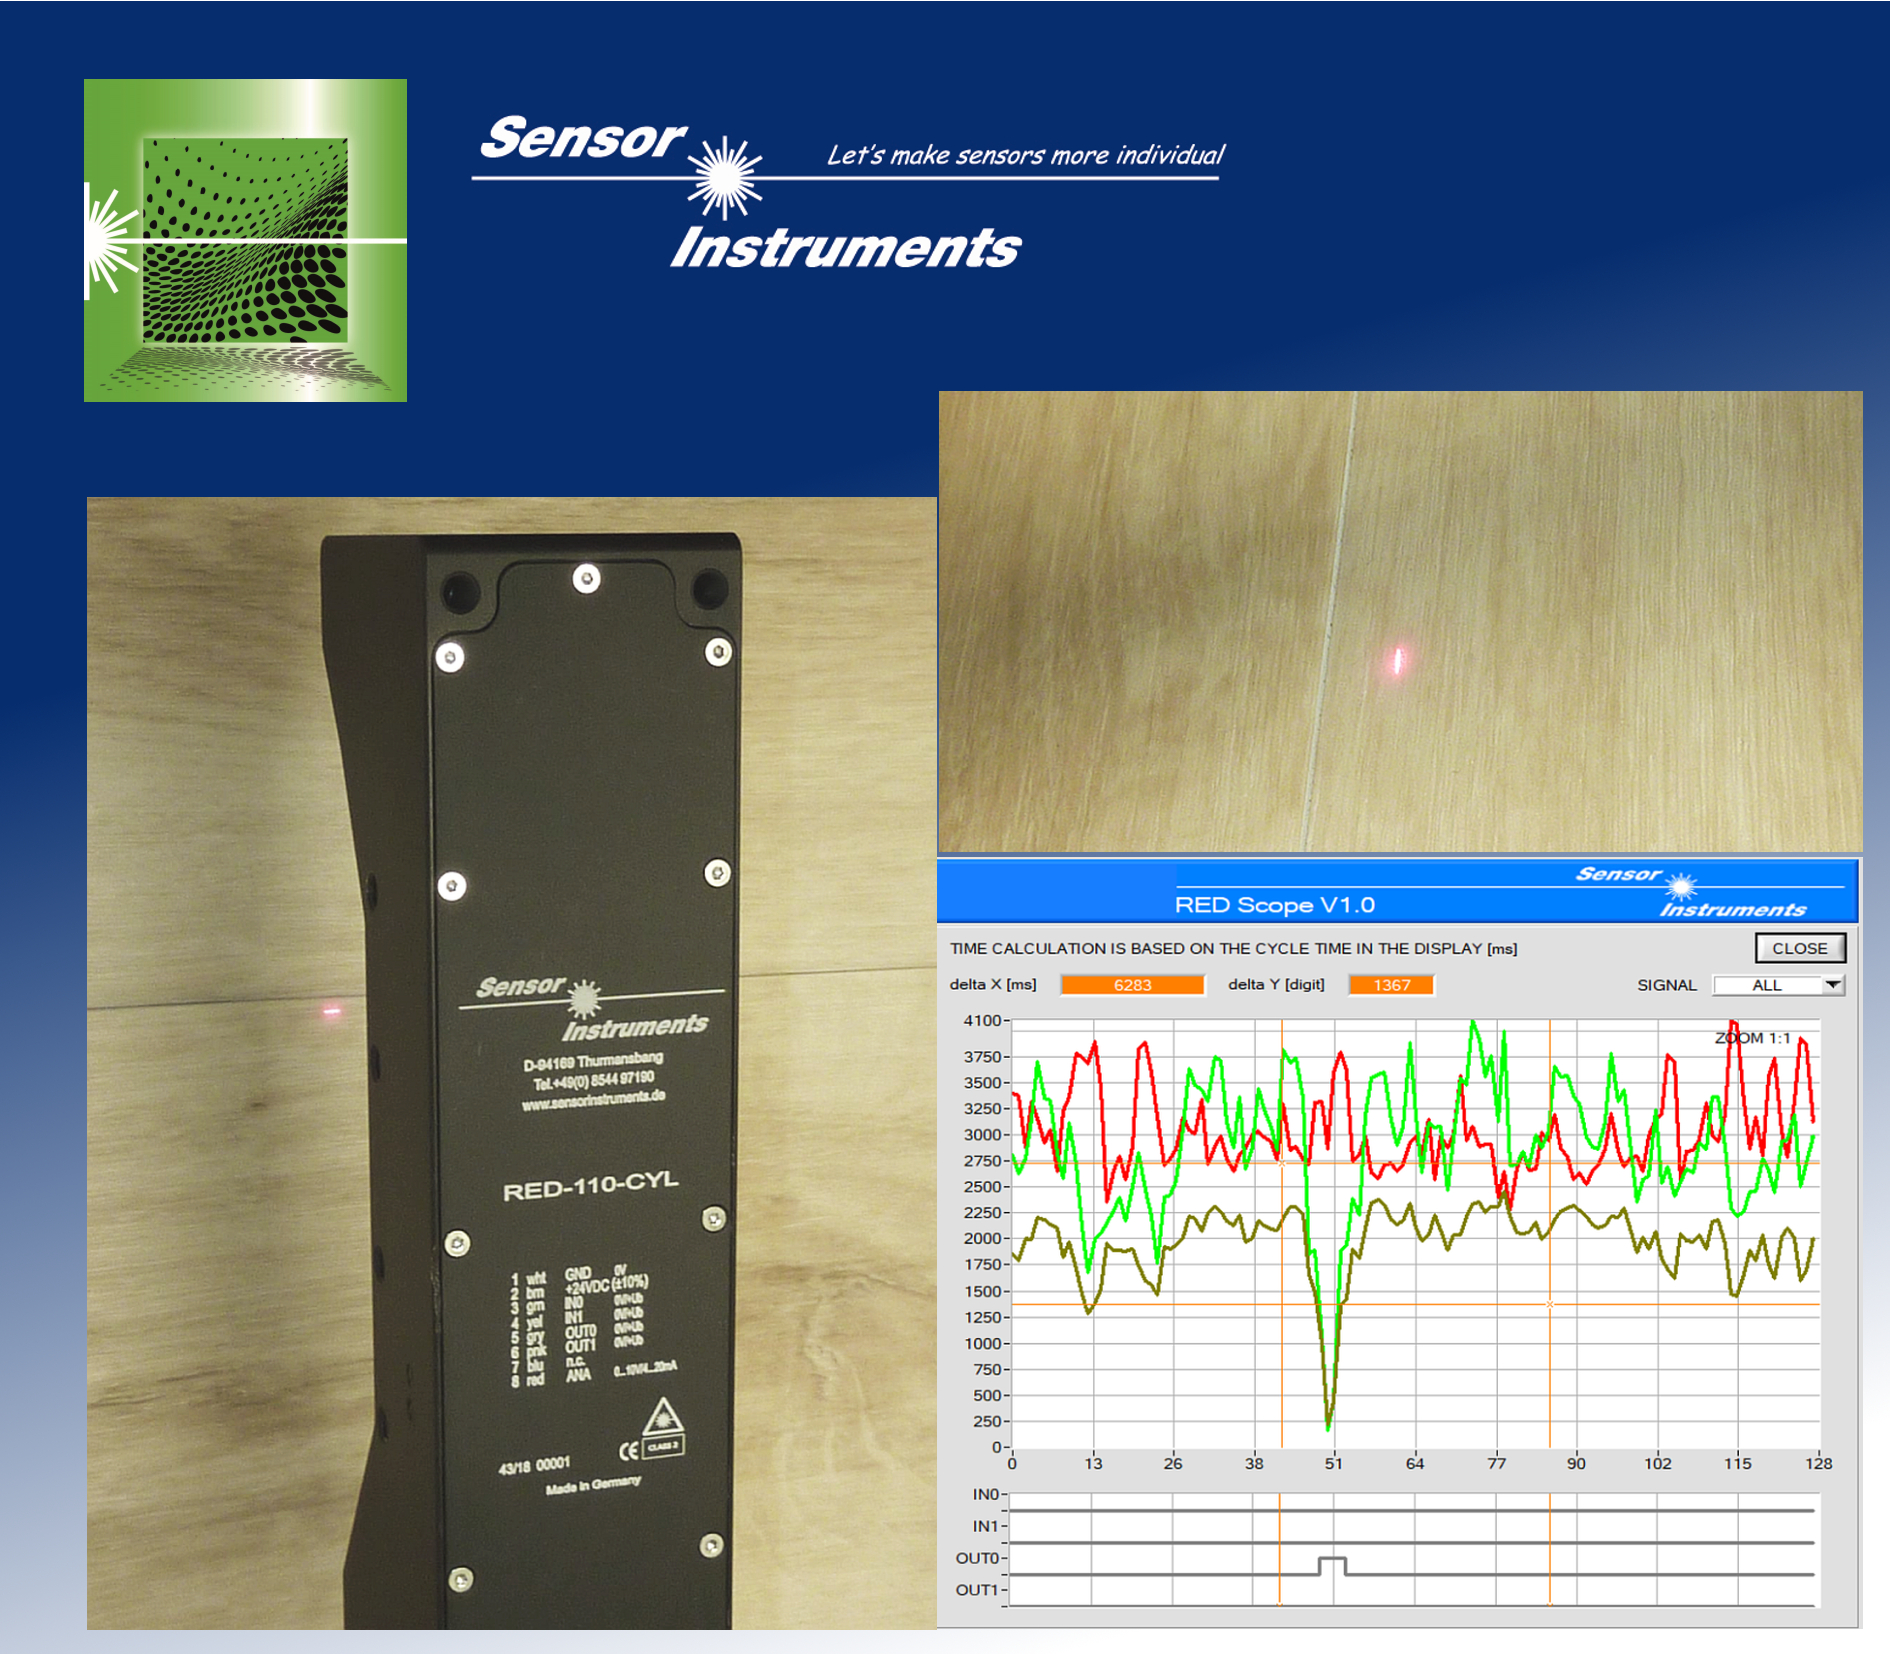
Dear manufacturers of vinyl flooring, don't worry, we will find the gap! From the range of RED series edge detectors the RED-50-L and RED-110-L sensors are especially suited for detecting gaps, i.e. in this application the distance of two parquet panels. These edge detectors reliably detect gaps starting from a depth and width of approx. 0.05mm. With the supplied software the laser edge detector can be adapted to different surfaces: From dark to bright, and from matt to glossy. With a maximum scan frequency of typ. 85kHz the sensor also is excellently suited for high-speed object handling. ► Press release (Word/pdf) |
 RED-110-L RED Series |
22 June 2020
When metal plates are painted, both their color and their gloss factor must be measured after the painting process. Gloss measurement is performed inline and immediately after the painting process to allow a quick response to possible deviations of the gloss factor from the respective setpoint value. A gloss sensor of the GLOSS series (GLOSS-15-60°) that measures the gloss factor at a distance of 15mm from the object is used for this application. ► Press release (Word/pdf) |
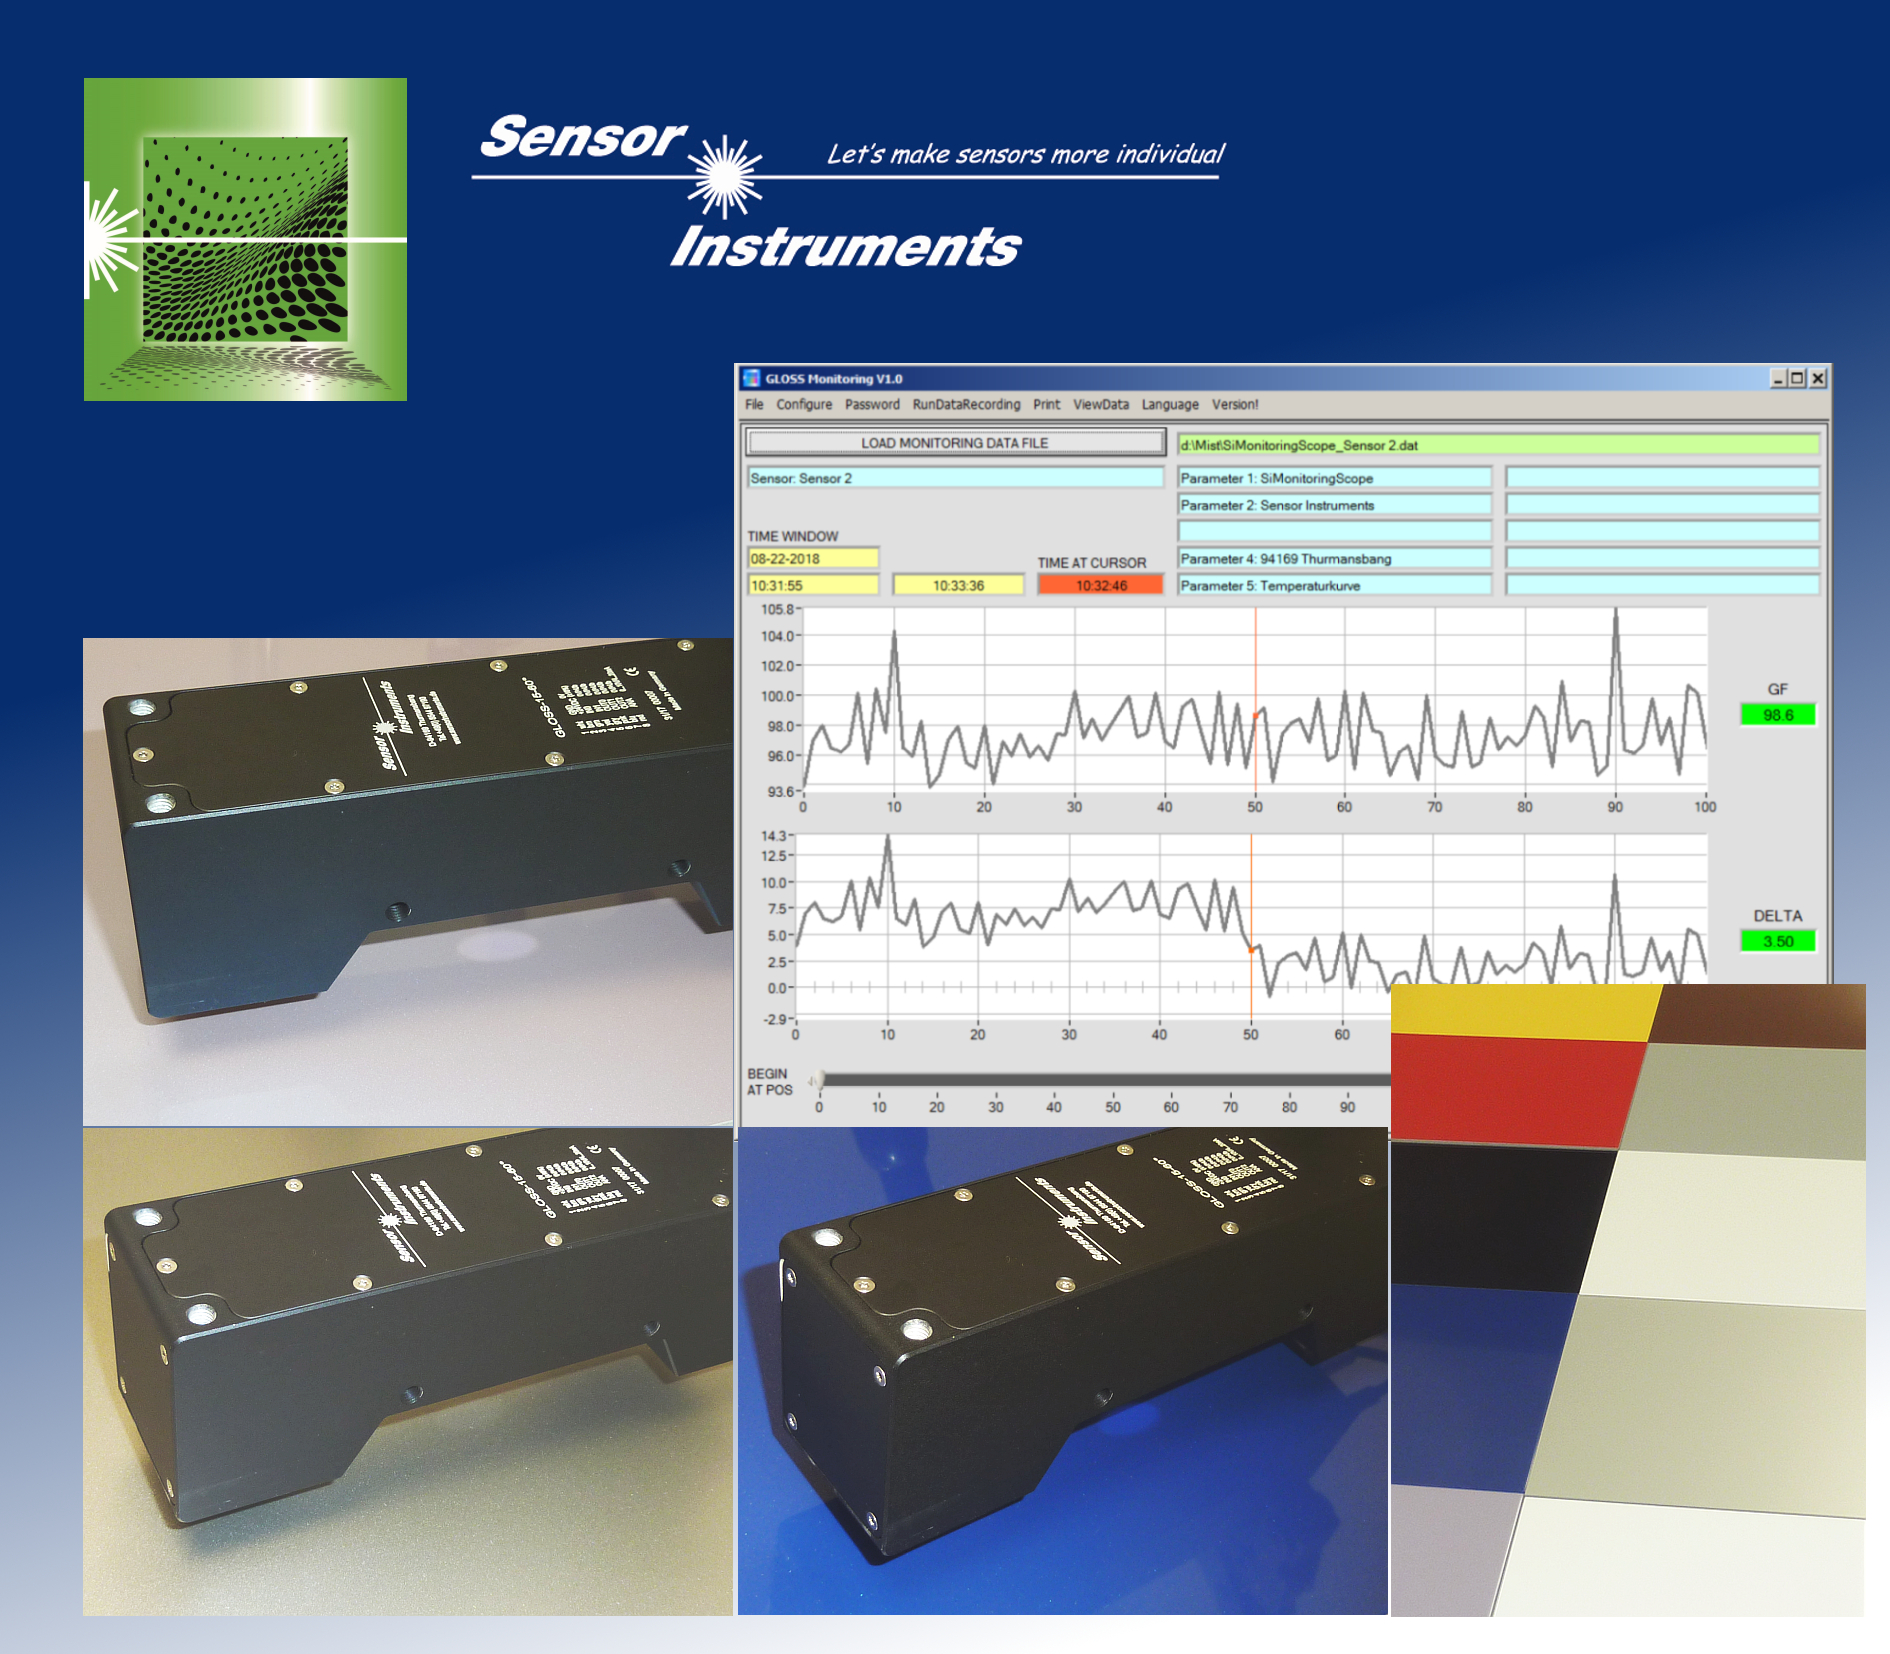 GLOSS-15-60° GLOSS Series |
9 June 2020
The color of metal plates should be measured immediately after the painting process. It must be taken into account here that there are both high-gloss surfaces and very dull surfaces, and that the color value must be determined irrespective of the gloss factor. Furthermore, measurement must be performed inline, on the one hand to satisfy the requirements of 100% inspection, and on the other hand to be able to quickly respond to a possible color drift. The recommended color sensor for this application is a sensor of the SPECTRO-3 series operating with the 45°/0° method (SPECTRO-3-28-45°/0°-MSM-ANA-DL). ► Press release (Word/pdf) |
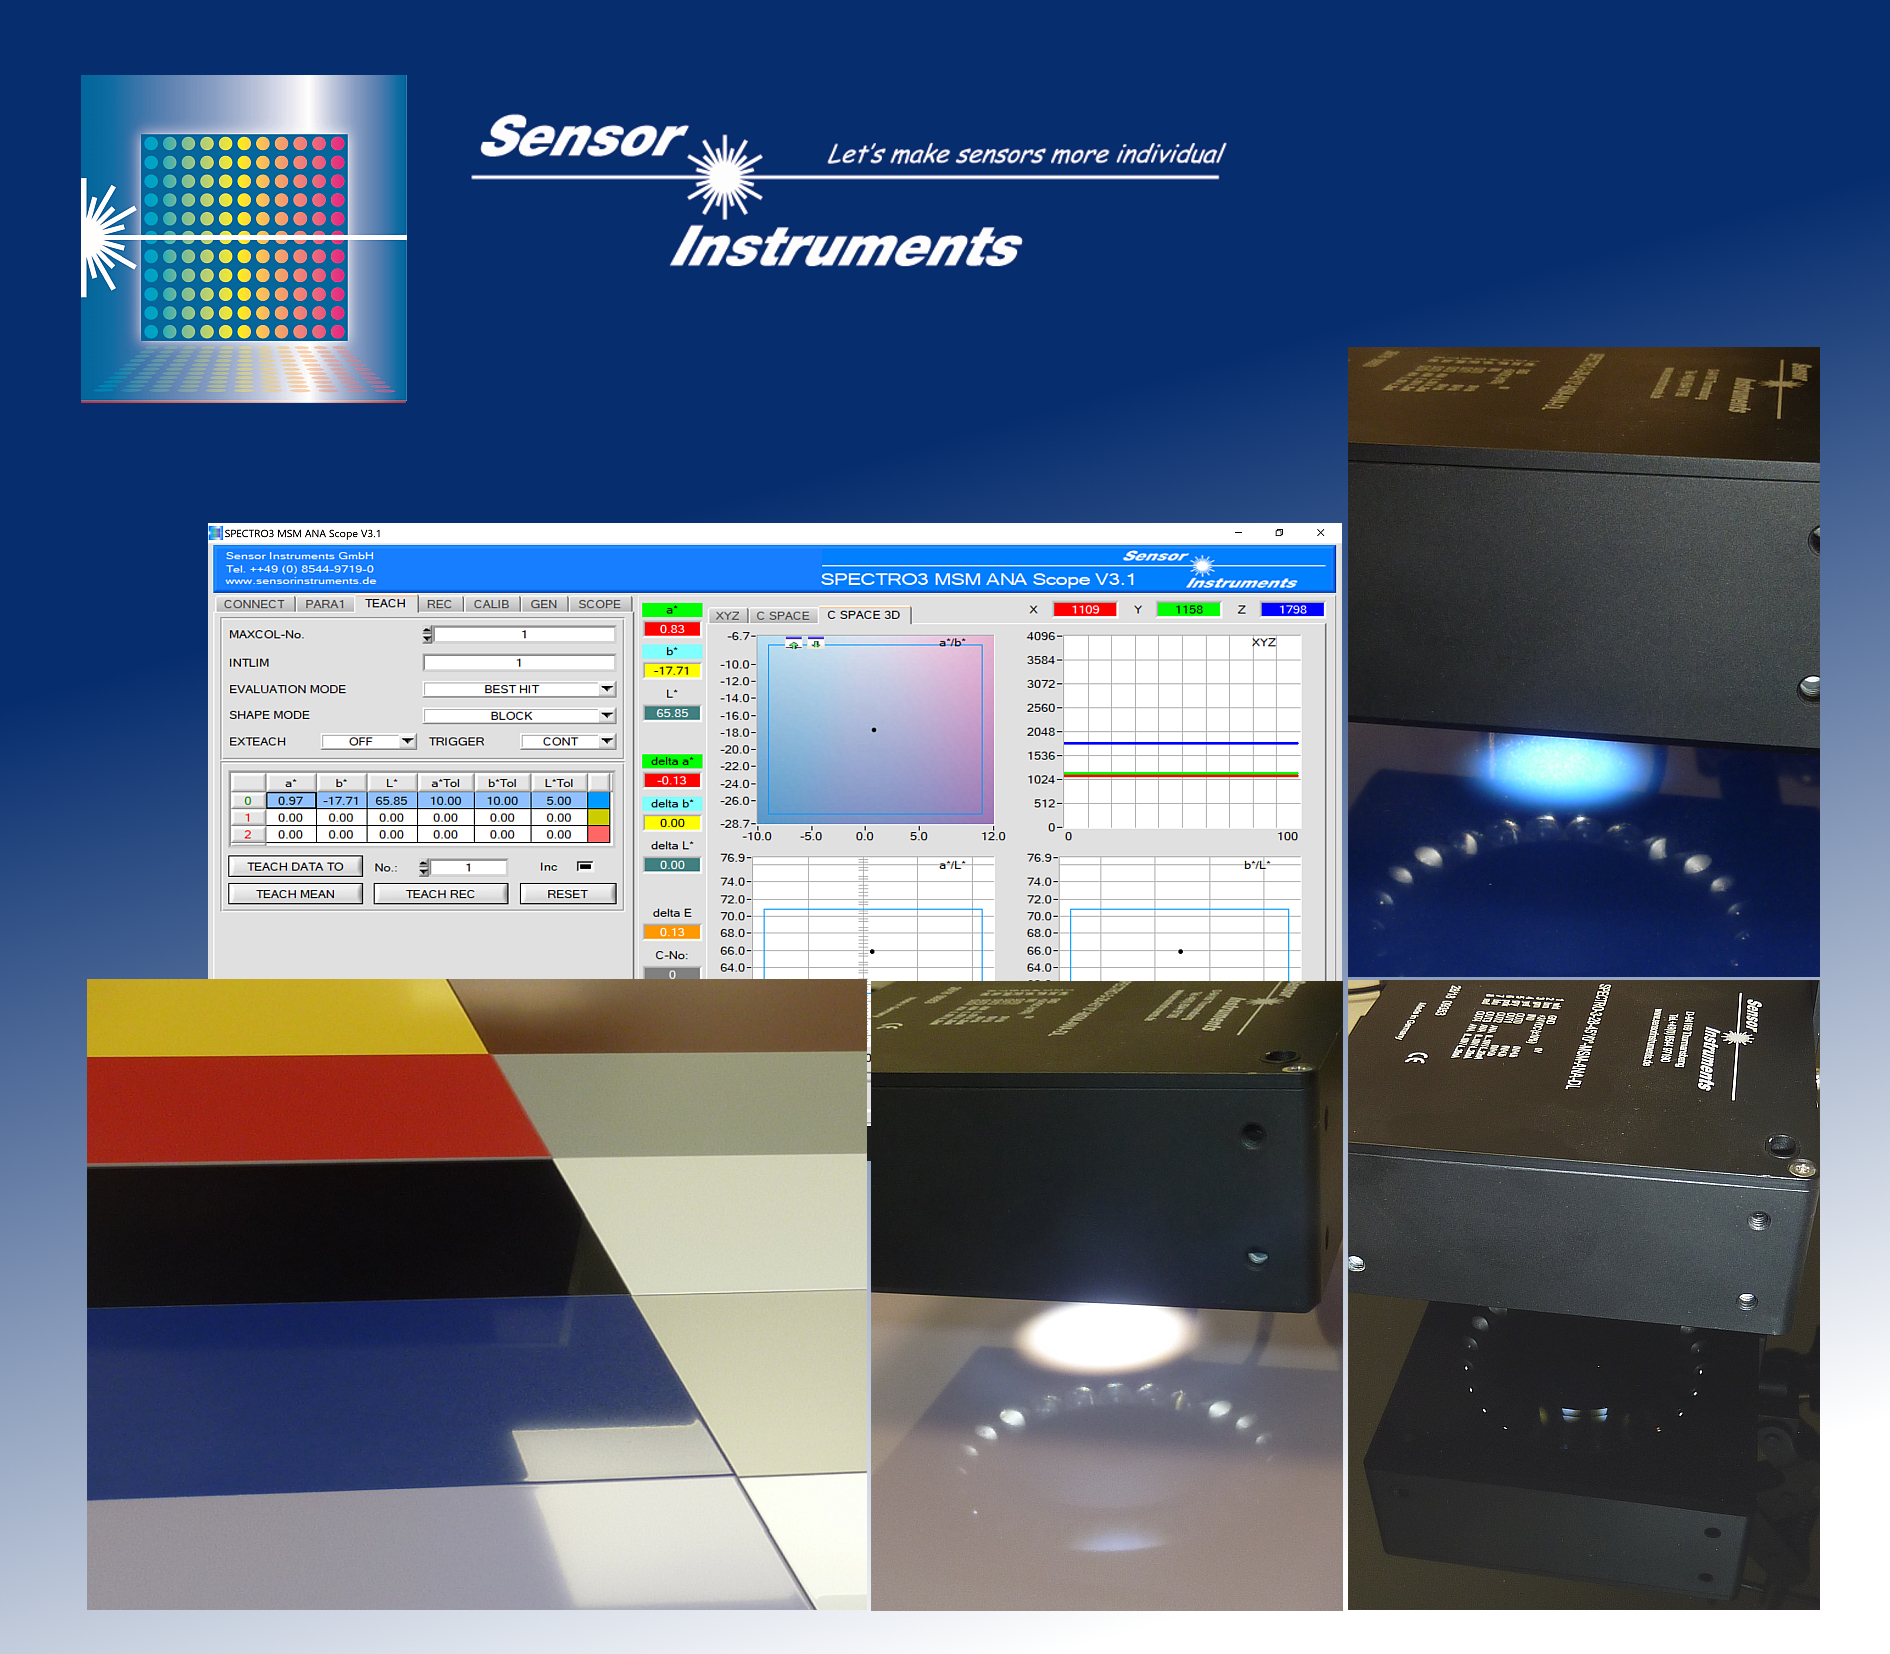 SPECTRO-3-28-45°/0°-MSM-ANA-DL SPECTRO-3-MSM-ANA Series |
26 May 2020
Apart from plastic foils, paper-based foils are more and more used both in the furniture industry and in the flooring sector. Nowadays decor papers for example are available for kitchens, furniture elements, and laminate flooring. However, one requirement applies both to plastic and paper-based decor foils: Constant quality and brilliant appearance must be ensured during production. The inline gloss sensor GLOSS-15-60° that continuously measures the gloss factor of decor foils definitely makes a decisive contribution to achieving this. ► Press release (Word/pdf) |
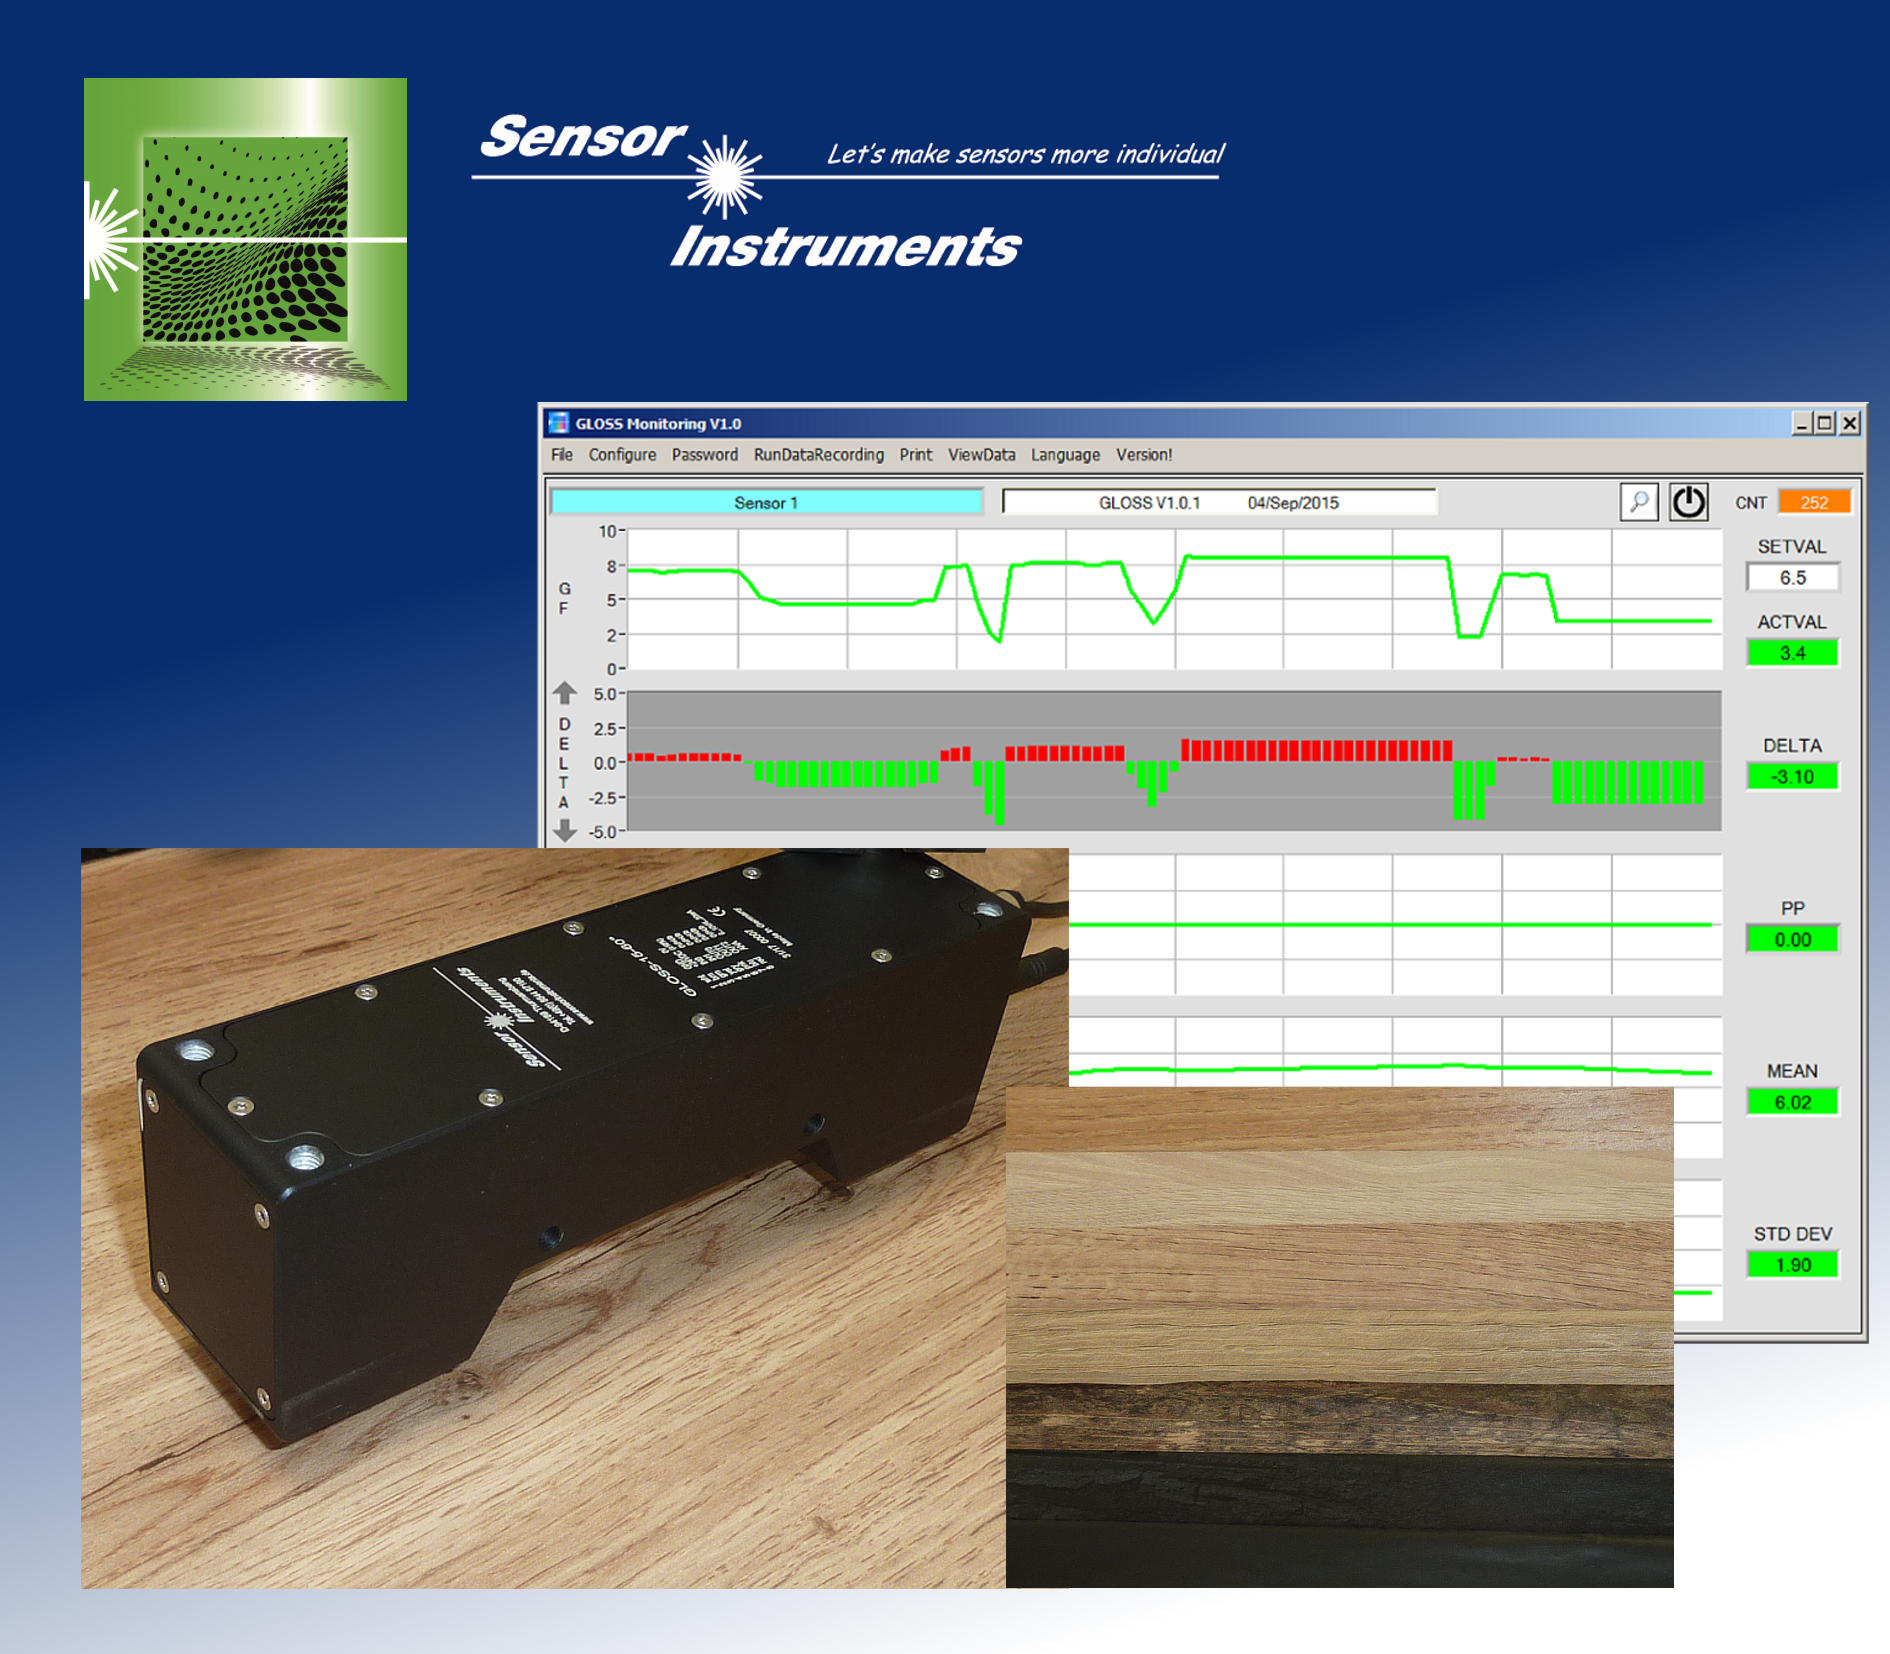 GLOSS-15-60° GLOSS Series |
14 May 2020
In the production of radial and axial fans the checking of the correct frequency response depending on the applied DC voltage is one of the final steps. The easiest method for measuring the frequency is to use a transmitted-light sensor (for example a D-LAS2-d1.0-T + D-LAS2-Q-d1.0-R-HS, featuring a switching frequency of typ. 300kHz). In many cases, however, the fan blades of the respective fan version only can be accessed from one side for testing, so that a reflected-light sensor must be used as an alternative. The edge detectors of the RED series (RED-50-L or RED-110-L) are excellently suited for such applications. ► Press release (Word/pdf) |
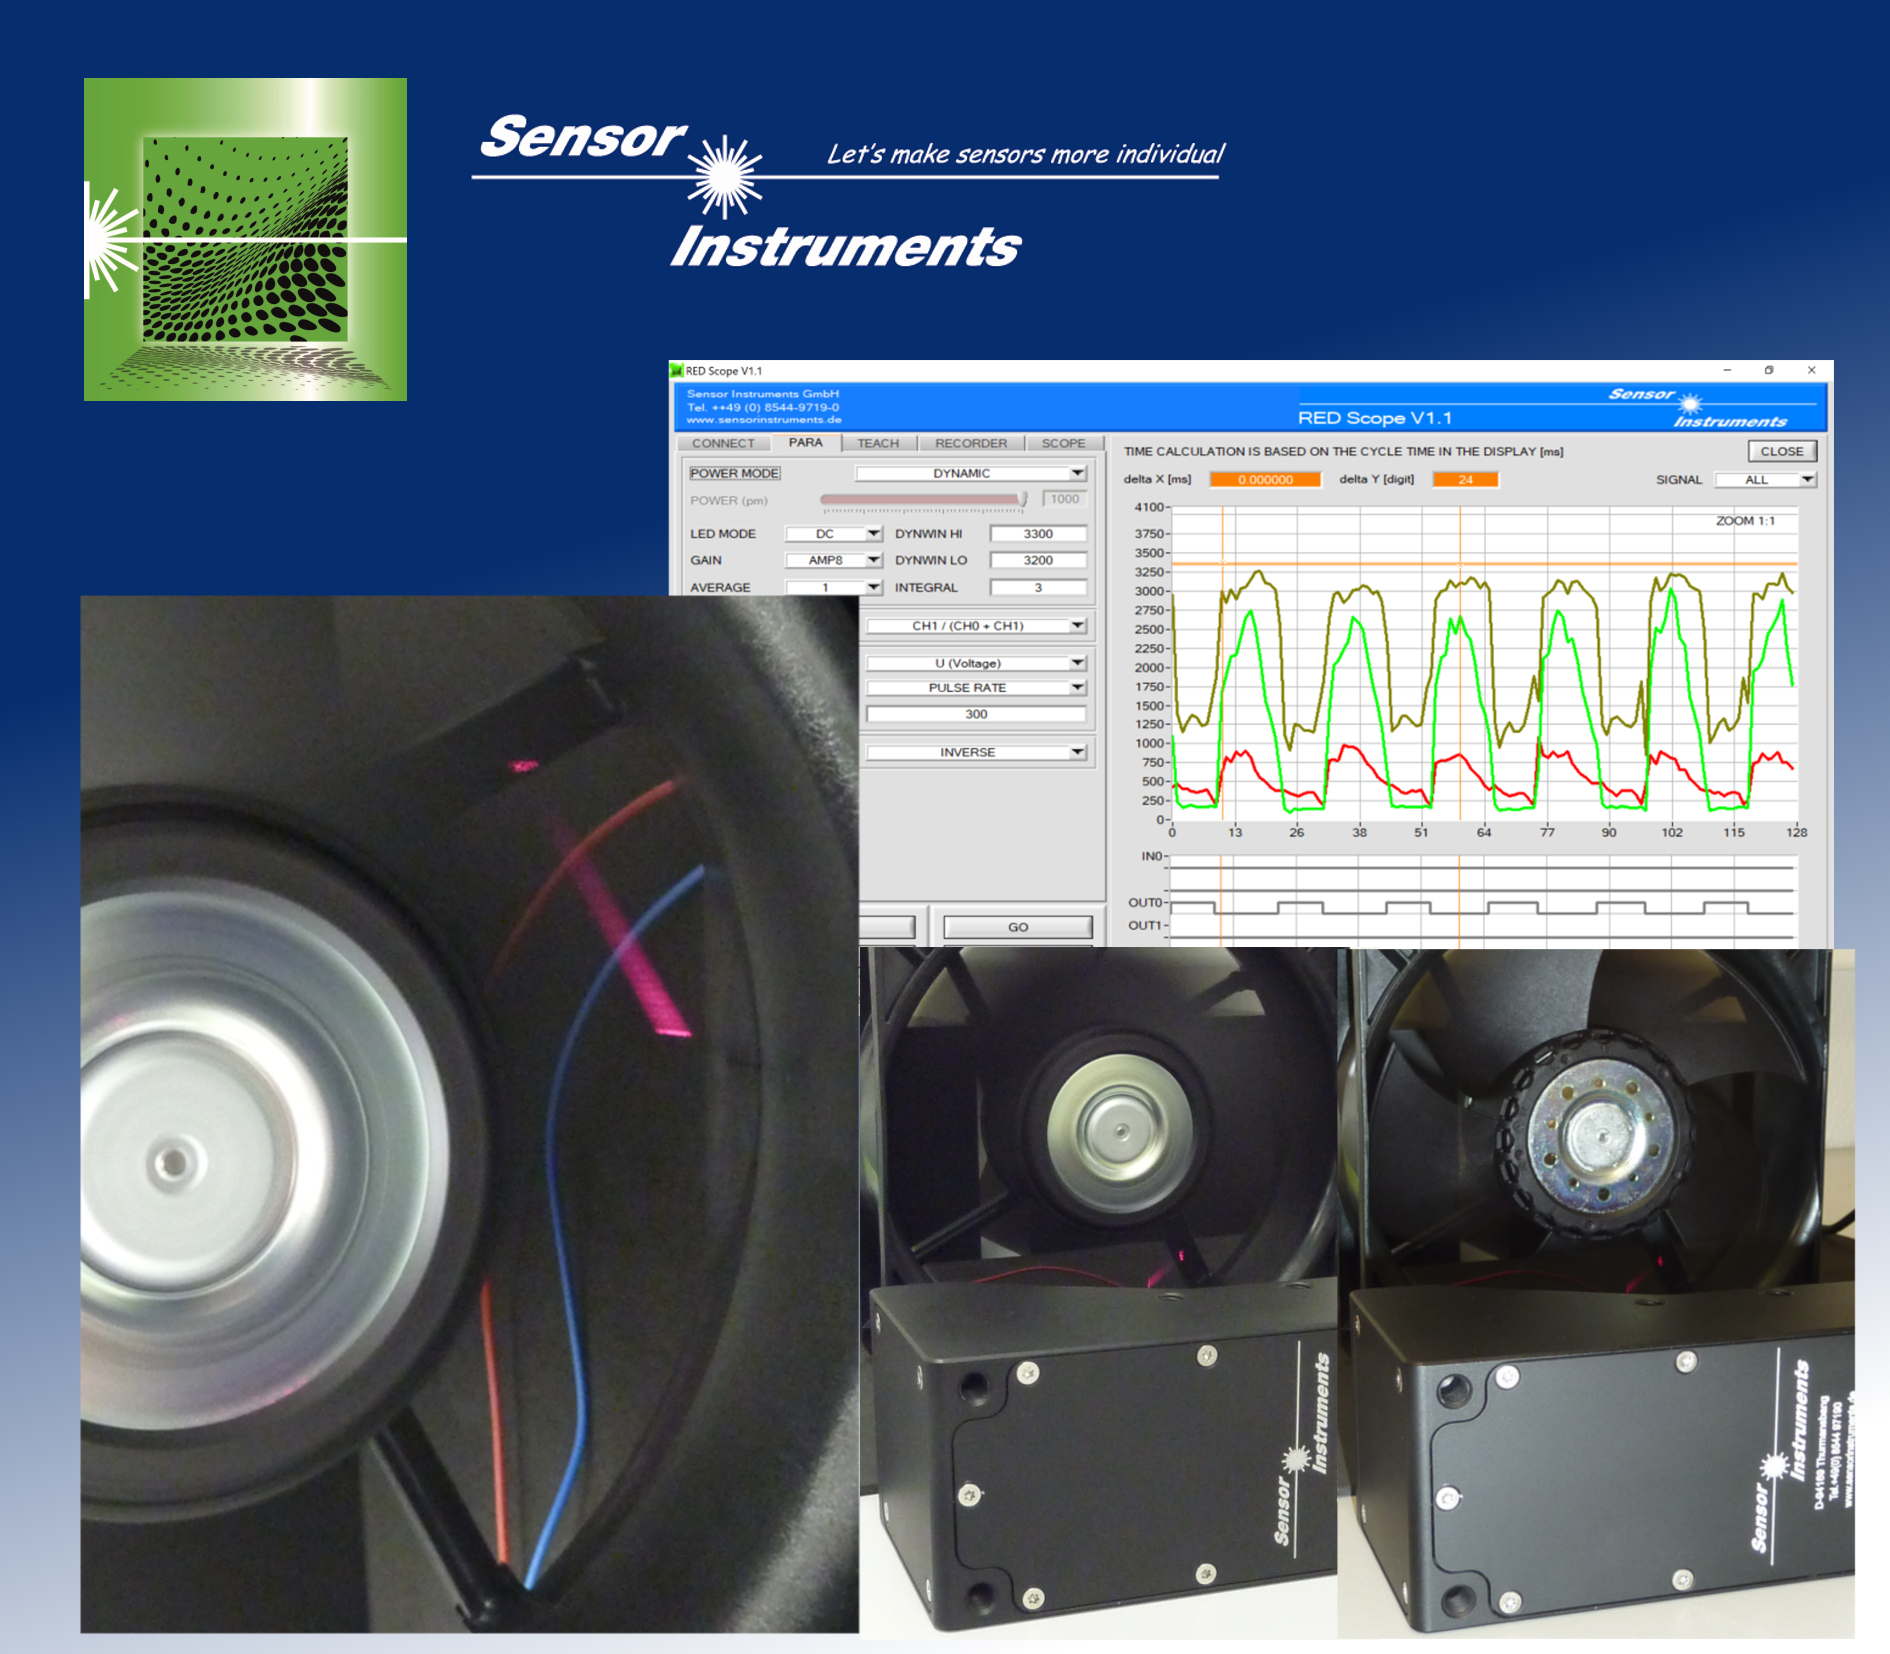 RED-50-L, RED-110-L RED Series |
7 May 2020
A range of initiatives and technical solutions have been developed to improve the sorting of plastics and thereby increasing the recycling quota. A number of procedures use near infra-red procedures to differentiate between the base materials of plastics; others apply codes to enable the sorting and traceability of plastic packaging. Sensor Instruments and GABRIEL-CHEMIE have combined to develop a new technology which integrates a machine-readable signature in a range of plastic materials. ► Press release (Word/pdf) |
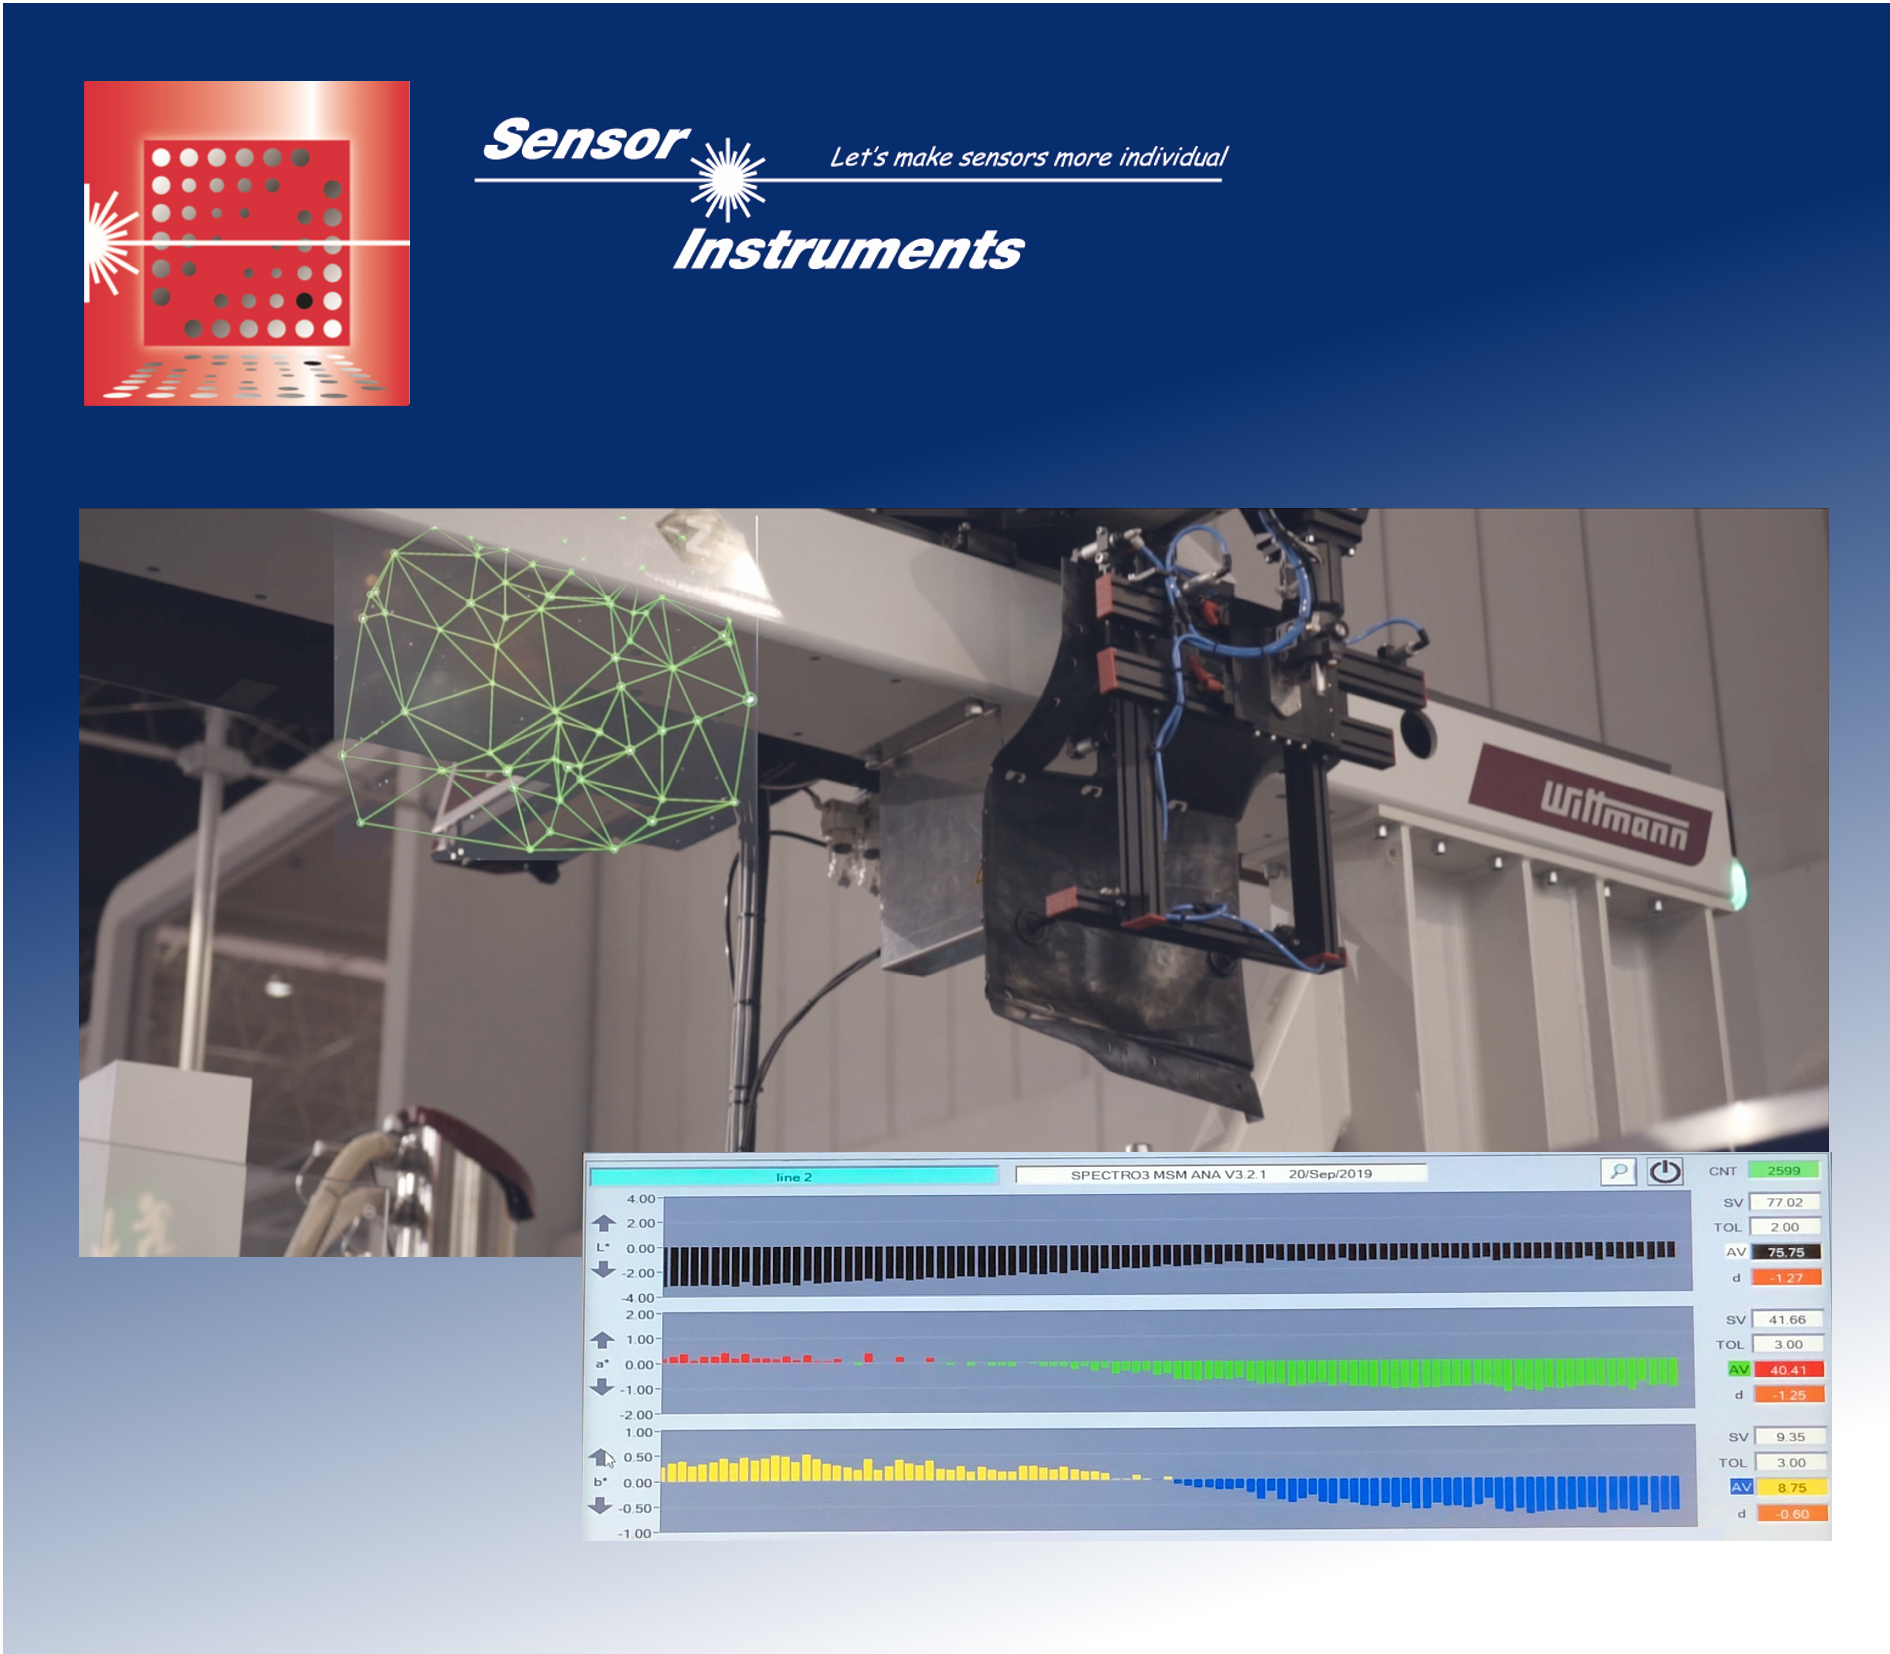 Marking and precise authenthication of plastic products Taggant Technology TAGTEC |
7 April 2020
In the production of aluminium flex-pipes the decisive factor is not really the measured length of the flex-pipes but rather the number of existing folds, because due to the material's "accordion effect" the actual length cannot be accurately measured. In this application an edge detector of the RED series (e.g. RED-50-L or RED-110-L) is used to count the folds. During edge counting the aluminium flex-pipe is moved along the laser sensor. The sensor provides a digital output signal for every edge. ► Press release (Word/pdf) |
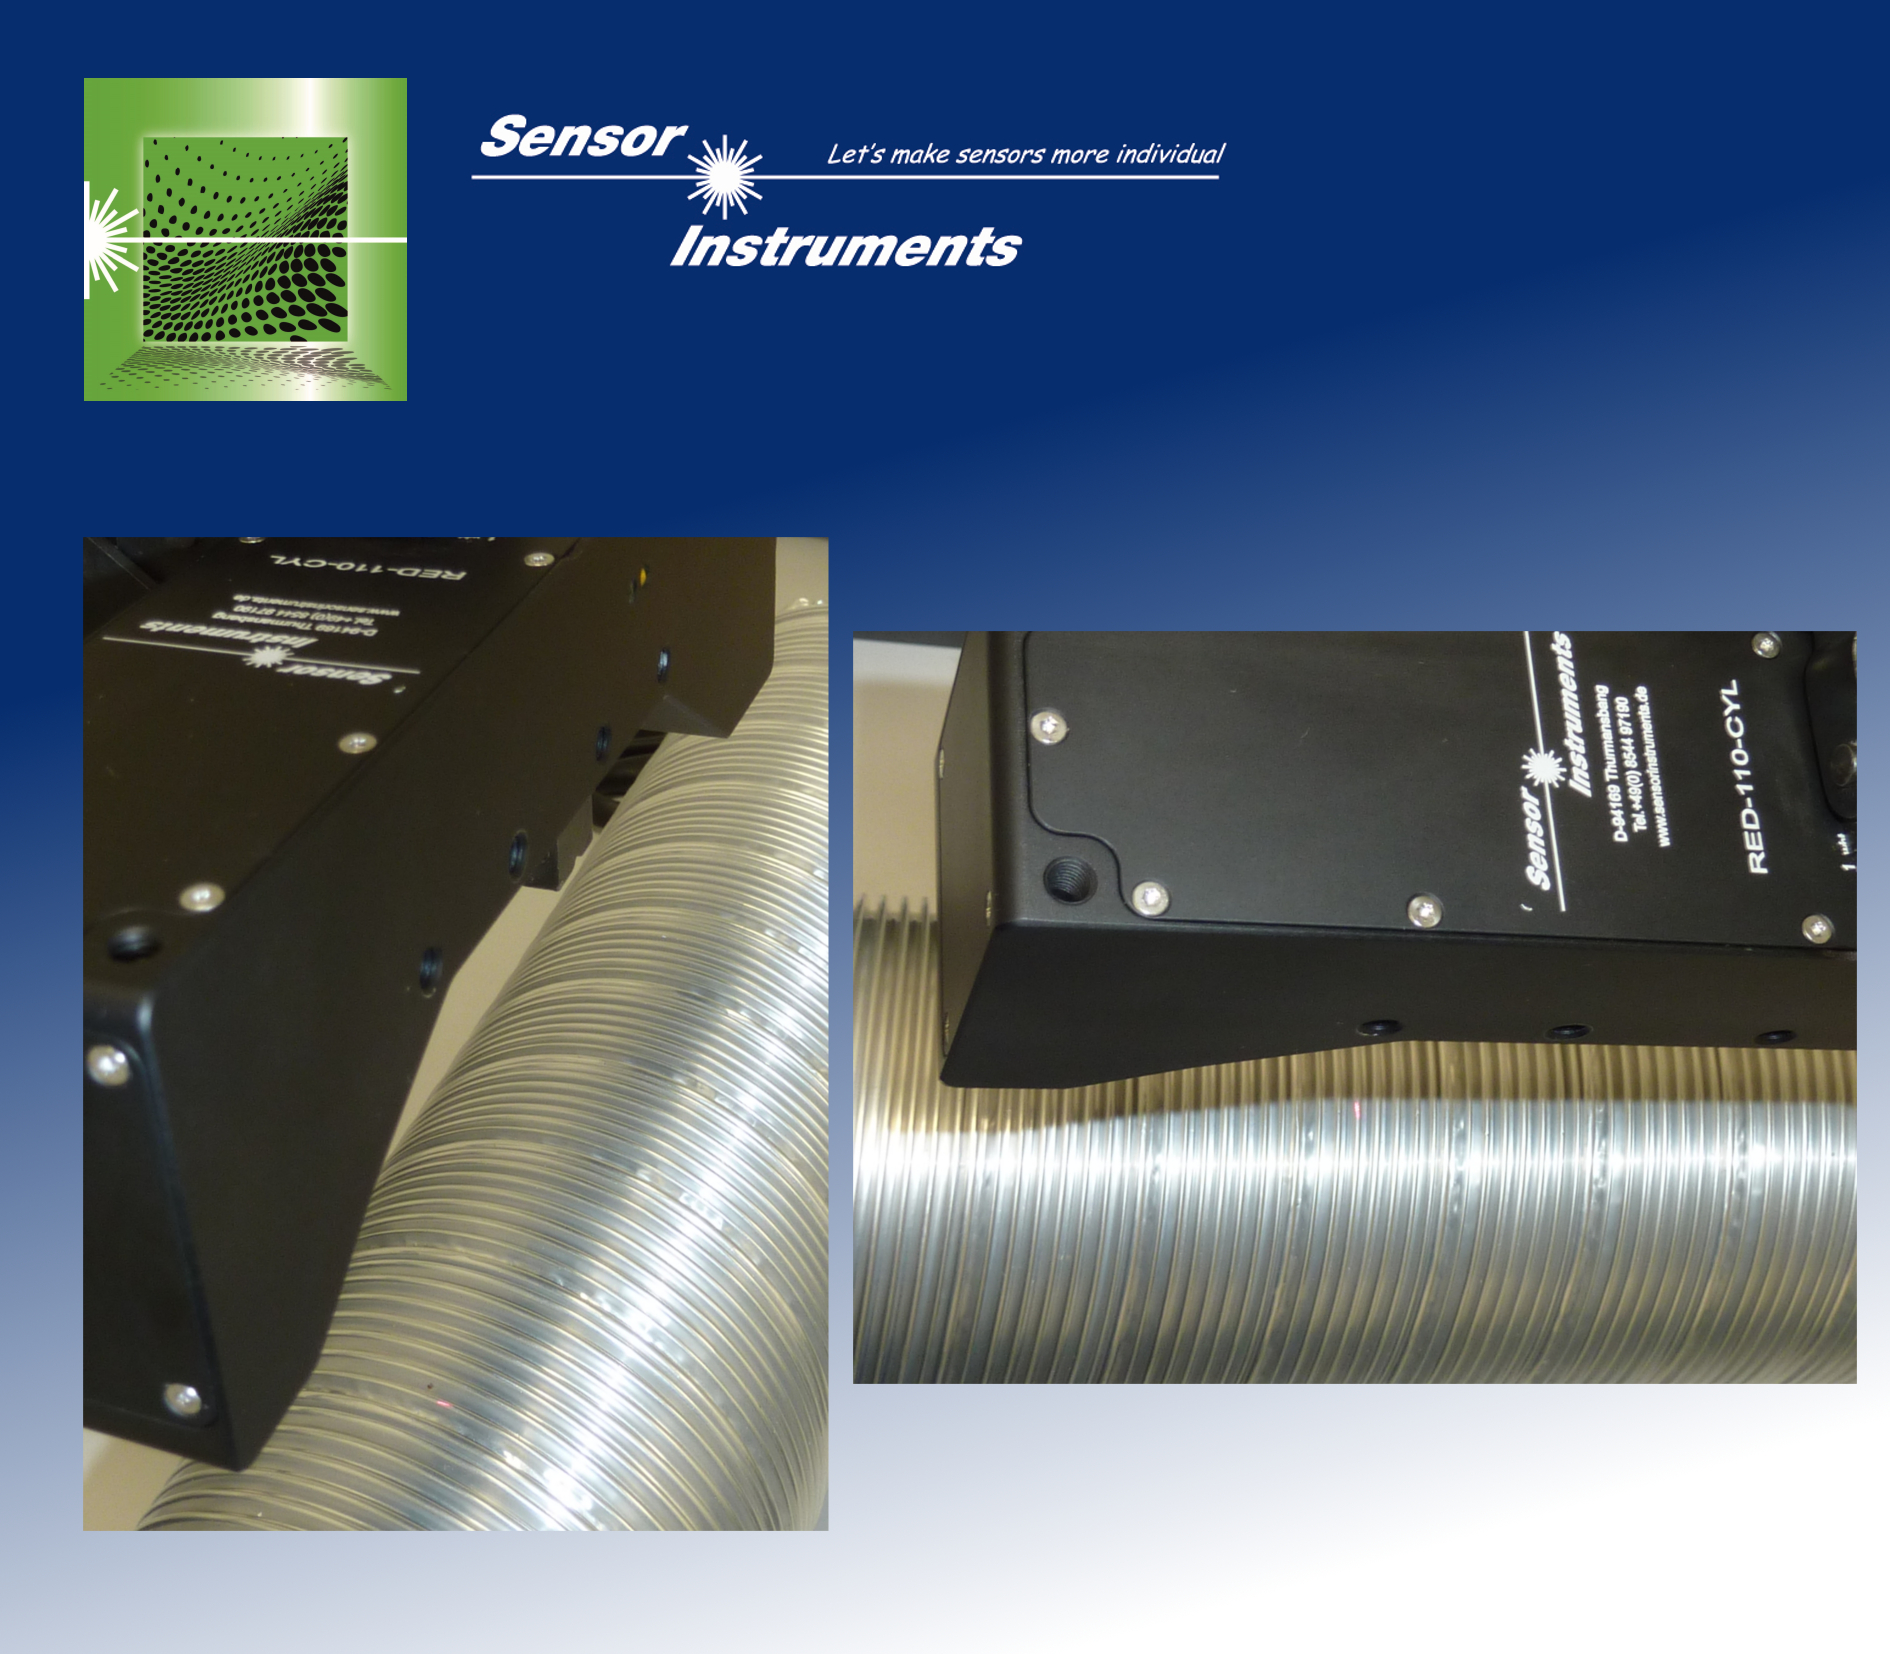 RED-50-L, RED-110-L RED Series |
23 March 2020
The task is to measure the frequency of compressor wheels that are used in turbochargers. These wheels may reach speeds of up to 300,000 revolutions per minute. Usually these compressor wheels have about 10 blades and are made of milled aluminum. If the frequency of these compressor wheels should be determined optically it must be taken into consideration that every blade causes a signal change - which means that up to 3,000,000 switching processes must be expected per minute, resulting in a frequency of approx. 50 kHz (of the blades). Even an edge detector of type RED-50-P or RED-110-P with its maximum scan frequency of typ. 100 kHz will work up quite a "sweat" here. ► Press release (Word/pdf) |
.jpg) RED-50-P, RED-110-P RED Series |
9 March 2020
In the production of sandpaper it must be ensured that the grain size of the abrasive material (e.g. aluminum oxide or silicon carbide) always lies within the permitted tolerance range. Previously performed laboratory tests showed that the gloss factor of the sandpaper surface correlates quite well with the grain size: The smaller the grain size, the higher the corresponding gloss factor. ► Press release (Word/pdf) |
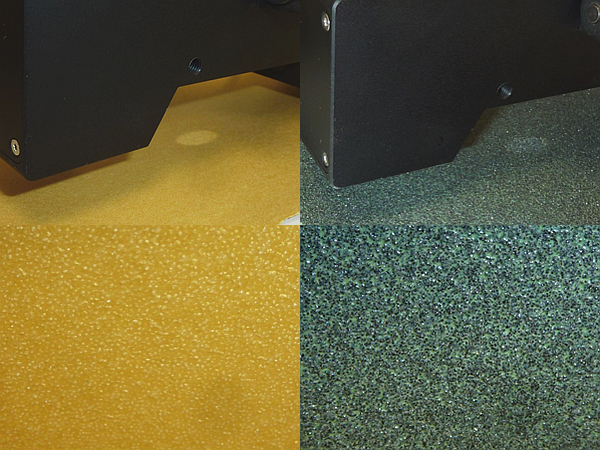 GLOSS-5-85°, GLOSS-15-60° GLOSS Series |
4 March 2020
Plastic wires with various thicknesses, colors, forms and surface properties are used for a range of different purposes. Examples include tennis rackets with polyester monofilaments; the triangular profile of the racket strings produces greater spin. Flat material is most suitable for the monofilaments used in the production of large plastic bags (big bags). Transport filter belts used in the wet areas of paper production are made of round plastic monofilaments; the plastic wires used in toothbrushes have abrasive material added to them. Plastic monofilaments are now also used in 3-D printing procedures. This process also uses round wires with various diameters. In addition to the form, color consistency is decisive, as color deviations in plastics are often interpreted as quality inconsistencies. Woven products such as plastic sieves, big bags and tennis rackets are especially prone to this phenomenon as even very small color nuances (usually from a color difference of dE=1) are perceptible. Manufacturers need to inspect the color of the monofilaments during production, i.e. inline. The object size, form and gloss of the plastic monofilaments have previously impeded the use of inline color measuring devices, especially as a color deviation of > dE = 0.7 needs to be detected reliably. ► Press release (Word/pdf) |
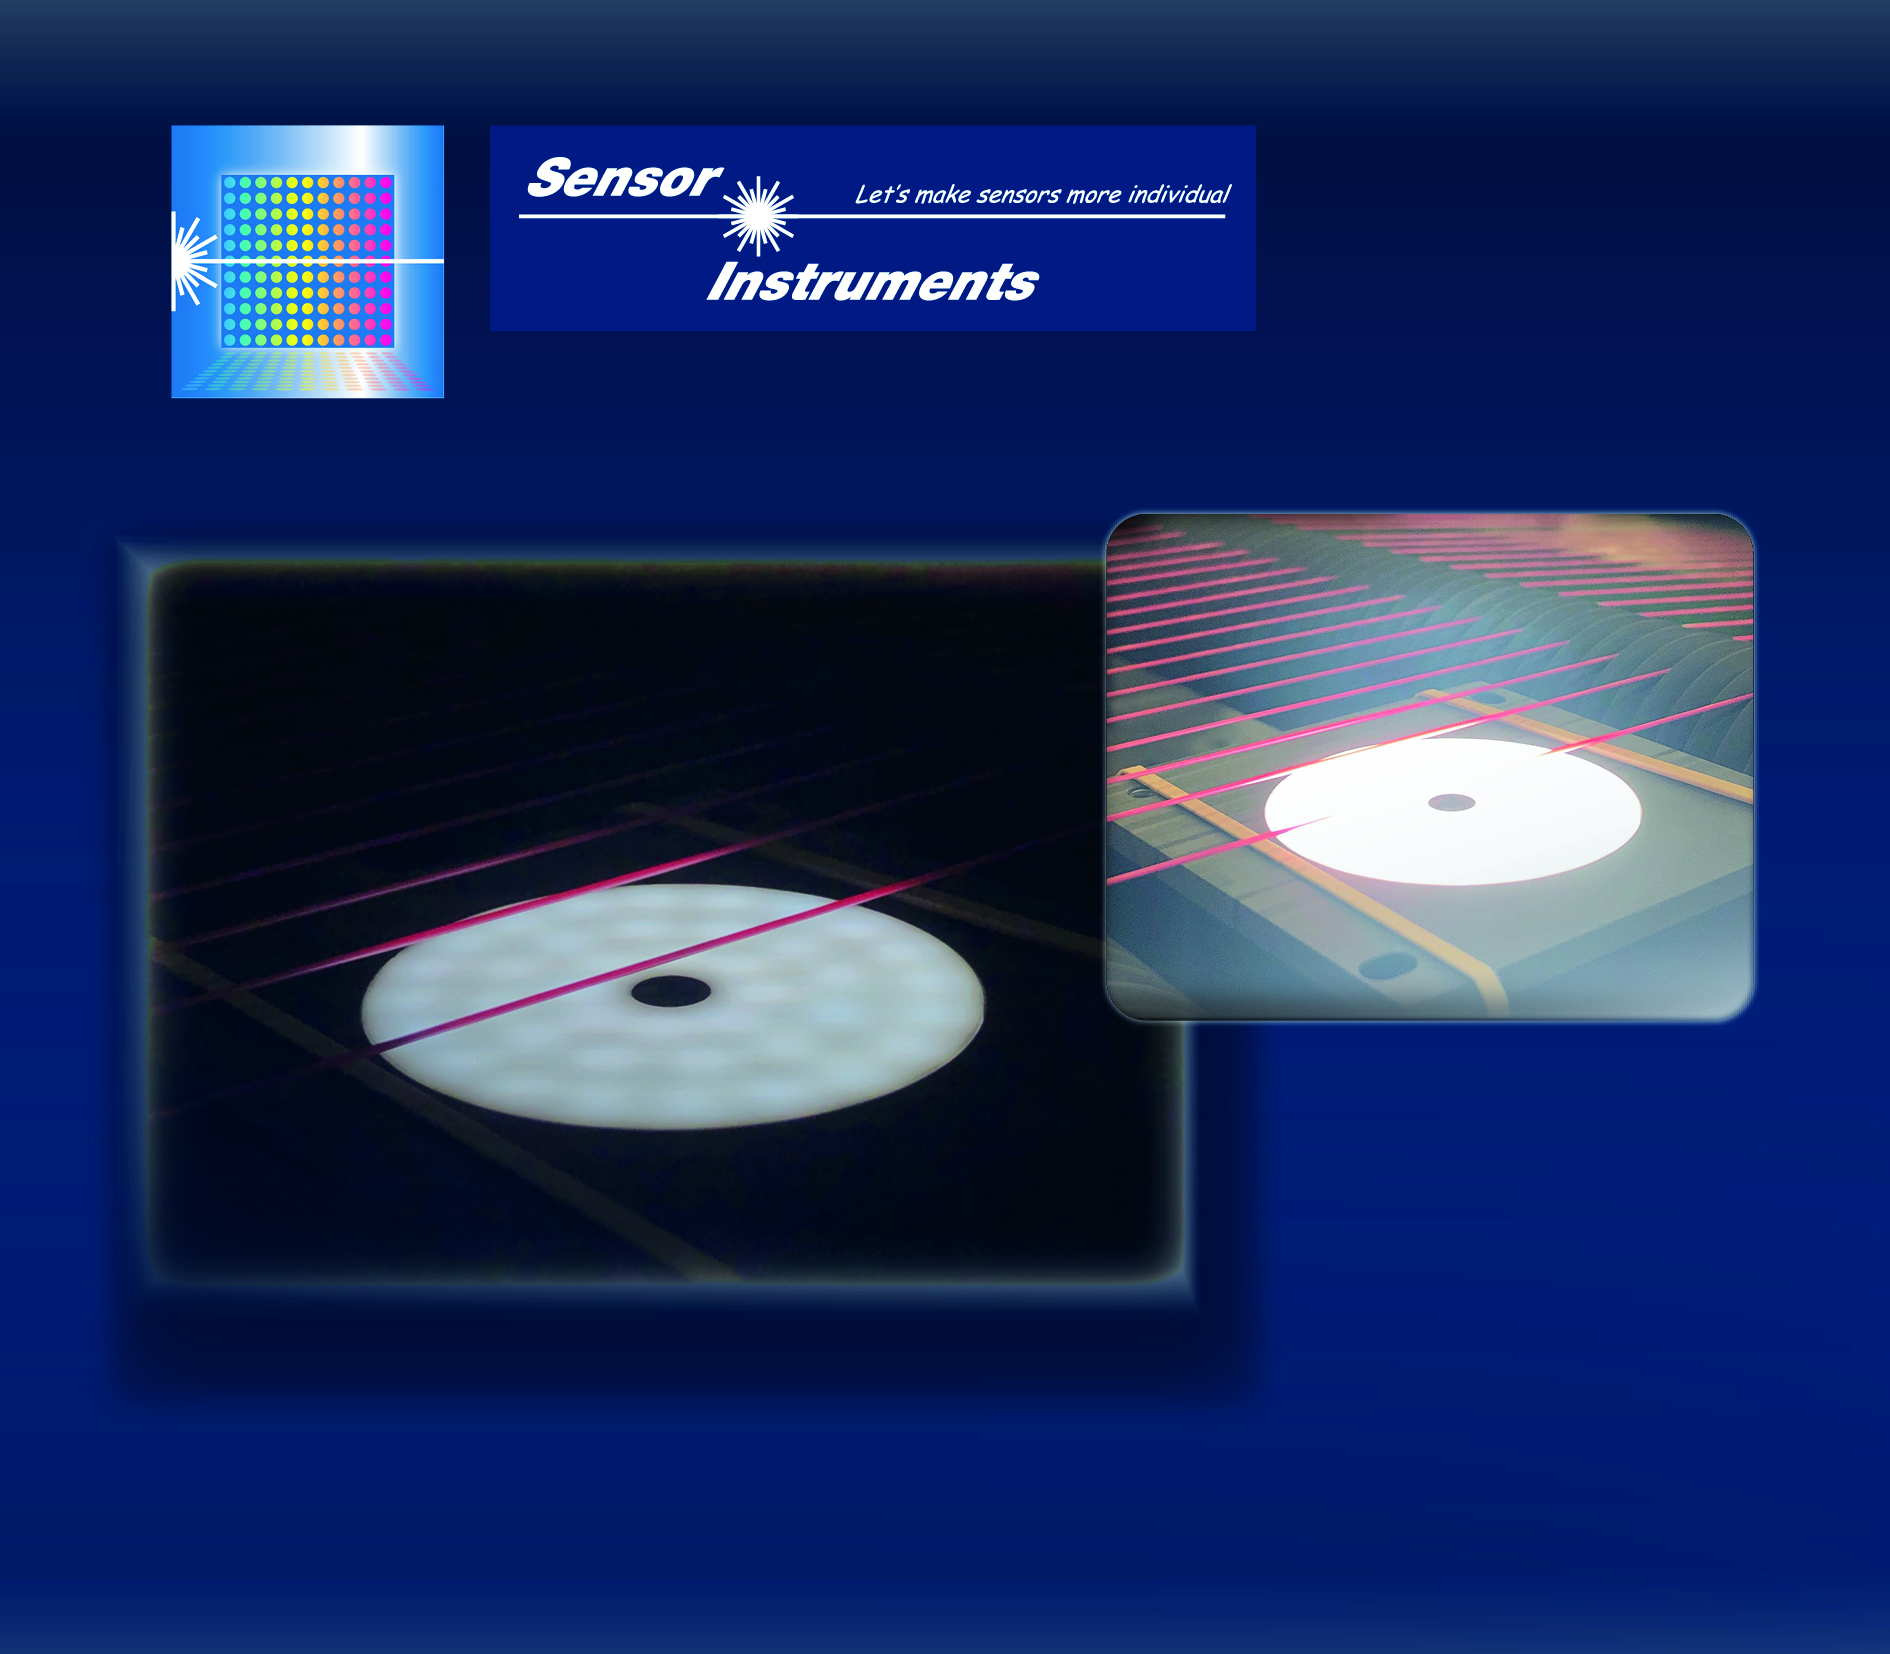 SPECTRO-3-12-DIF-MSM-ANA-DL SPECTRO-3-MSM-ANA Series |
27 February 2020
In the production of cables or of high-voltage lines the individual insulated conductors or aluminium wires must be stranded, which in practice is performed by stranding machines. In this process the individual conductors or wires are wound around a core wire. The core wire with relative ease can be inspected for possible wire breaks by using a suitable laser light barrier operating with the transmitted-light method. An inspection of the outer conductors or outer wires can be realised with a correspondingly adapted edge detector of the RED series (RED-110-P-F60). ► Press release (Word/pdf) |
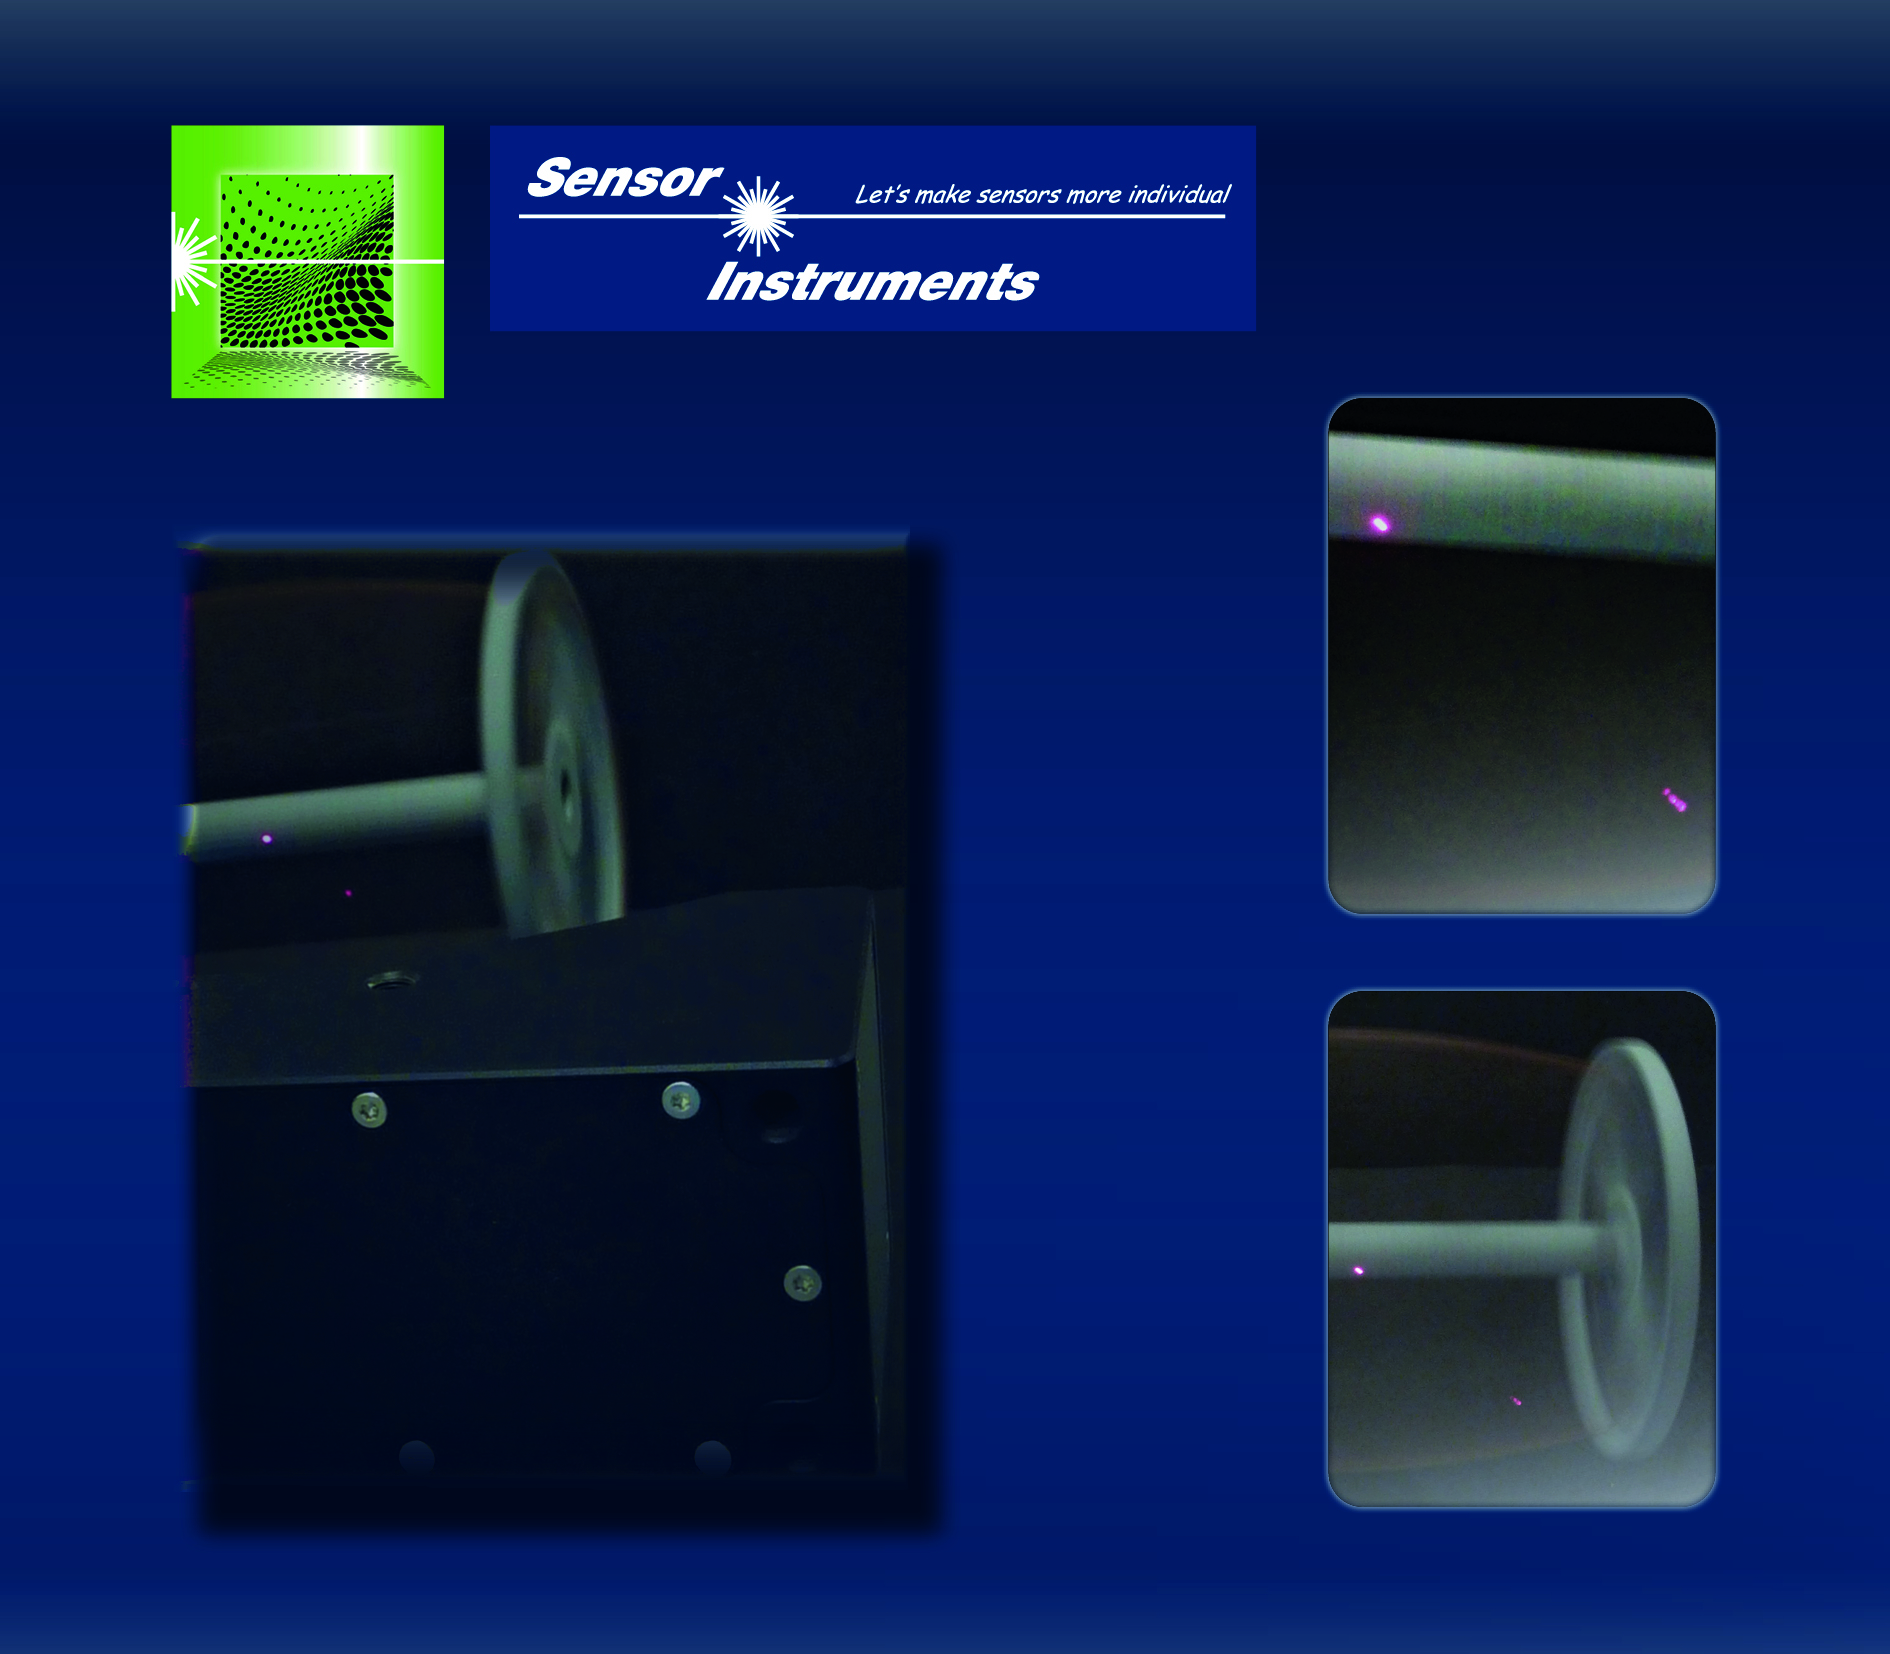 RED-110-P-F60 RED Series |
4 February 2020
Some aspects of technology very well can be compared to real life: The direction is not always up or down. After a "down" there often is an "up" again, and this also applies to edges: As a rule a rising edge is followed by a falling edge, and vice versa. In the series of edge detectors the RED-60-CLS-L and the RED-60-CLS-P now allow the detection of rising and falling edges. ► Press release (Word/pdf) |
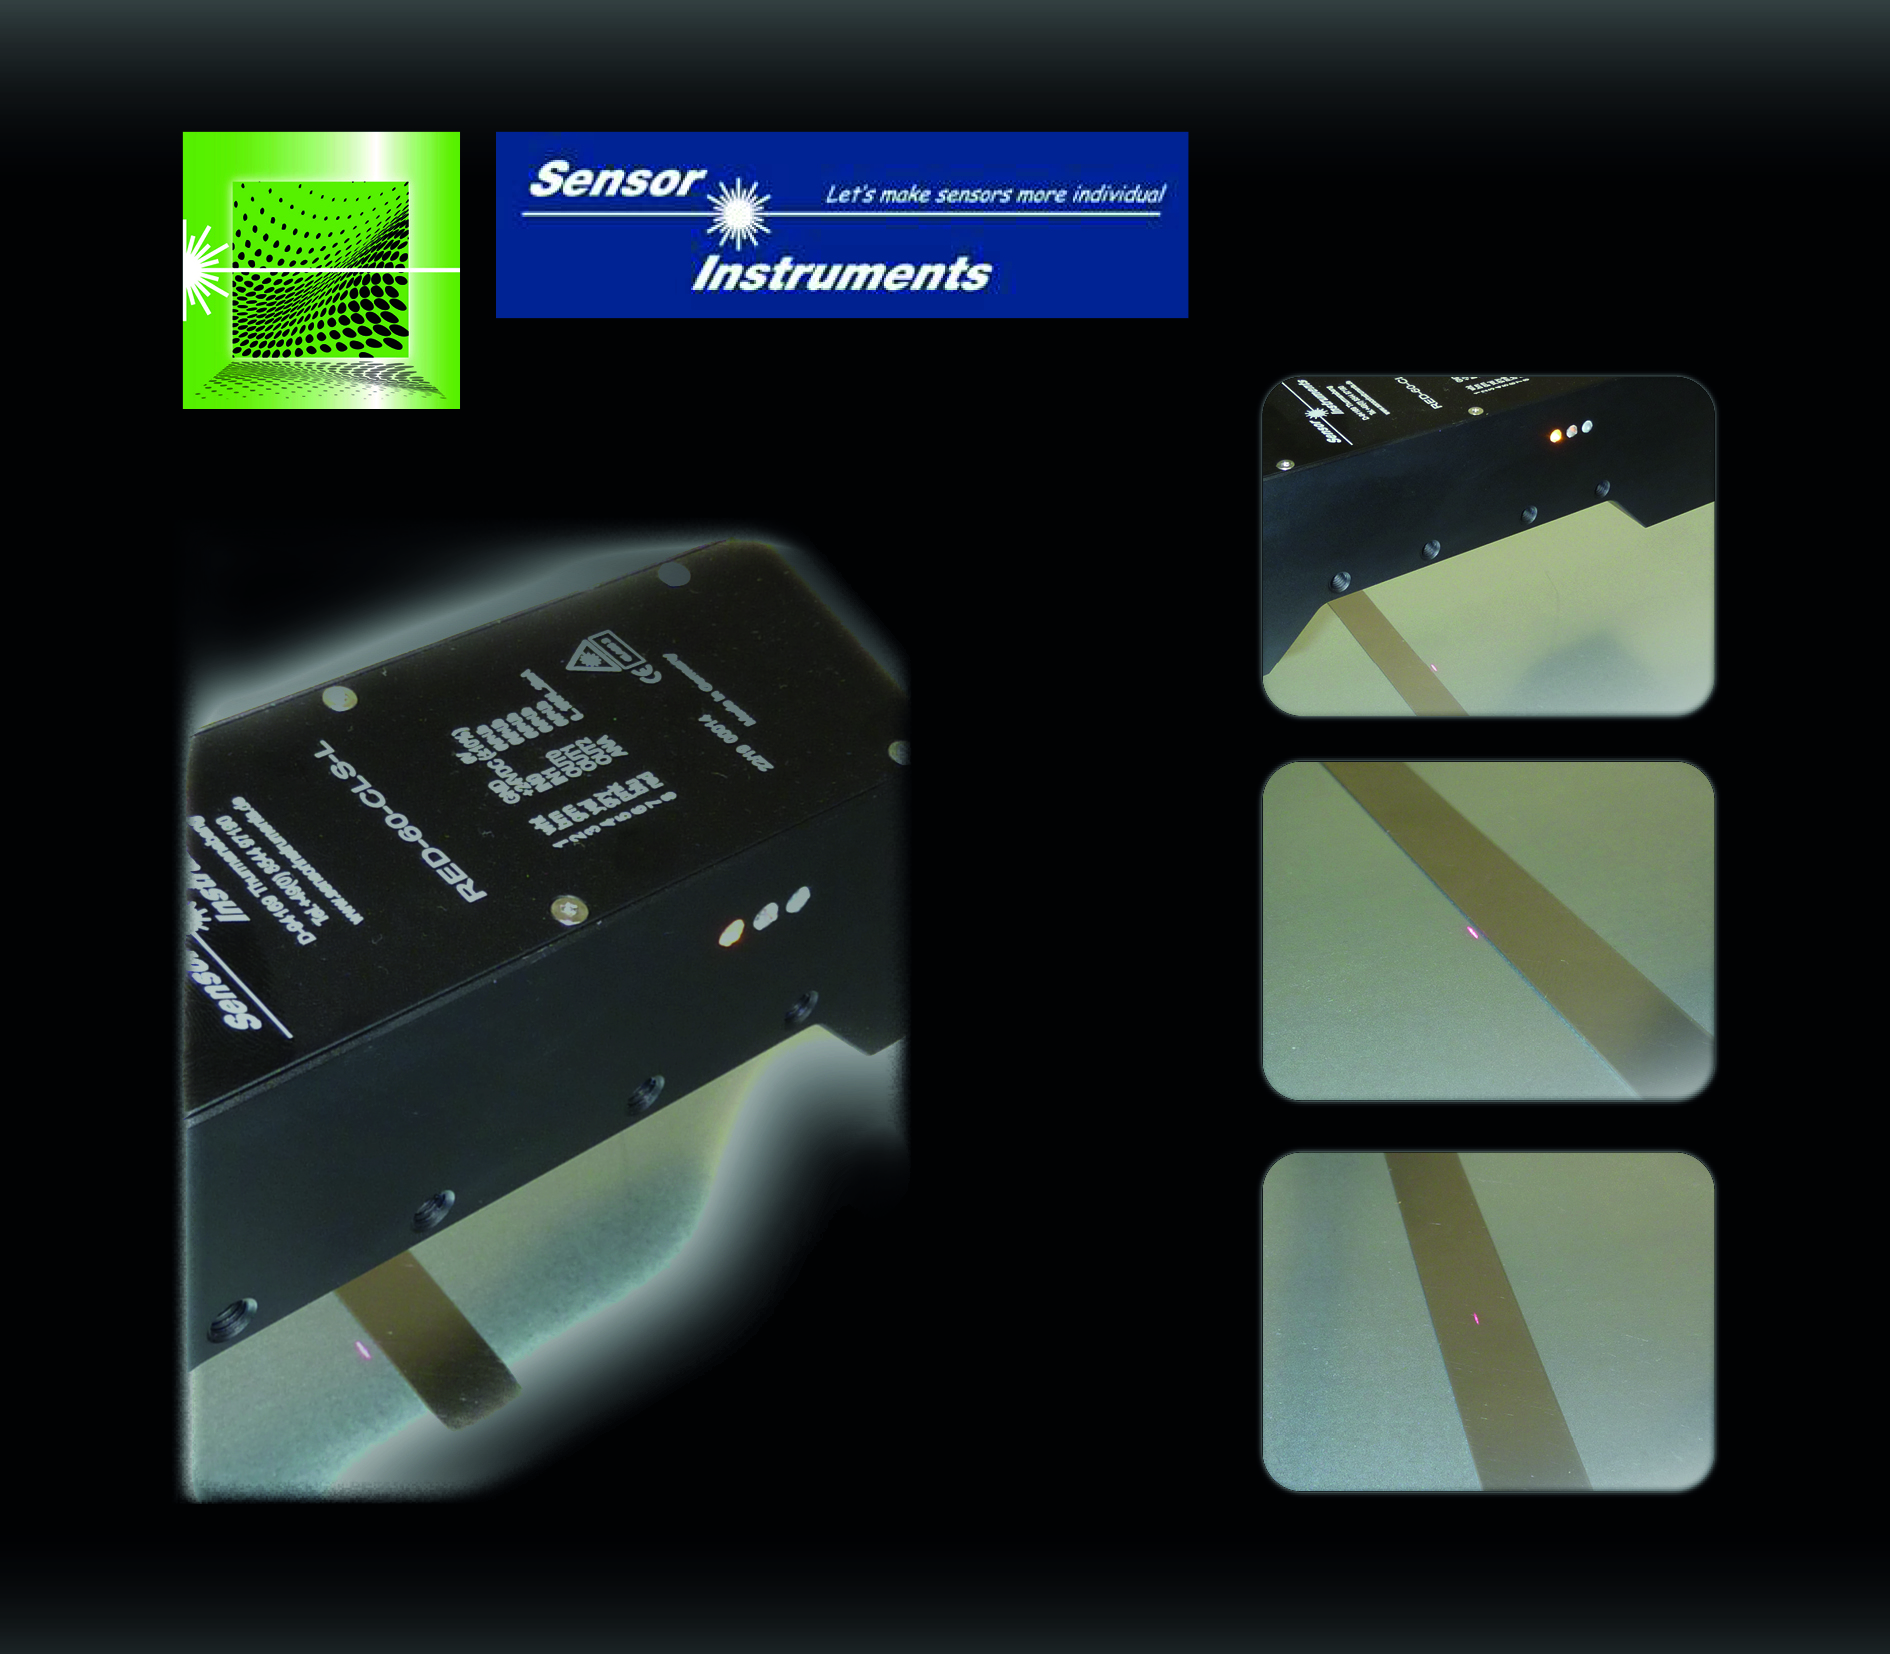 RED-60-CLS-L, RED-60-CLS-P RED Series |
7 November 2019
Light Guide Rods More and more cars today are equipped with light guide rods in their interior, the so-called ambiance area, for example in door panels, dashboard, center console, and roof lining. Through semi-transparent flat strips these light guide rods guide the light into the interior of the car. Any inhomogeneity in the light guide rod would influence the scattering behaviour of the output light. When driving in the dark, a passenger in the car interior would notice this as a bright or dark position along the light strip and would be disturbed by it. ► Press release (Word/pdf) |
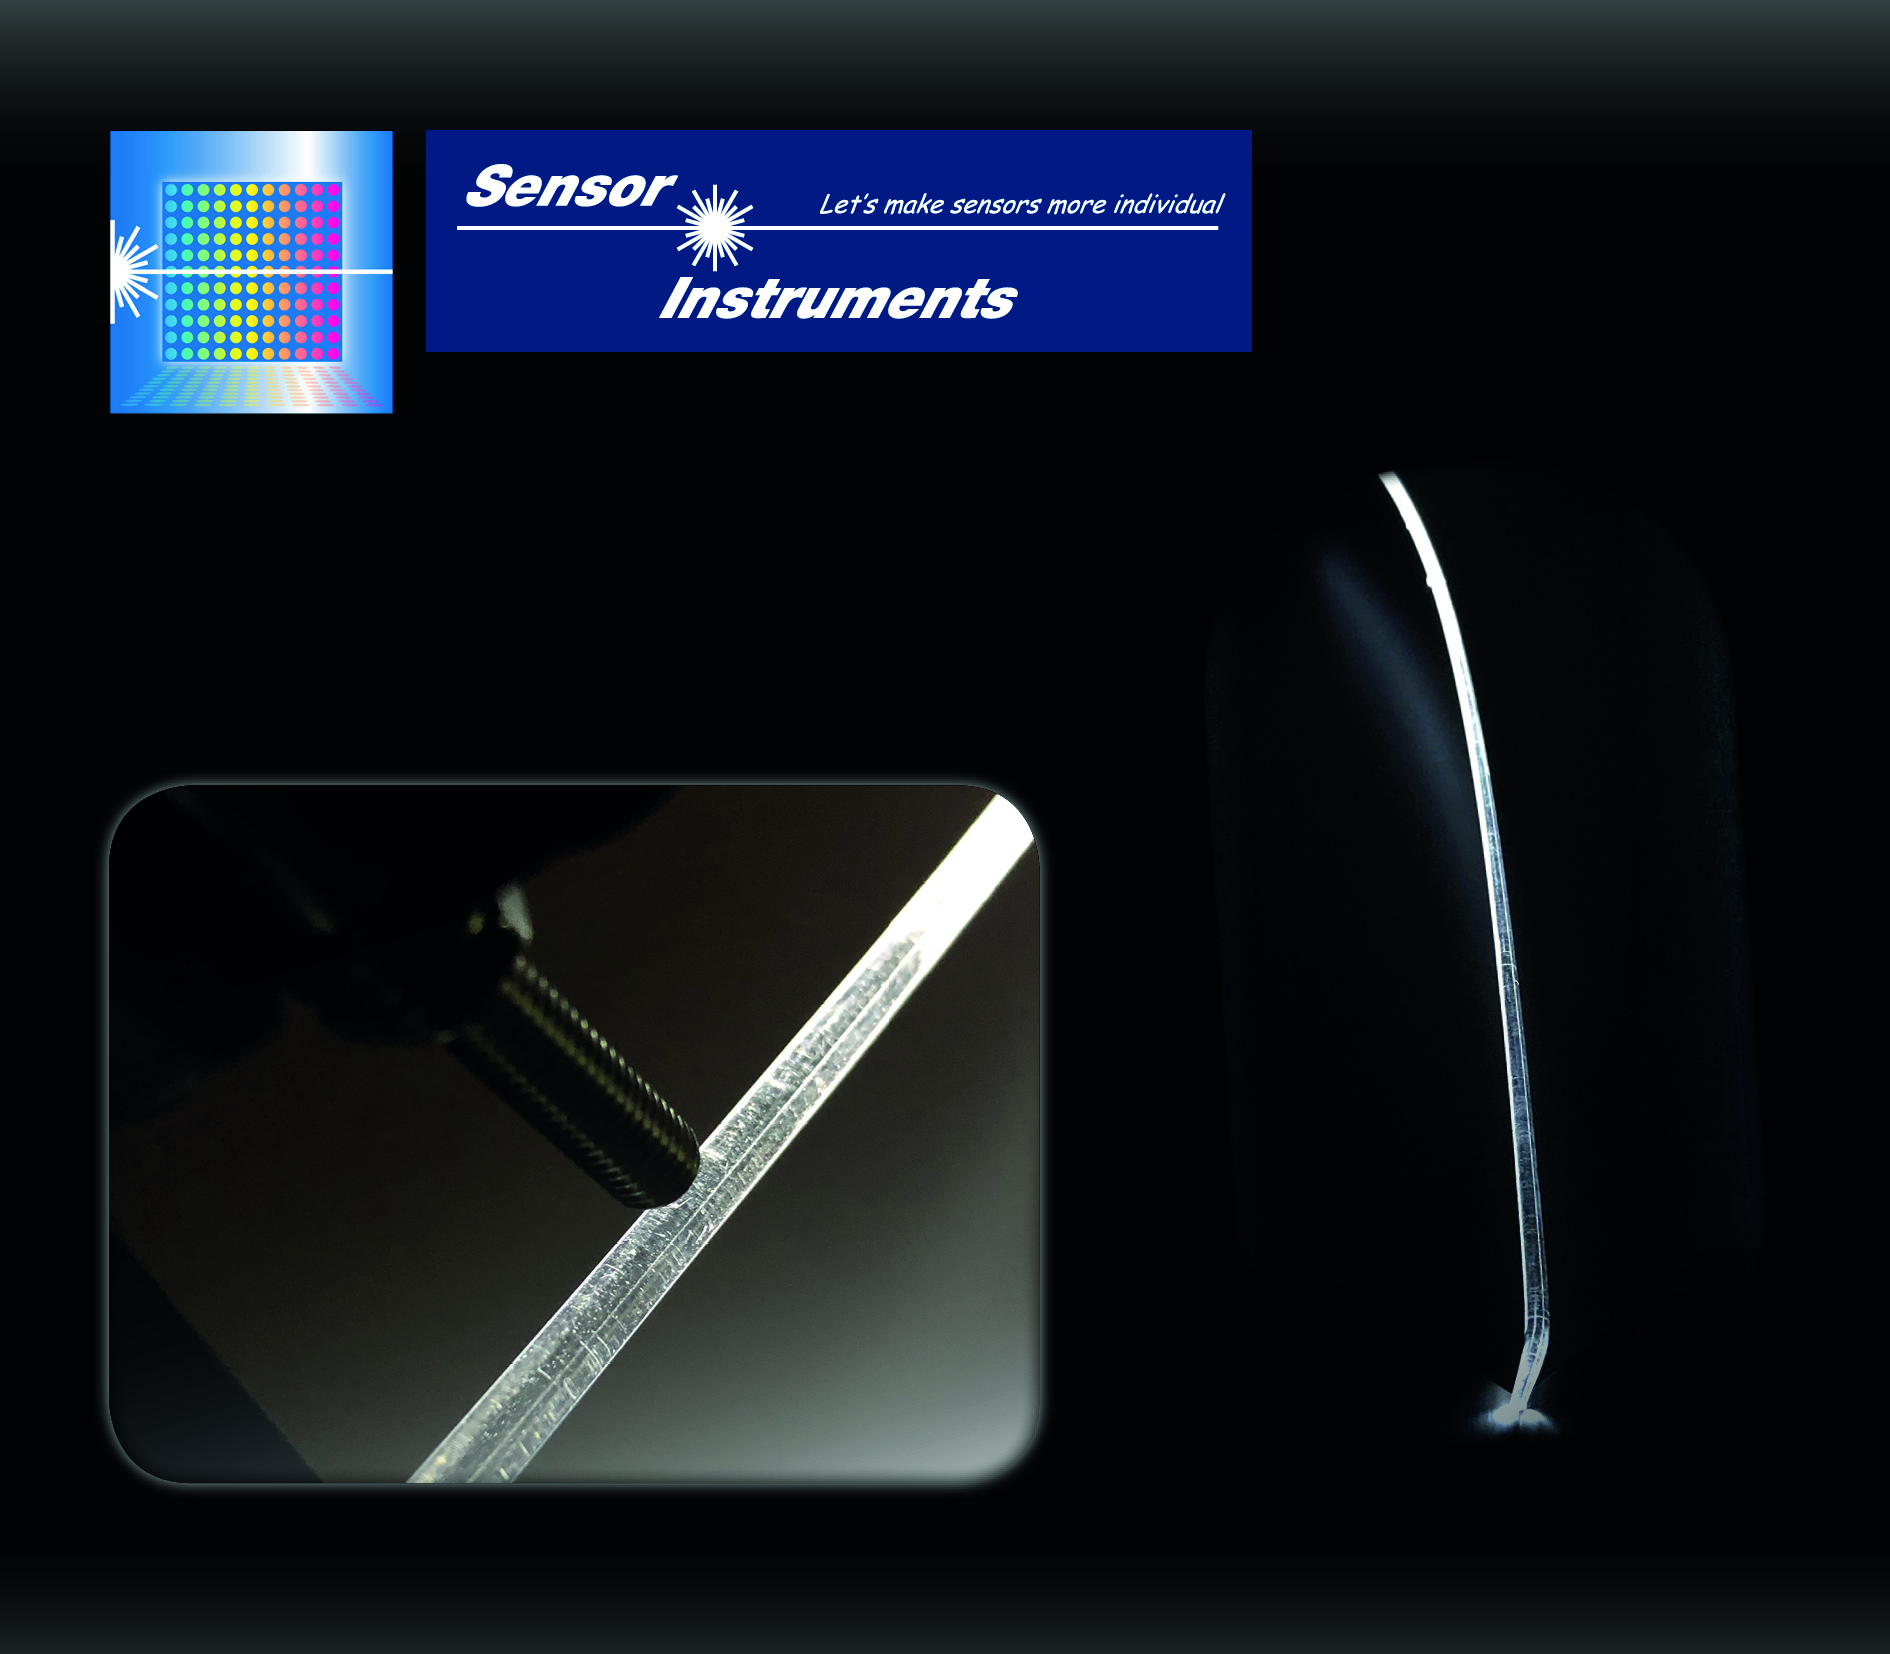 SPECTRO-3-FIO-ANA-LEDCON-HA SPECTRO-3-ANA Series |
14 October 2019
Inline Detectors Offer a new Method of Component Marking In the course of a comprehensive digitisation of industrial production and processes (keyword: Industry 4.0) a new method of marking manufactured components now offers previously undreamed-of possibilities. By way of an individual marking (a random distribution of fluorescent particles on the object surface or in the object matrix) a virtual key can be generated and can be used to save product-relevant data e.g. on the server (or in the cloud). Due to the random distribution of these fluorescent particles this "star code" represents a kind of "digital fingerprint". Already a few particles in the viewing field are sufficient to guarantee safe and robust recognition, with little required memory space per code. ► Press release (Word/pdf) |
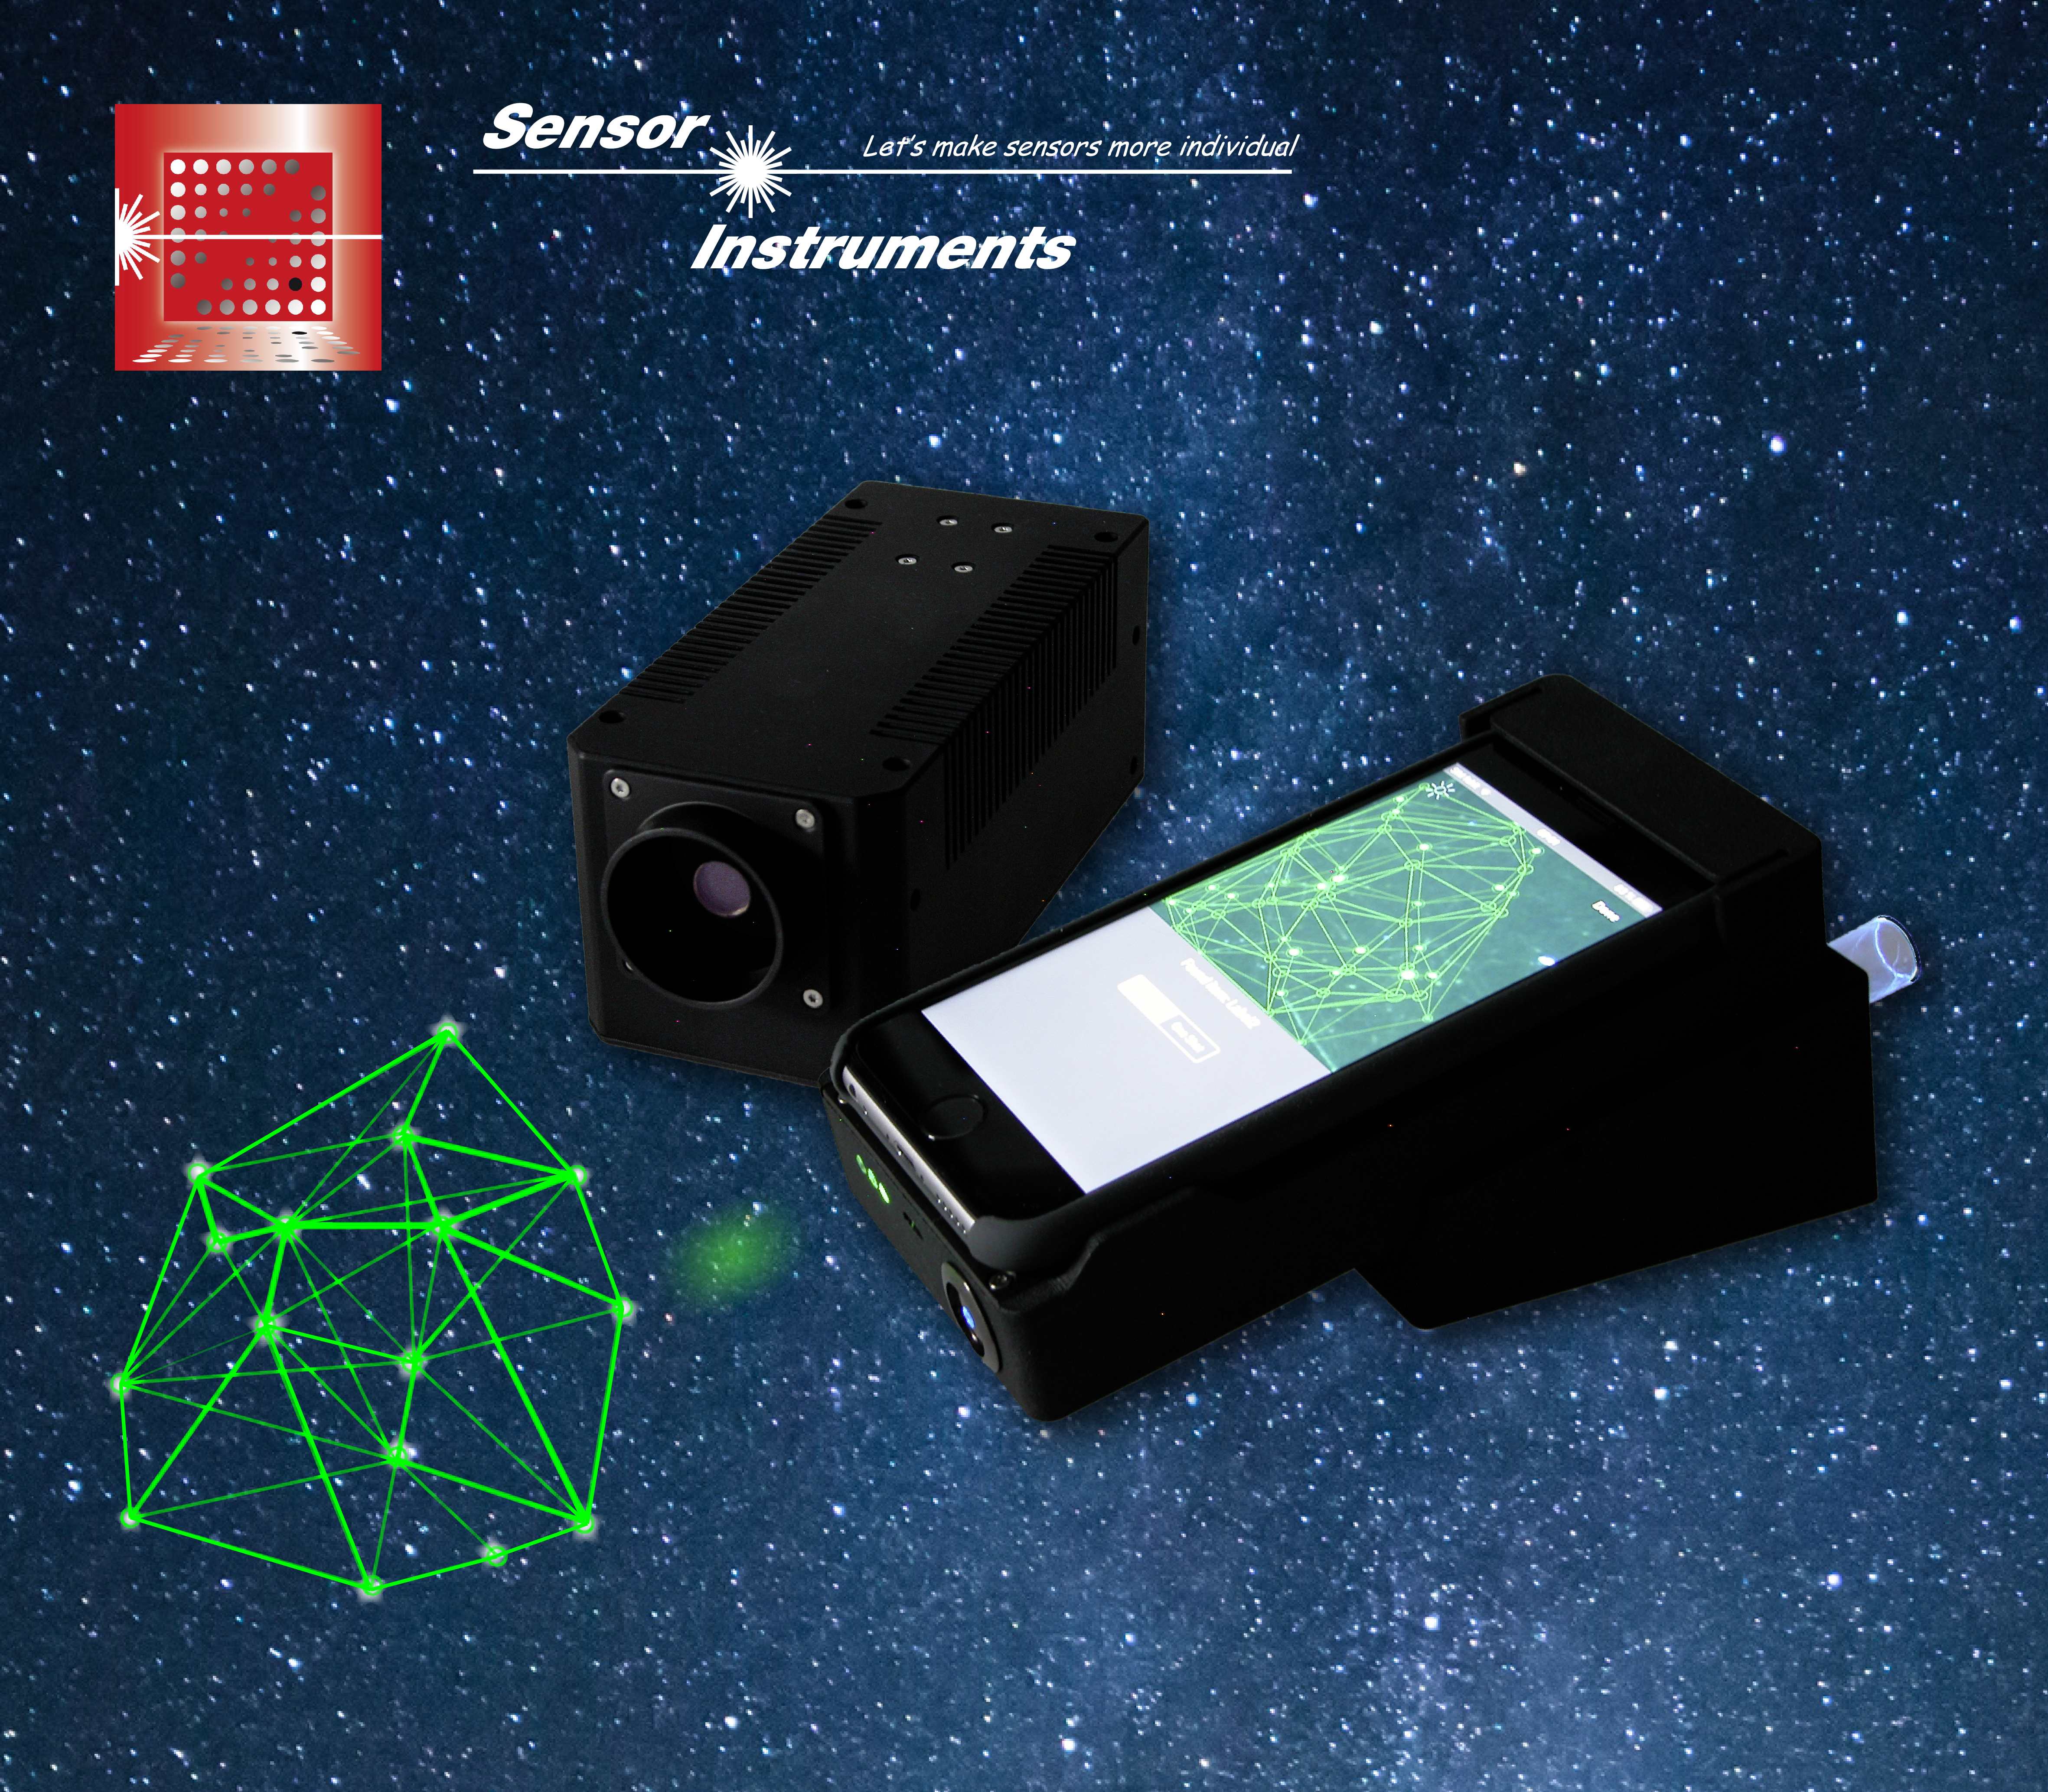 LUMI-STAR-MOBILE and LUMI-STAR-INLINE LUMI Series |
29 April 2019
Hand-held units for measuring the gloss level have been successfully used in the industry for years, and three viewing angles have been established as a standard: 20°, 60° and 85° measured from the vertical axis. The paper industry is an exception here and primarily uses viewing angles of 45° and 75°. The gloss level is determined by measuring the direct reflection at the object surface to be inspected. |
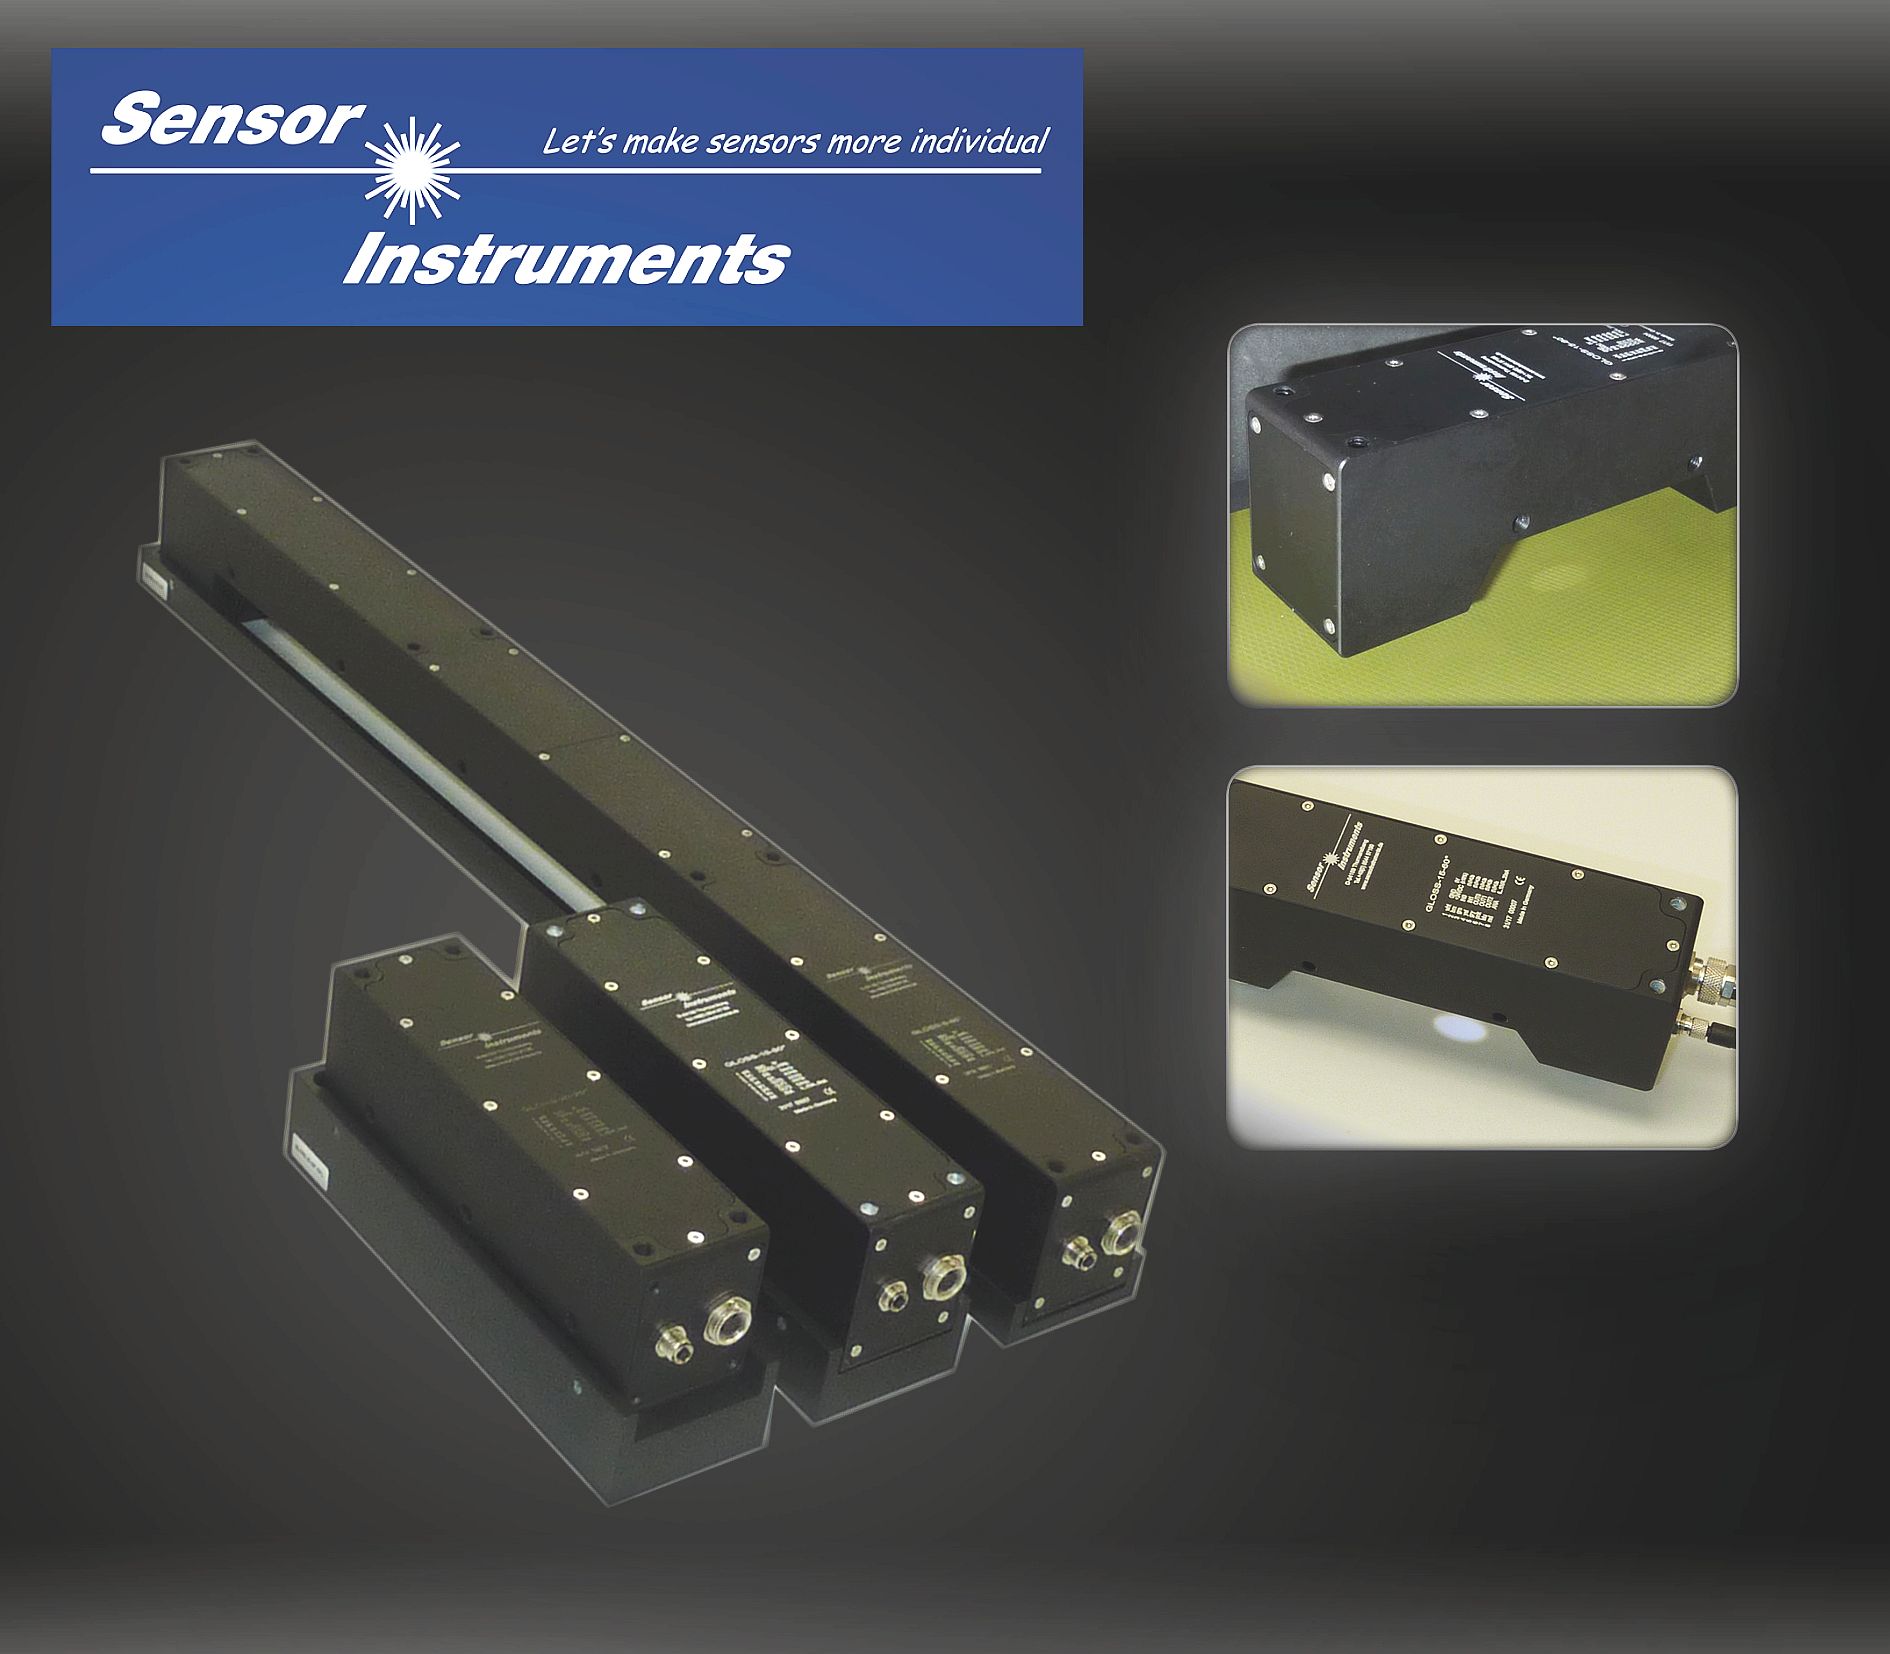 Inline gloss meters GLOSS Series |
22 March 2019
95% of all the industrially produced flat glass today is made using the float glass process. In this process, molten glass is continuously fed into a bath of molten tin. Due to its lower specific weight the molten glass floats on the smooth tin surface, and on a long tin bath forms a uniformly thick and extremely smooth film. The glass side that faces the molten tin is slightly contaminated with tin, which has corresponding effects on subsequent float glass processing steps such as coating of the glass surface. For the further processing of float glass it is therefore important that the surface that is contaminated by the tin bath can be distinguished from the so-called fire side (fire polishing, during float glass production the glass side facing away from the molten tin is heated). |
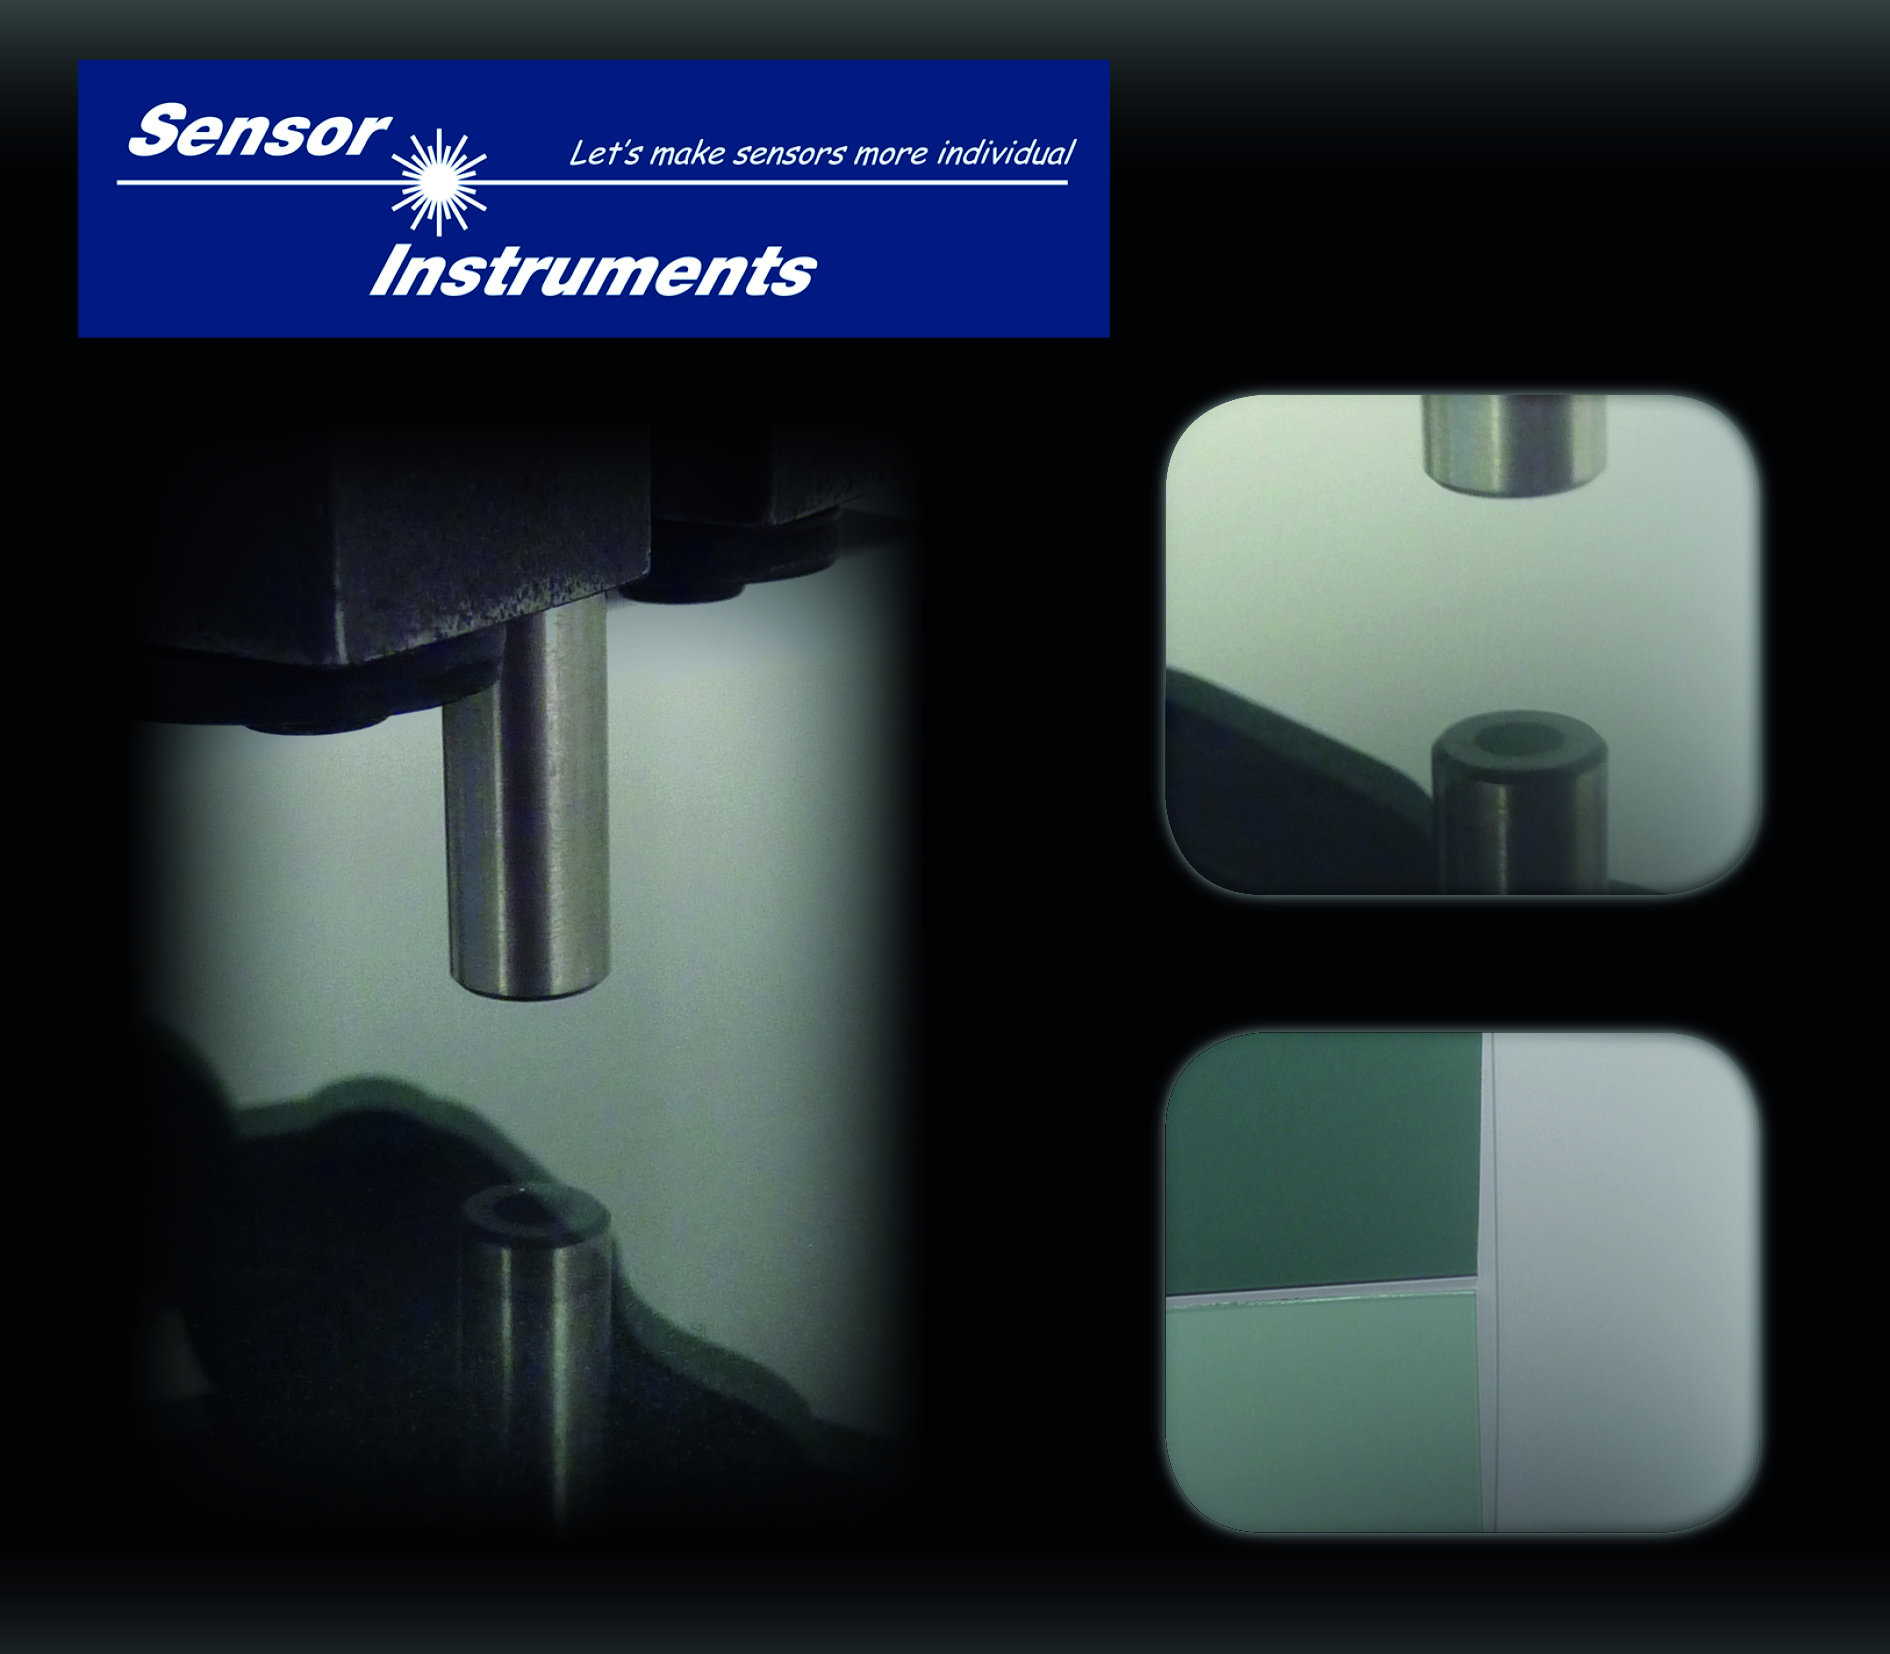 Contrast sensor SPECTRO-1-FIO-UVC/UVC |
20 February 2019
| 자동차 산업을위한 오일 및 에어 필터의 생산에서 이러한 필터는 요구되는 처리 속도에 도달 해야하며,이는 최소의 공간에서 큰 필터 표면을 제공하도록 필터 재료를 접음 으로써 달성 됩니다.
필터 유형에 따라 fold depth(폴드 깊이) 와 폴드 수에 차이가 있습니다. |
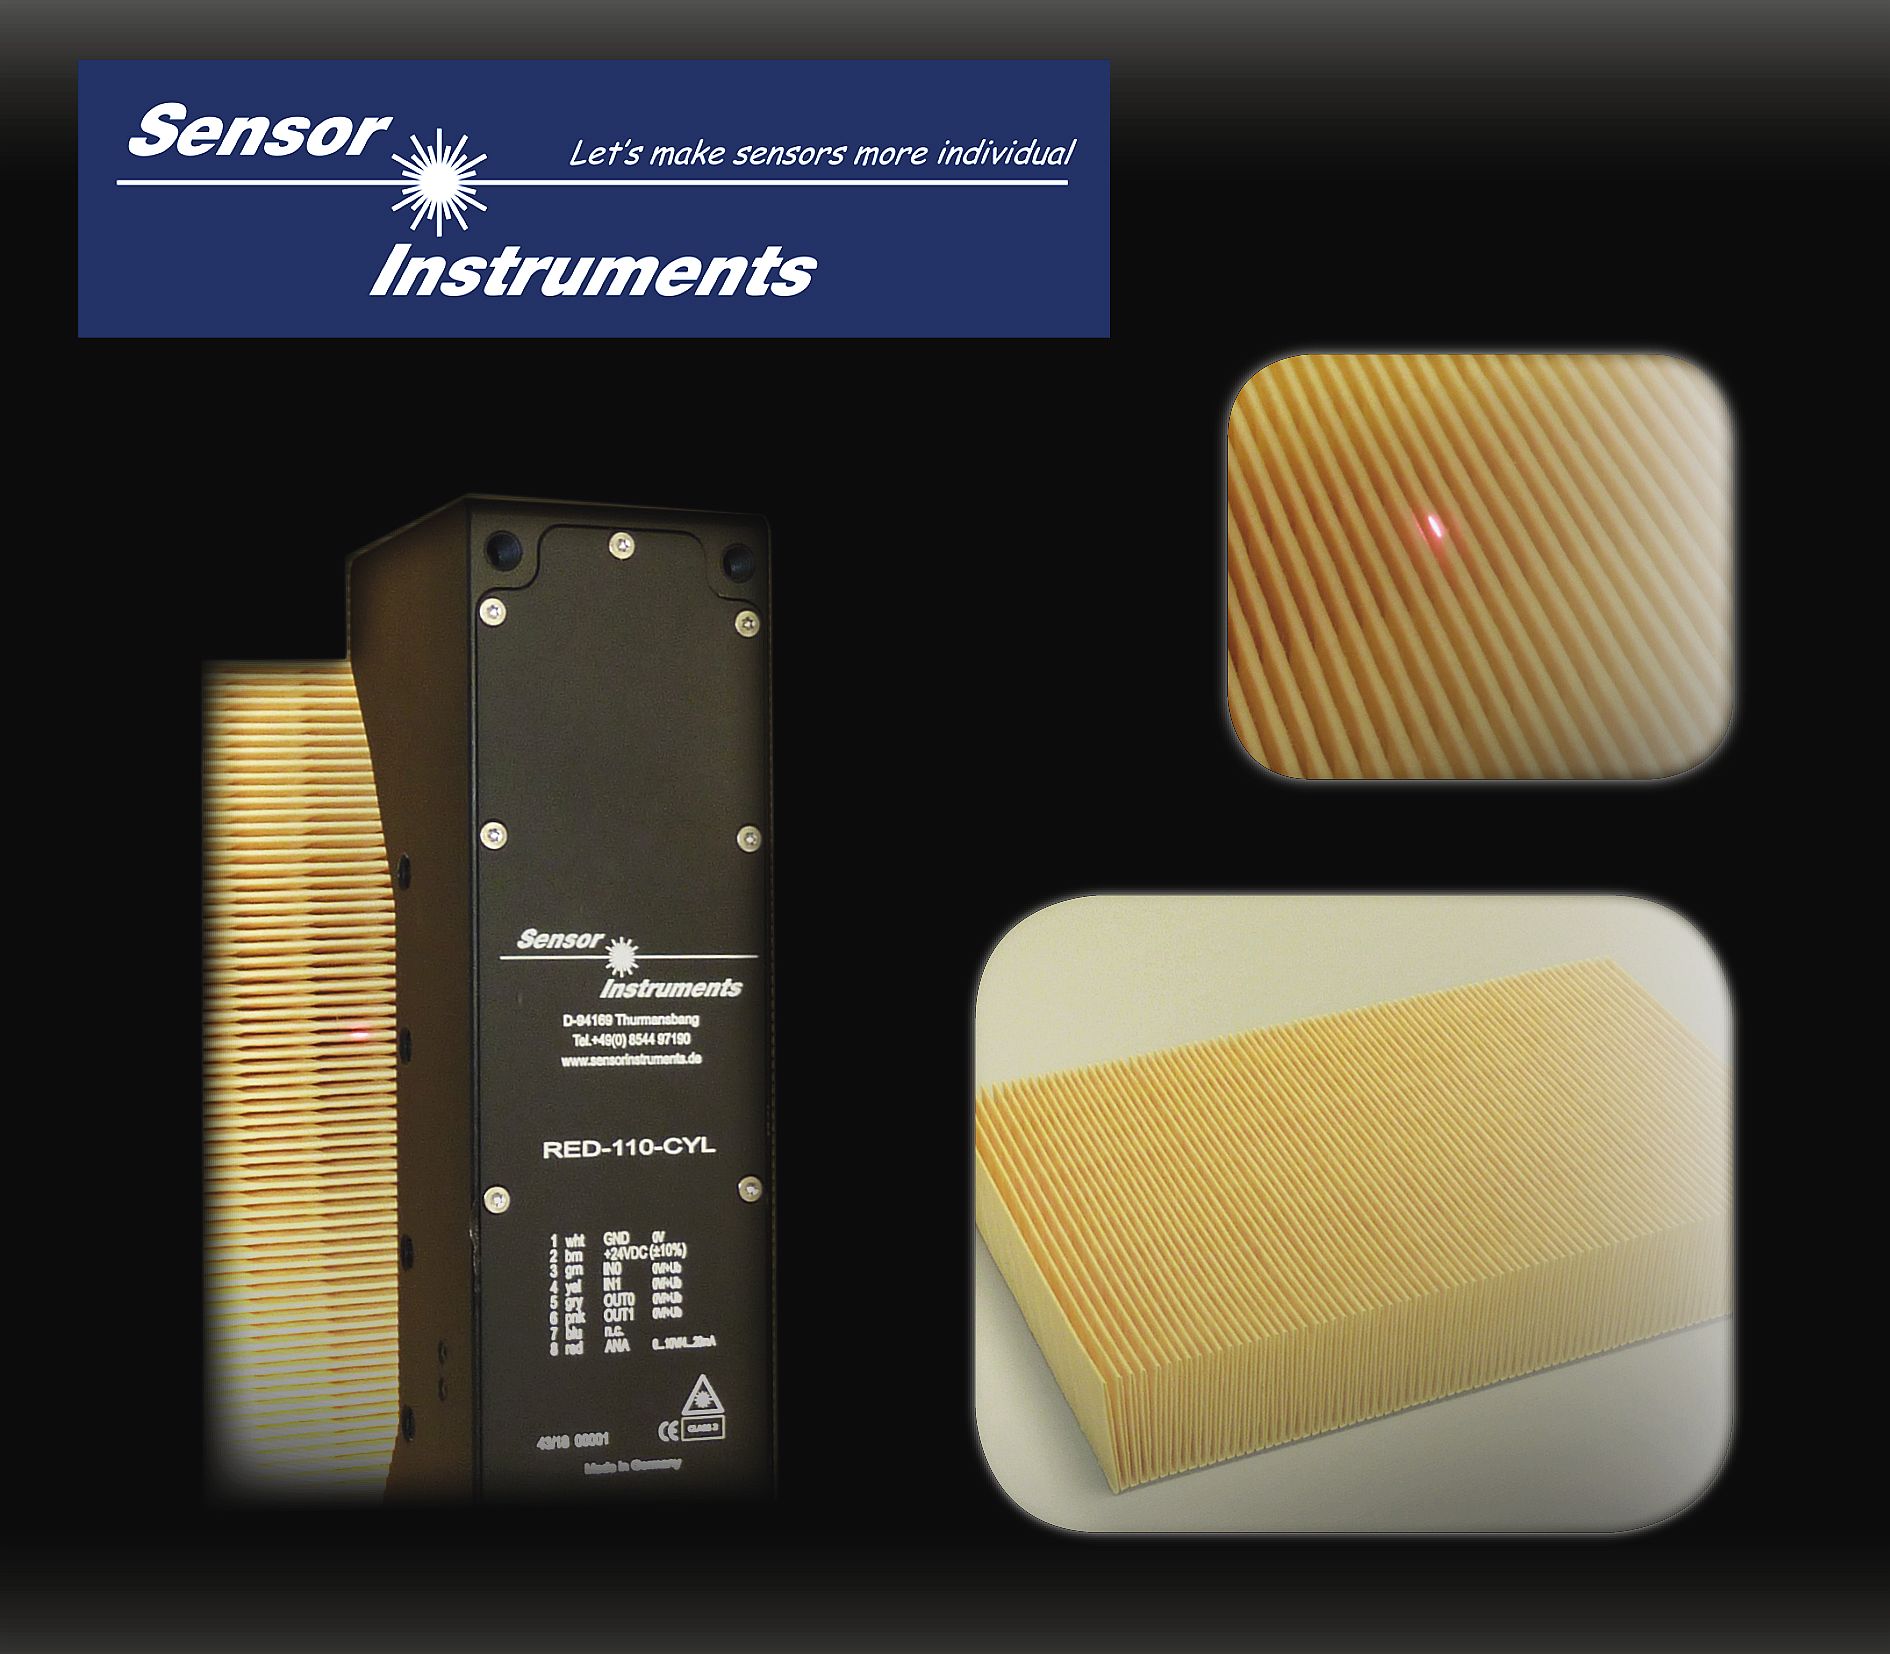 |
| Edge detector RED-110-L |
7 February 2019
| 대부분의 경우 용접 이음새가 주변 제품 표면과 광학적으로 명확한 차이를 보이기 때문에 용접 이음새를 감지하기 위해 대비 또는 색상 센서가 적절한 해결책으로 보입니다.
그러나 일상적으로 이러한 방법은 빈번한 재조정과 재 매개 화를 필요로 한다는 것이 밝혀 졌습니다. |
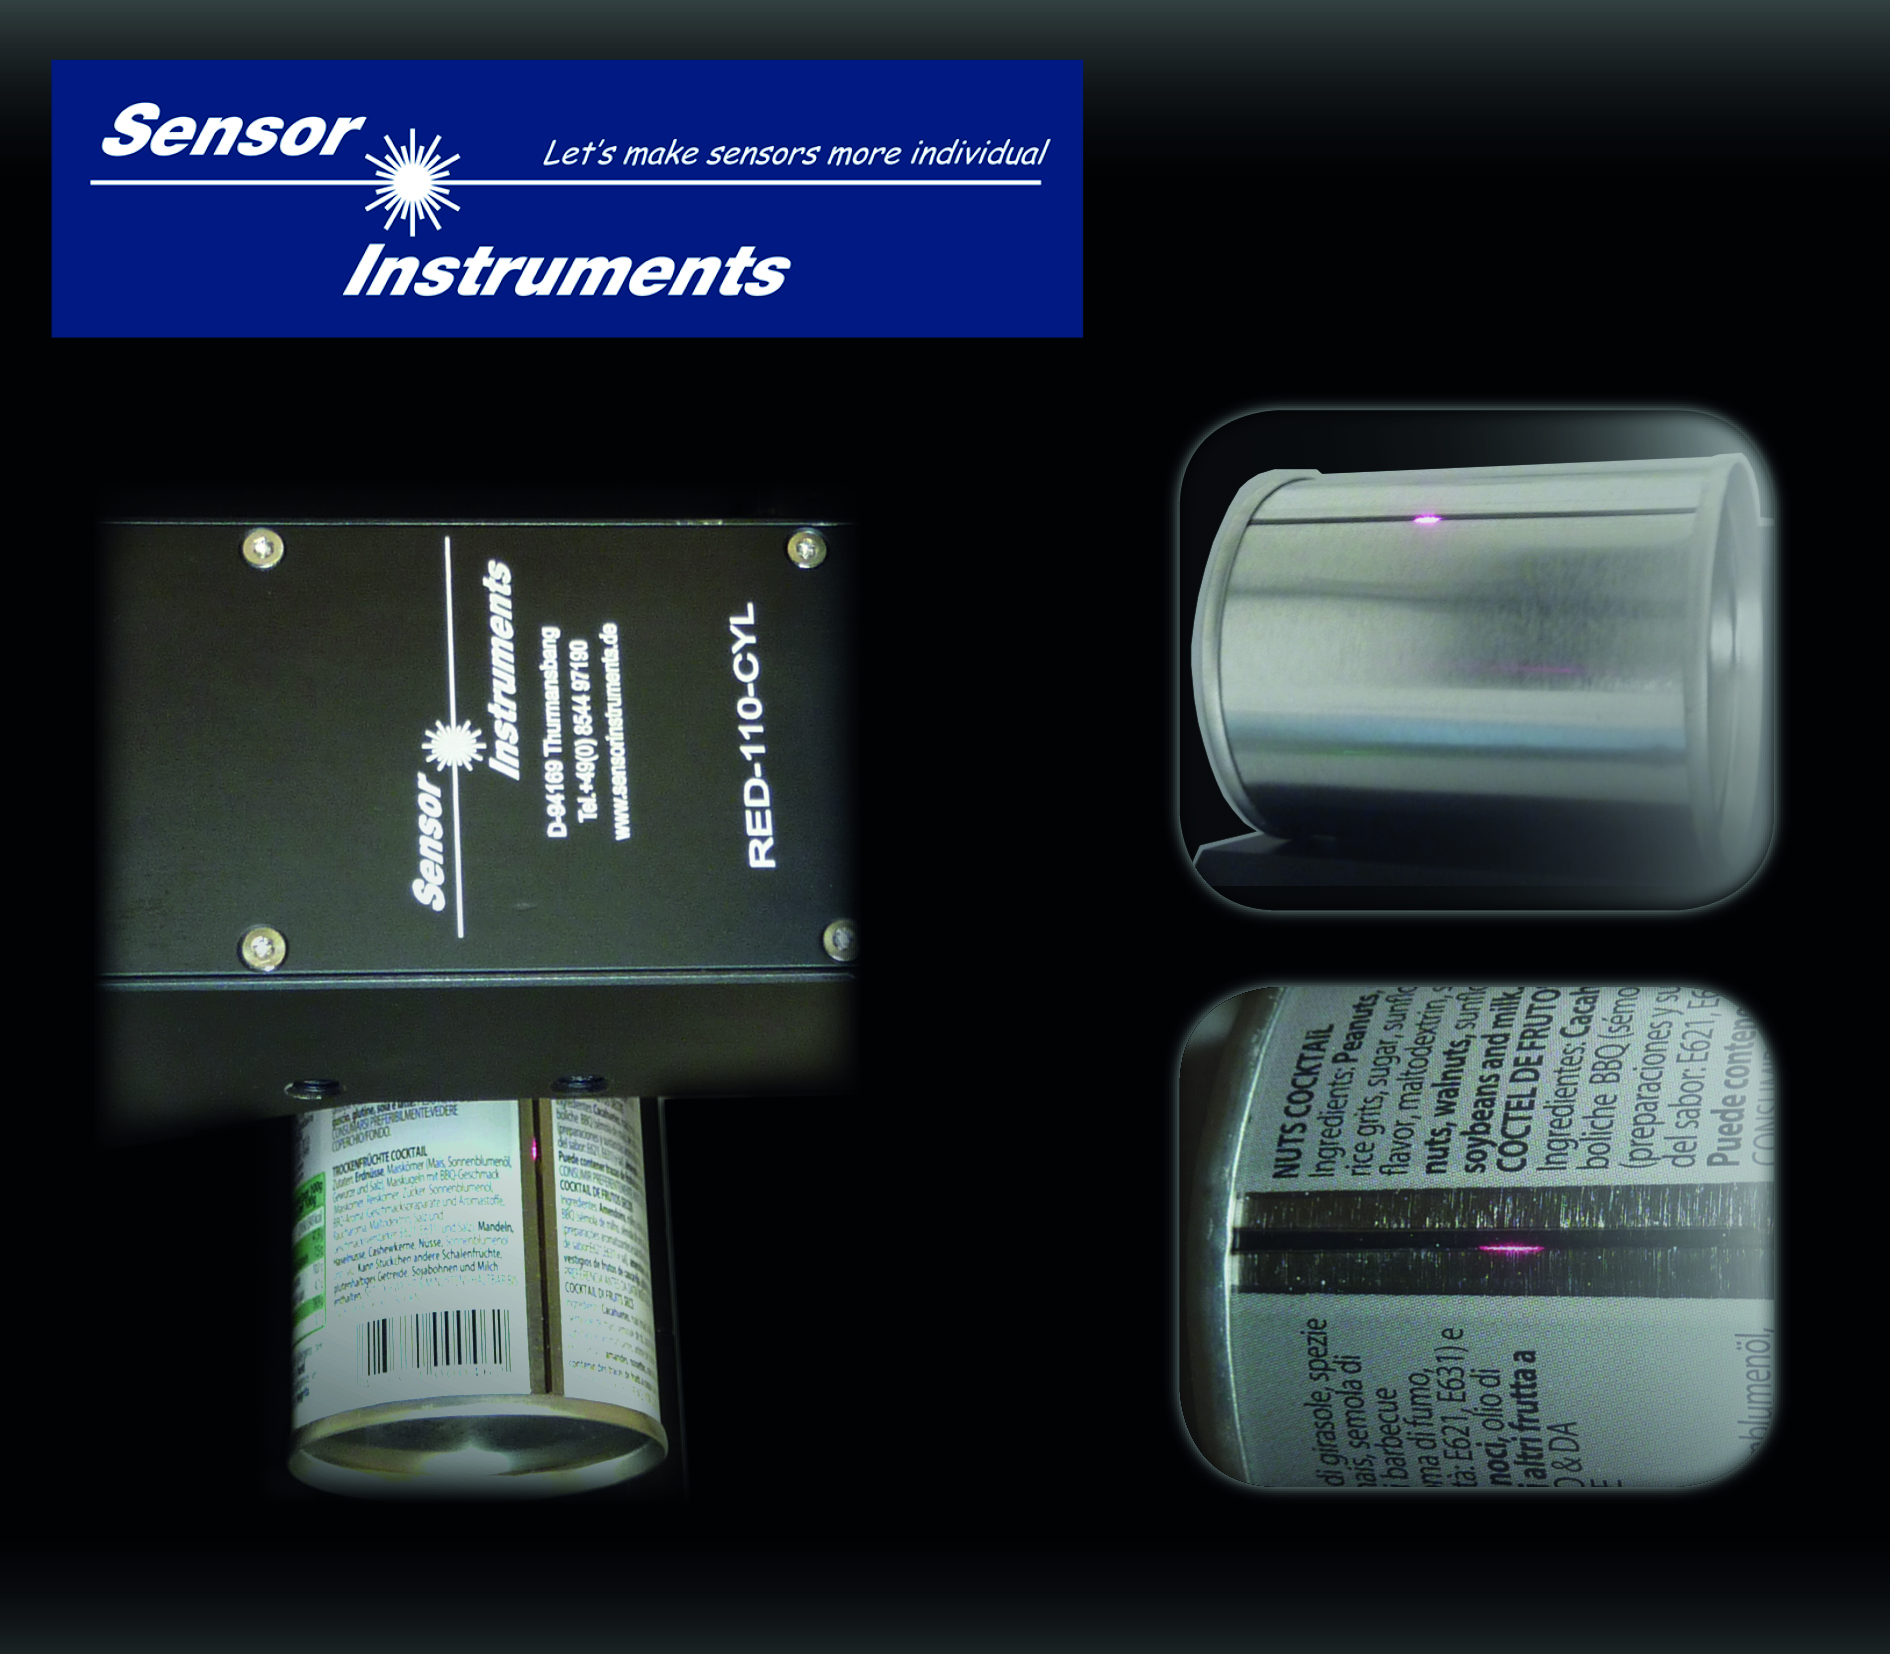 |
| Laser edge detector RED-110-L |
지금까지는 센서 제조업체가 시스템에 디지털 출력을 제공하는 것으로 충분할 수 있었지만,0V ~ + 10V 아날로그 전압 출력,및 4mA ~ 20mA 아날로그 전류 출력을 제공한다.
그러나 가까운 미래에 센서와 프로그래머블 로직 컨트롤러 (PLC) 간의 통신은 그에 상응하여 높은 데이터 전송률을 갖는 디지털 직렬 형태로 수행 될 것입니다. 미래는 소위 말해서 산업용 E-thernet 에 속합니다 . |
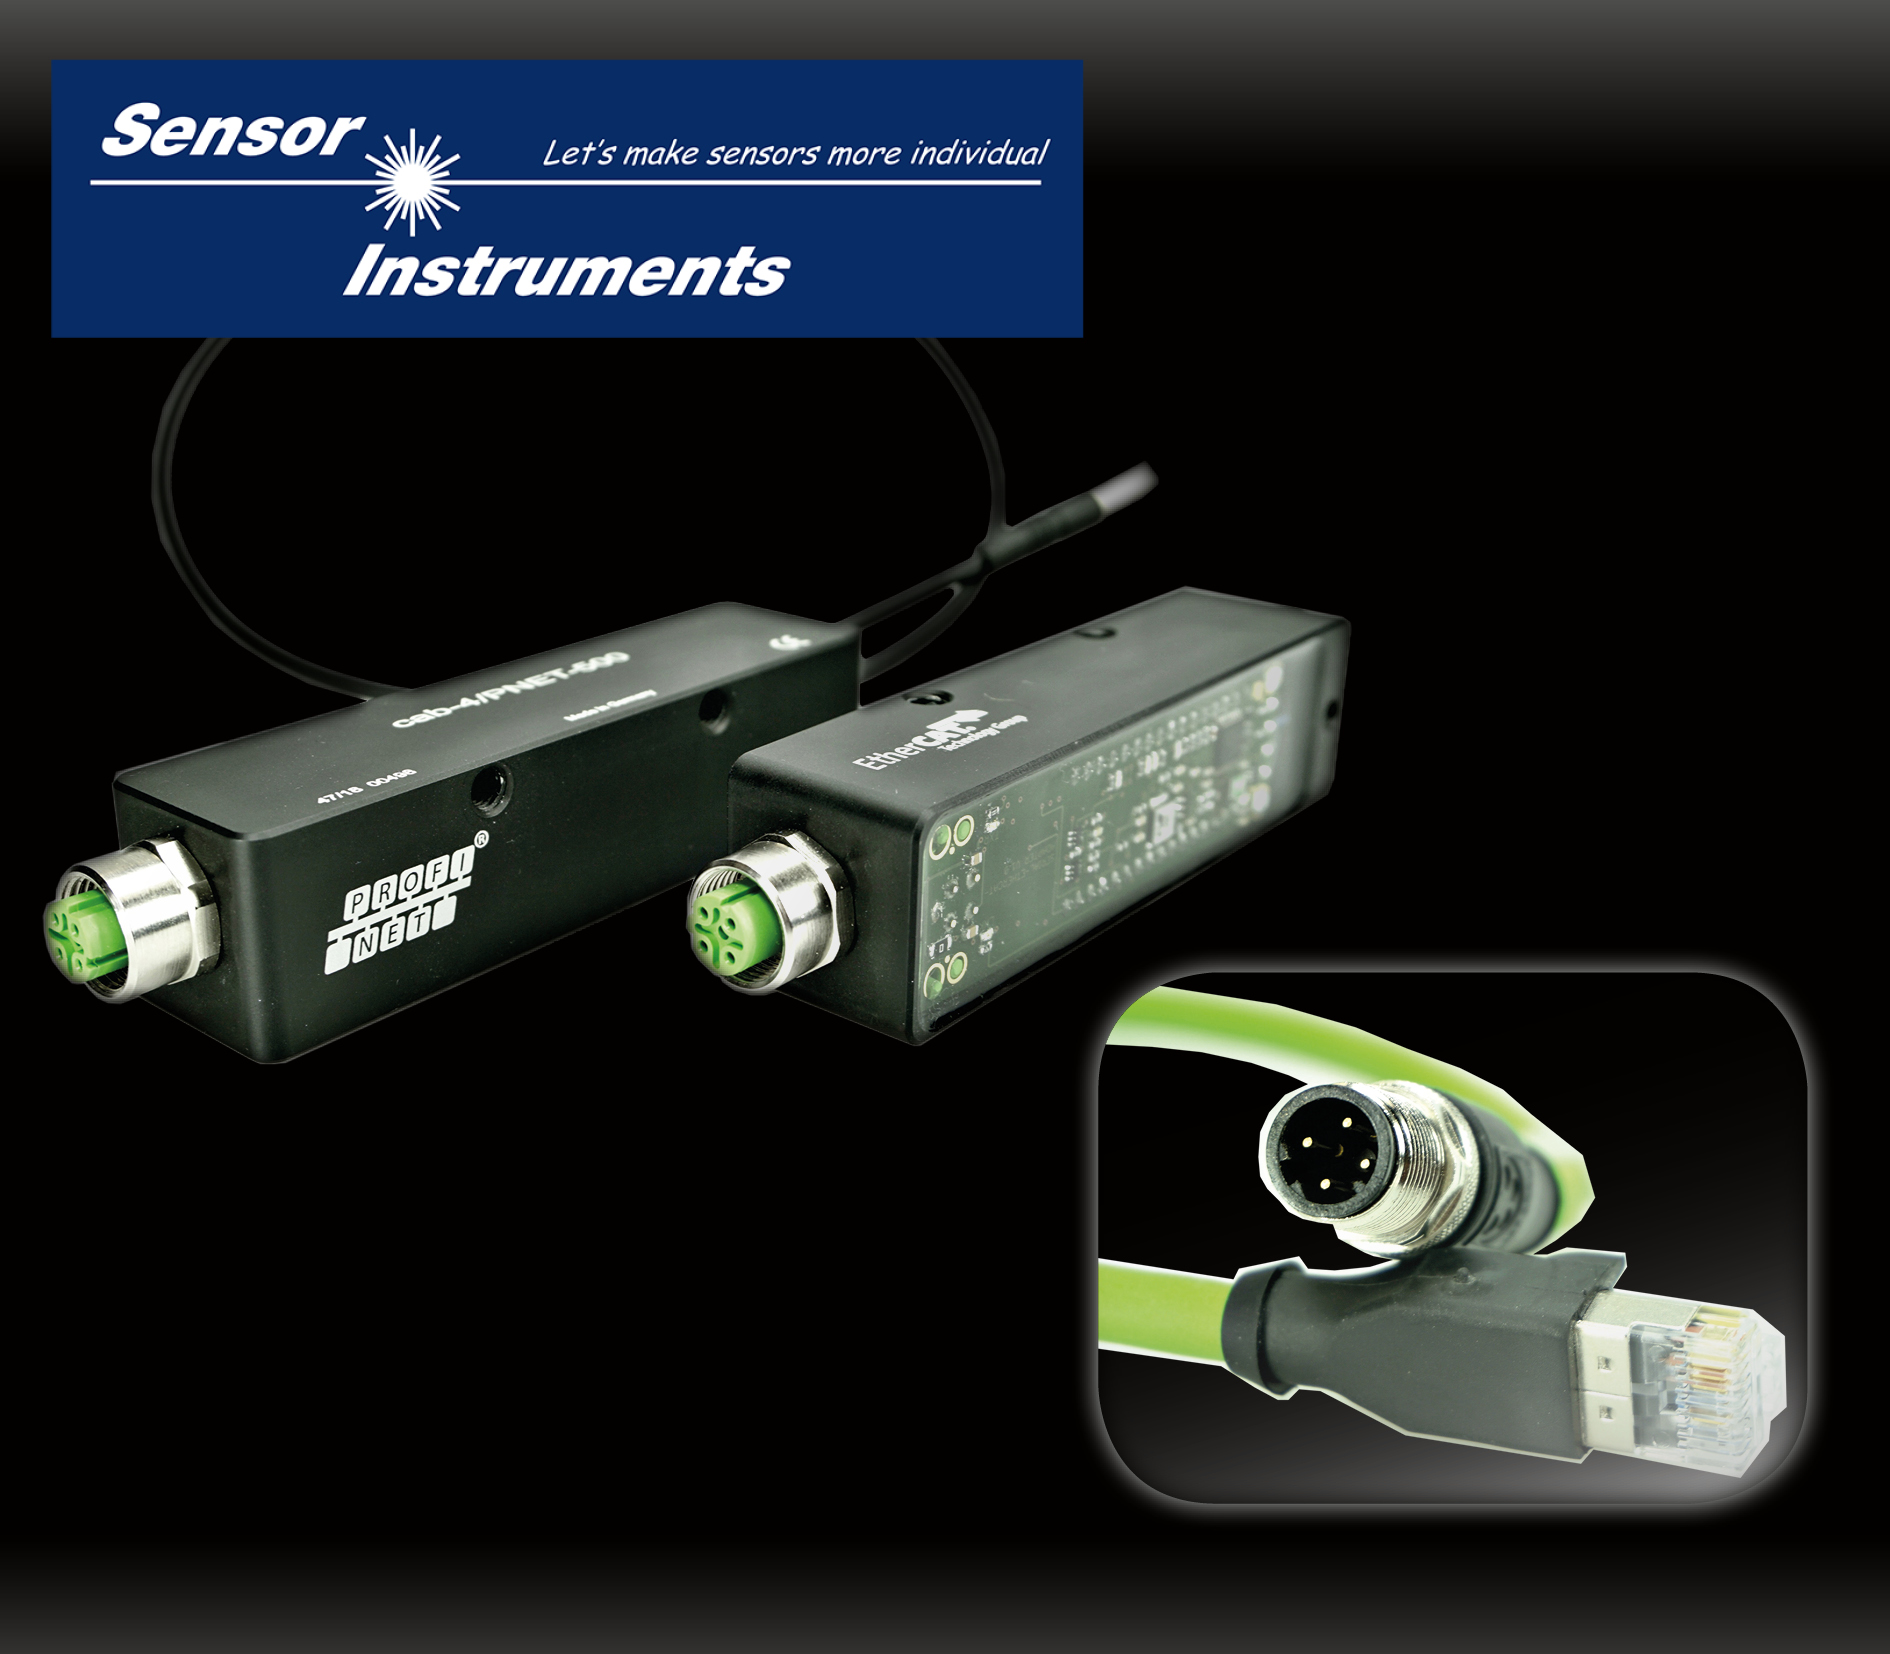 |
| RS232-to-PROFINET® converter and RS232-to-EtherCAT® converter |
21 January 2019
| 종래의 검출기는 플라스틱 캡의 플라스틱 마시는 컵과 같은 누적 된 투명 물체를 감지하고 계수해야 할 때 특히 한계에 도달합니다.
그러나 포장 공정에서 특히, 포장 단위에 정확한 수의 물체를 배치하는 것이 매우 중요 합니다.이러한 문제는 이제 RED 시리즈 해결할 수 있습니다 (이 응용 프로그램에는 RED-110-L이용 될수가 있습니다). |
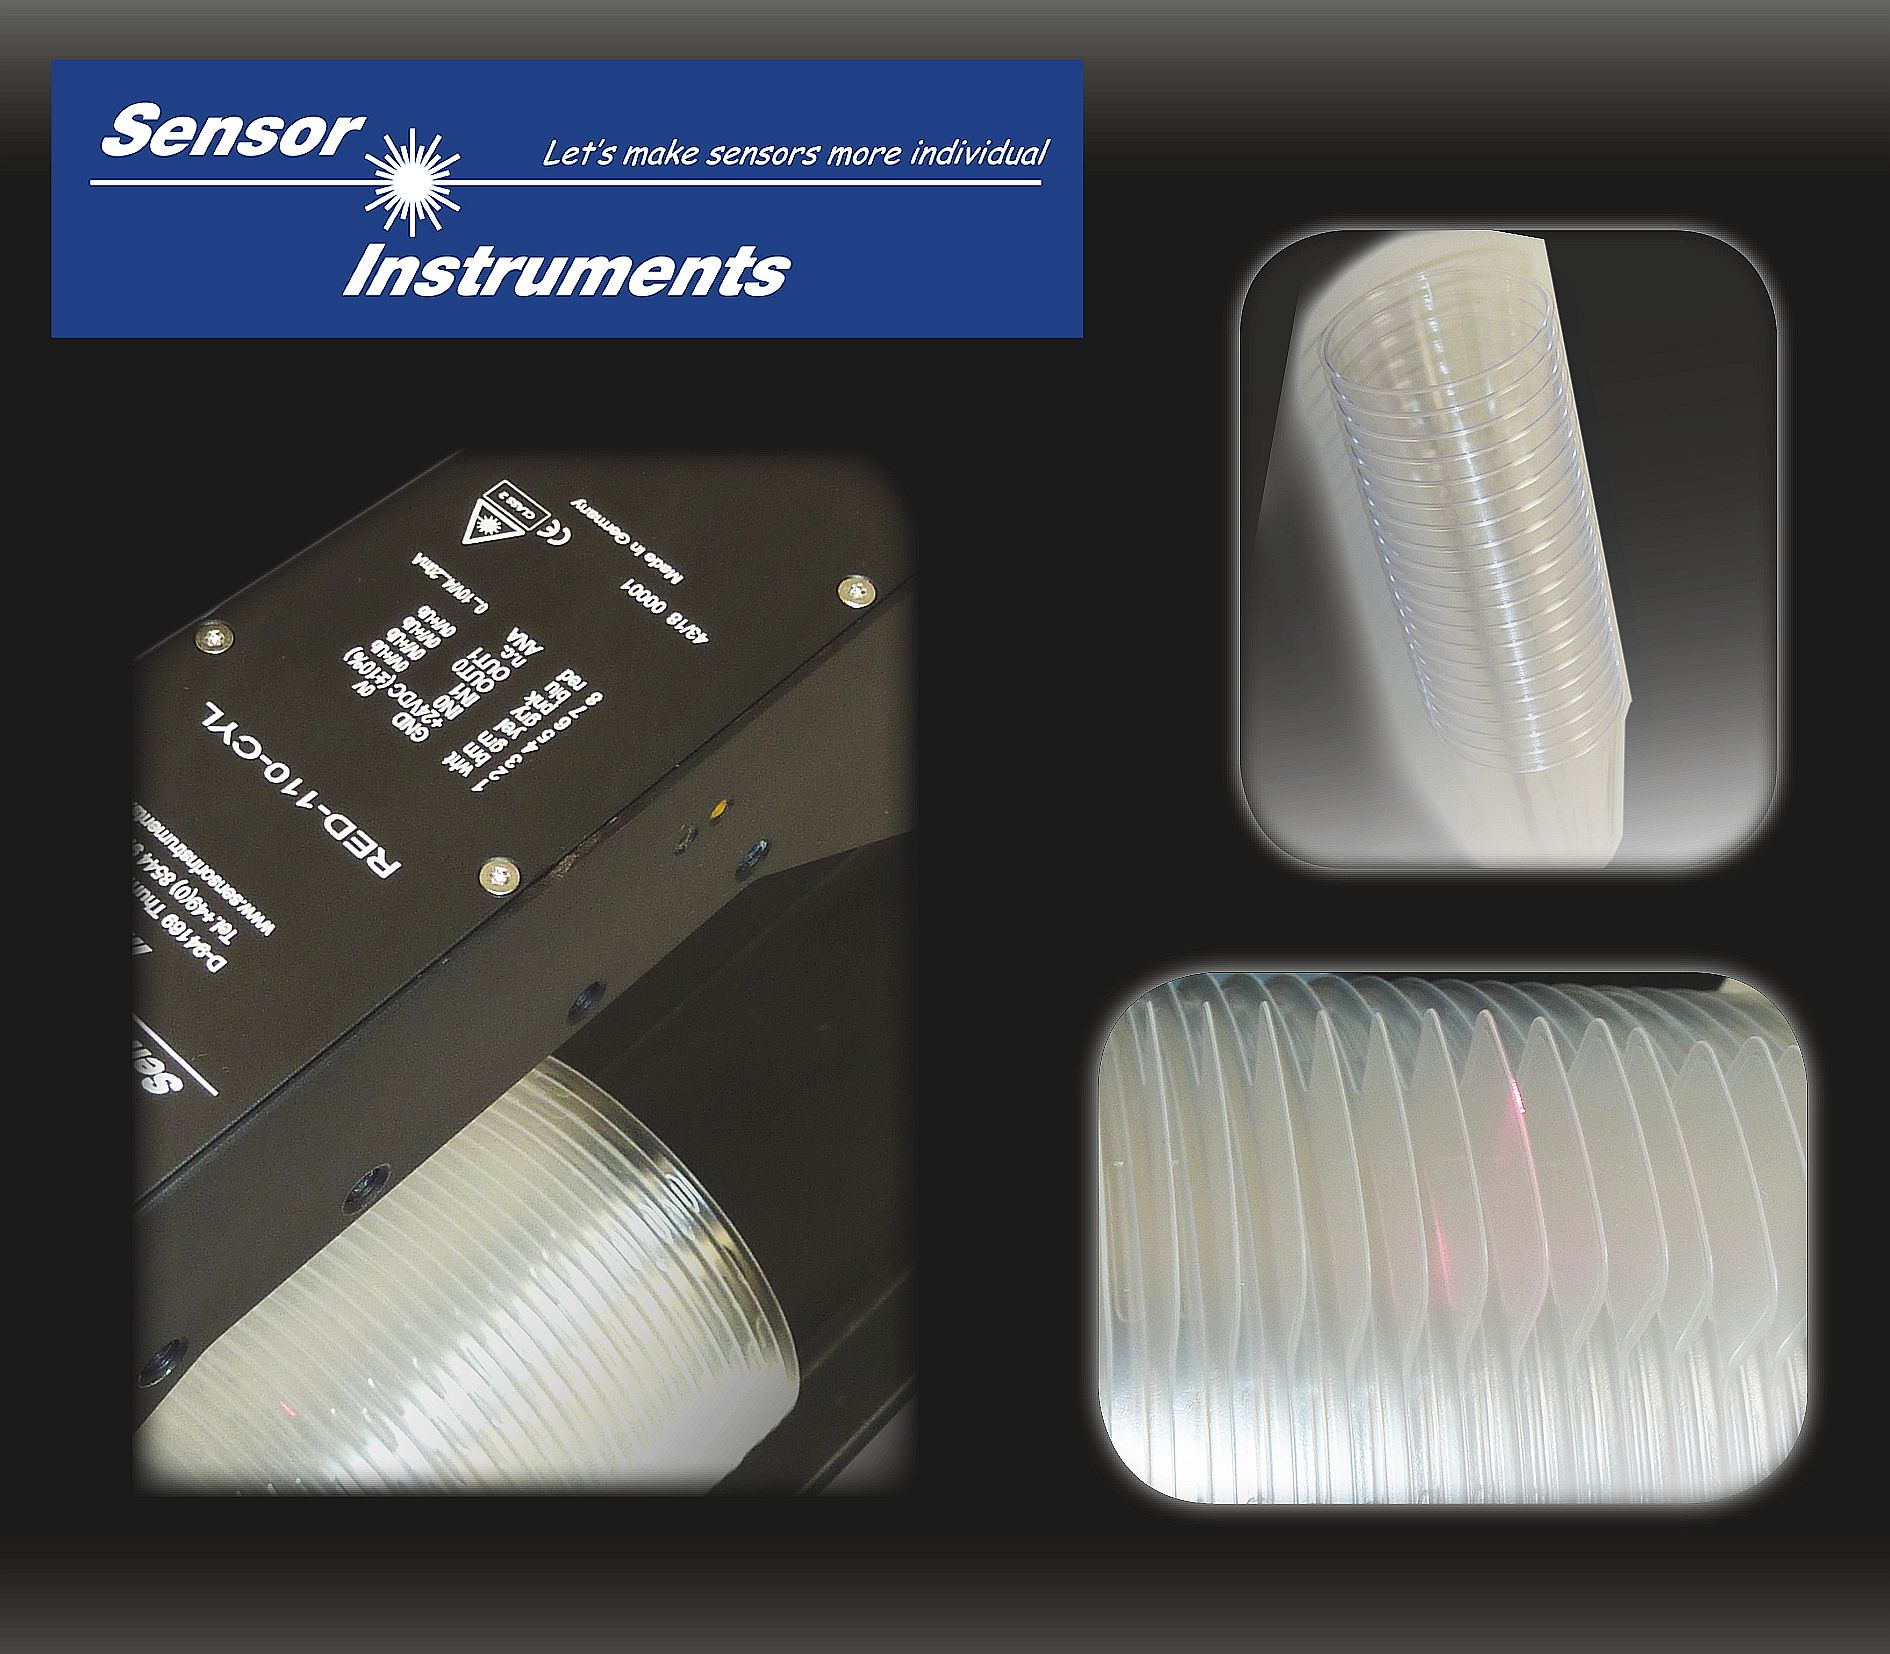 |
| Laser edge detector RED-110-L |
26 November 2018
| 처음에는 모든 것이 명확 해 보였습니다. GLOSS 시리즈 센서 중 하나를 사용하여 문제없이 관리 할 수 있는 또 다른 측정 작업이었습니다.
고객이 제공 한 설명에 따르면 광택 등급 측정 작업 인 것처럼 보였고 처음에는 수직 측정에서 20 °, 60 ° 또는 85 ° 각도 측정을 수행해야 하는 유일한 질문이 될 것 같이 보였습니까? |
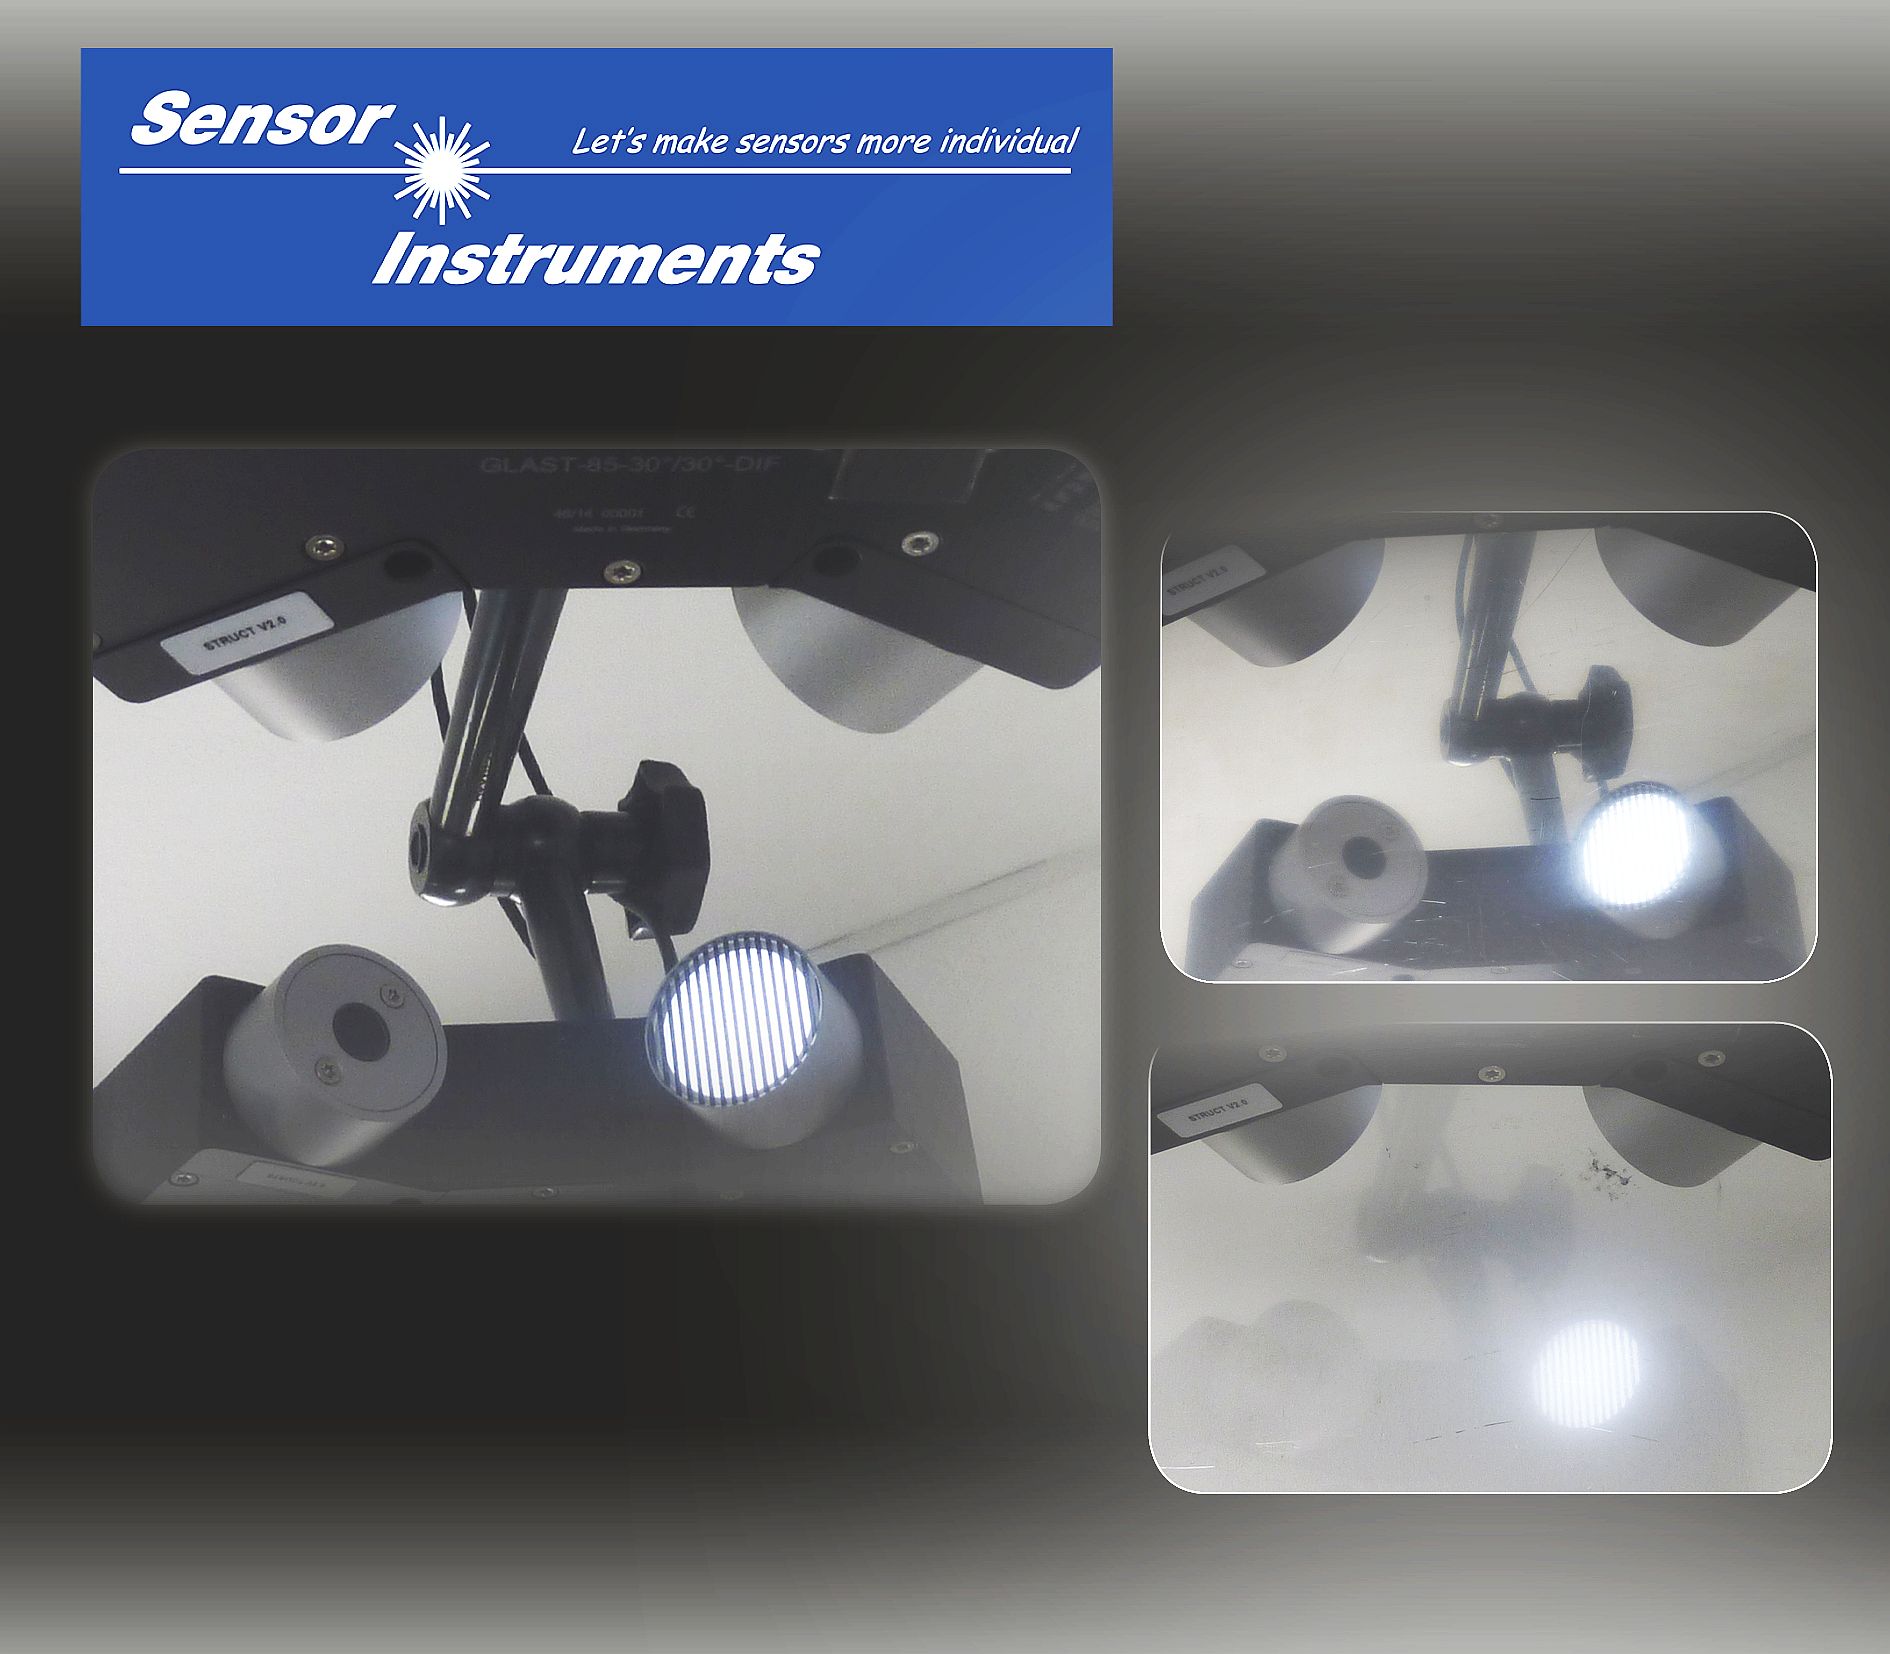 |
| Gloss sensor GLAST-85-30°/30°-DIF-1.0/1.0 |
19 November 2018
|
판지, 잡지 또는 낱장이 포장 된 경우, 각 포장에 정확한 개수의 품목이 들어 있는지 확인해야합니다.대부분의 경우 이러한 물질은 잡지, 신문 또는 광고 인쇄물과 같이 보상 스태커를 사용하여 포장하기 전에 섞인 형태로 운송됩니다. 개별 복사물의 두께와 이송 속도 (최대 10m / s)에 따라 the shingled stream은 이 공정에서 서로 다른 높이를 가질 수 있습니다. ► Press release |
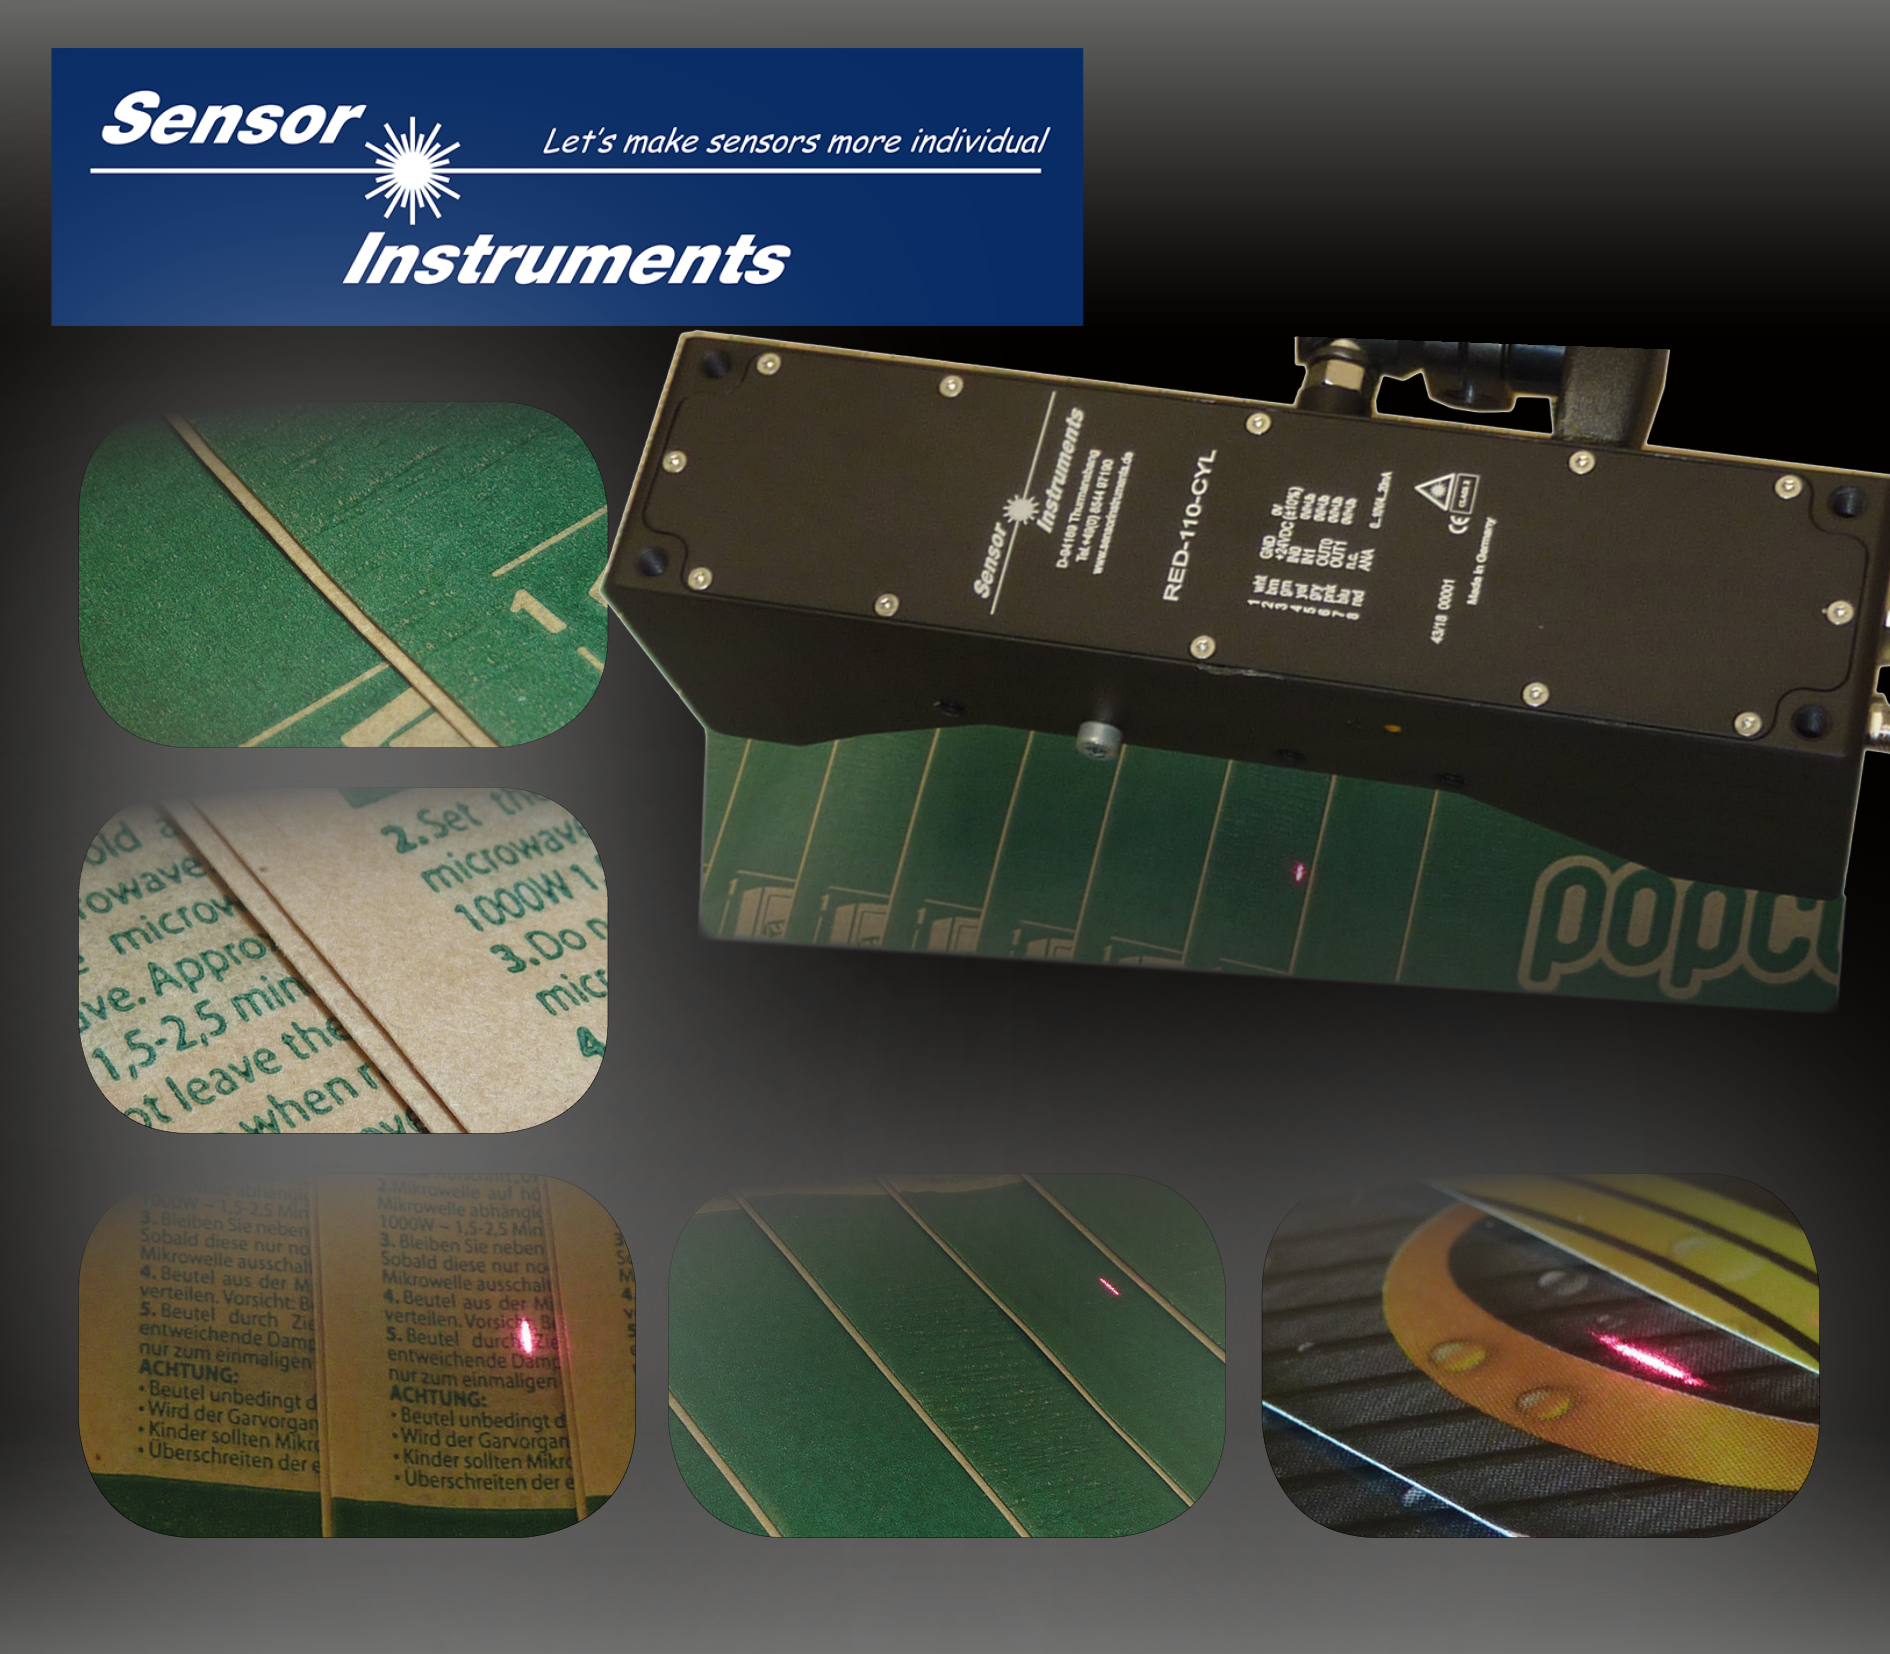 |
| Laser edge detector RED-110-L |
19 November 2018
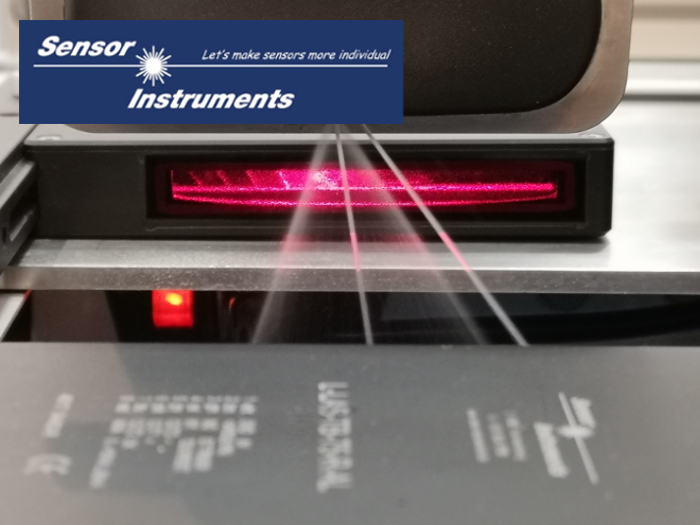
| 지난 몇 년 동안 windscreen의 스프레이 노즐은 상당히 발전 했다.이제 제트기는 Fan-jet제트 또는 spot jet 로 제공됩니다. 의도 된 각도 범위에서 균일 한 spray mist 적용이 fan-jet 정확하게 보장되며, 정확히 지향되고 거의 발산하지 않는 spot-jet를 통해 전면 카메라에서 point-shape(점 형태) 제트가 적용됩니다. ► Press release |
 |
| Laser line through-beam sensor L-LAS-TB-100-AL-SC |
9 November 2018
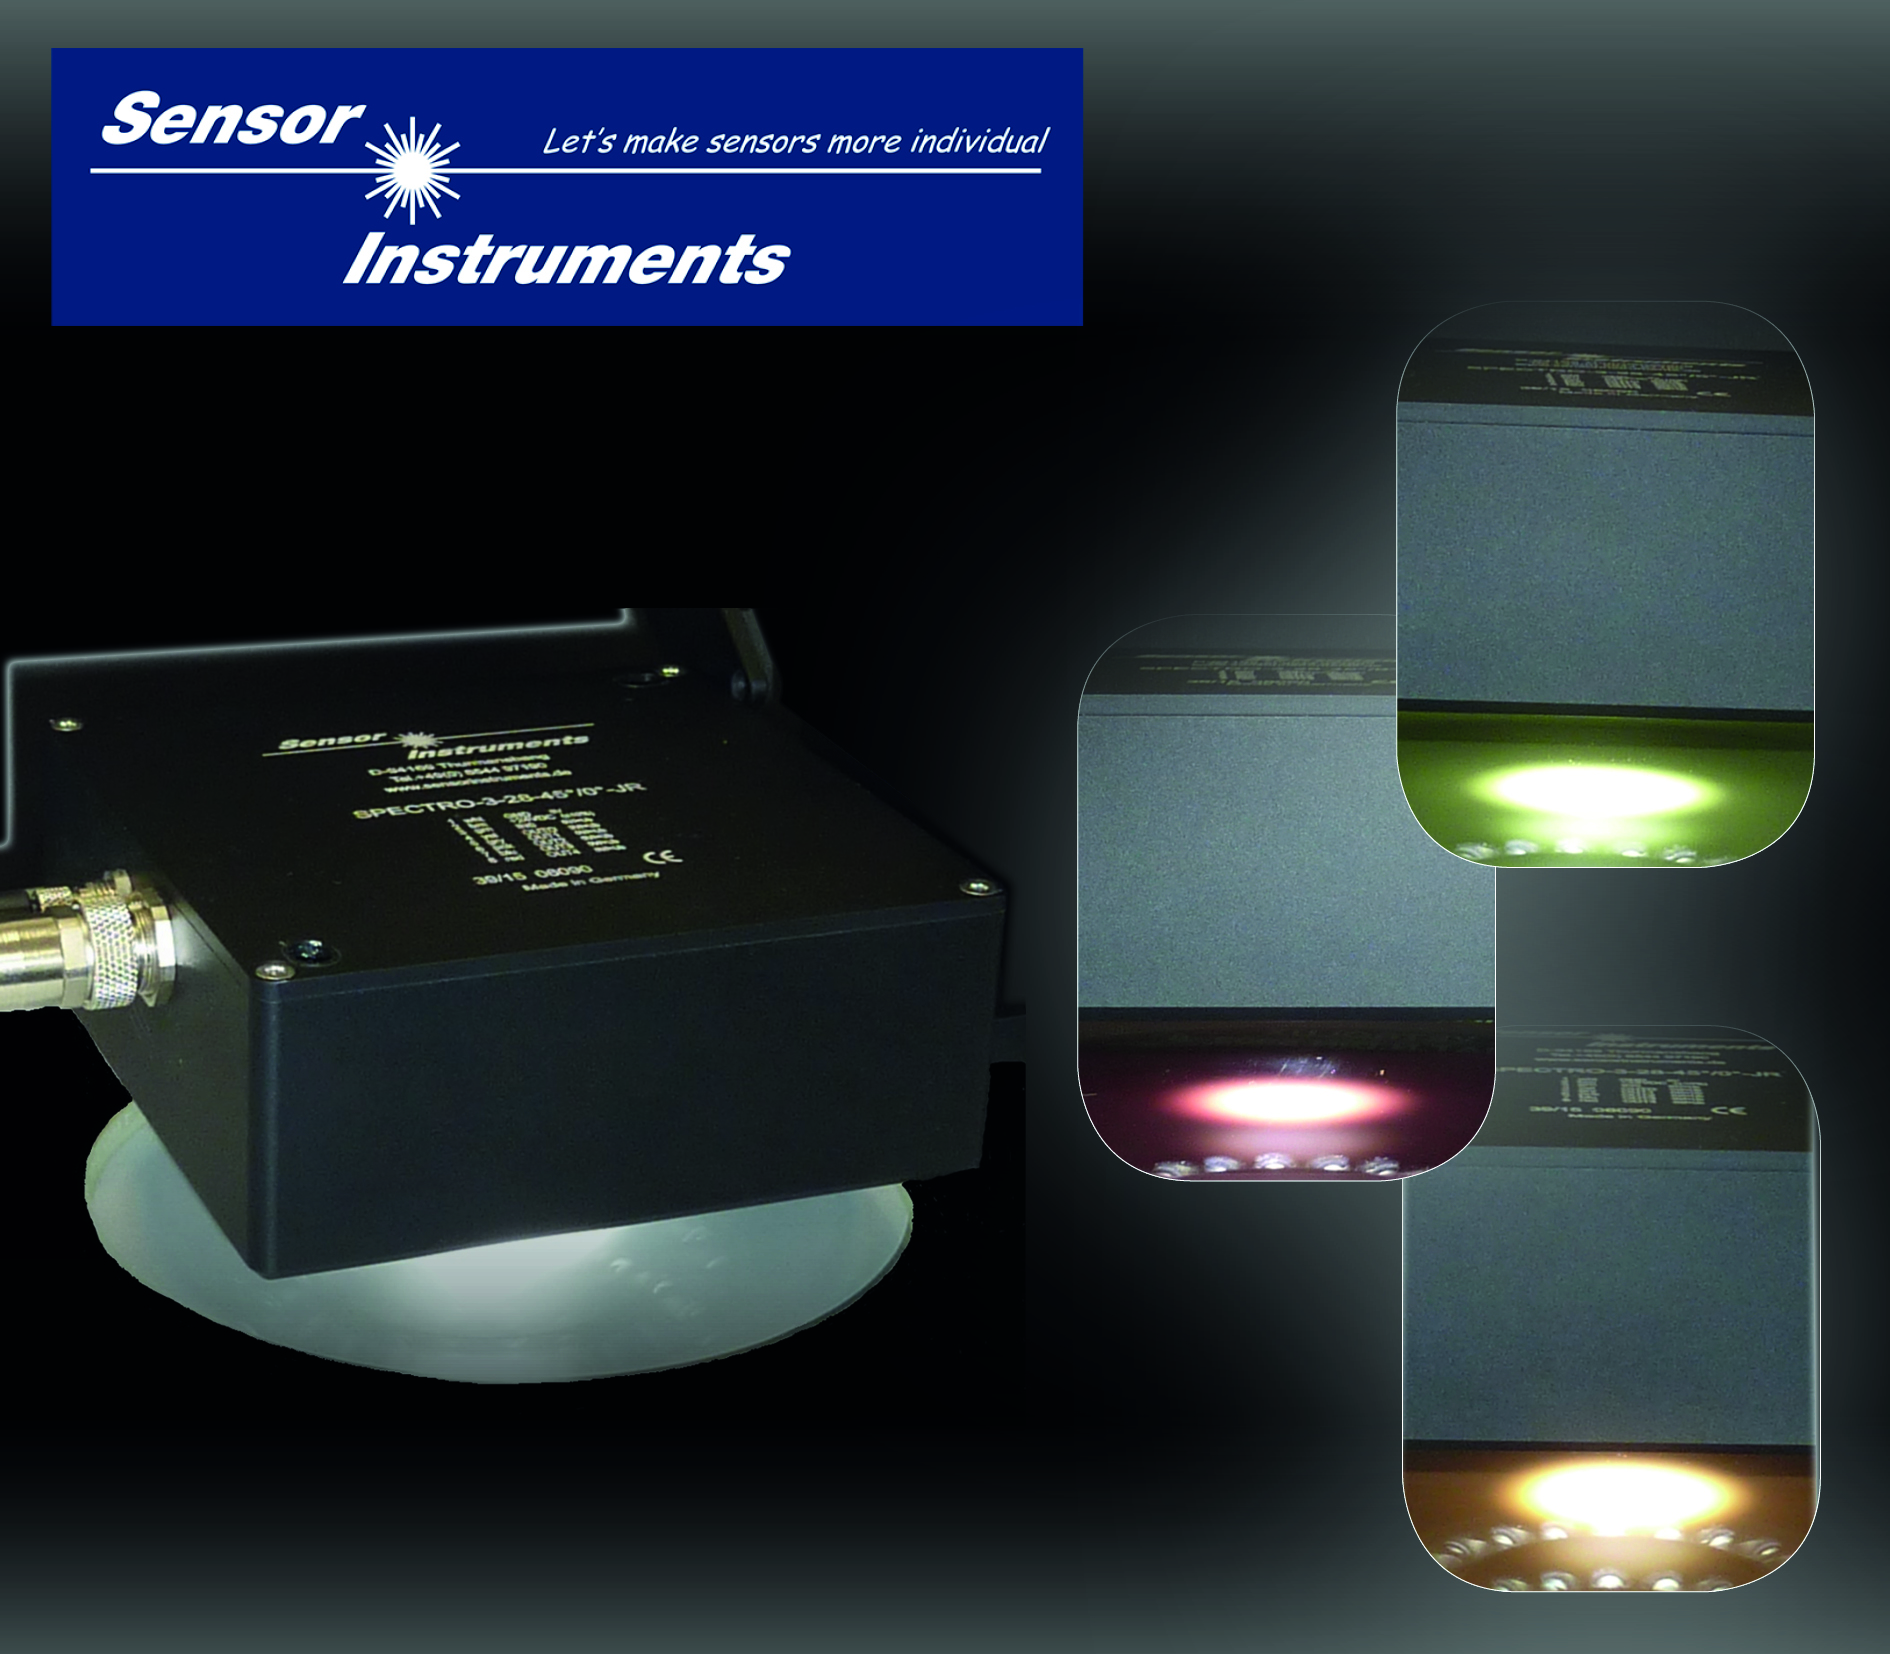
Through a 15mm Thick Inspection Glass 일반적으로 생산 중 컬러 페인트의 색상 검사는 주로 실험실에서 끝나게 됩니다.페인트 샘플을 채취 하고 이 샘플의 색상을 건조한 상태의 얇은 페인트 층을 통해 확인합니다. 이 과정은 물론 페인트 생산이 허용 공차를 벗어날 수있는 시간이 걸리므로 시간이 오래 걸리고 고비용의 후속 처리가 필요합니다. ► Press release |
 |
| Color measurement sensor SPECTRO-3-28-45°/0°-MSM-ANA-DL |
22 October 2018
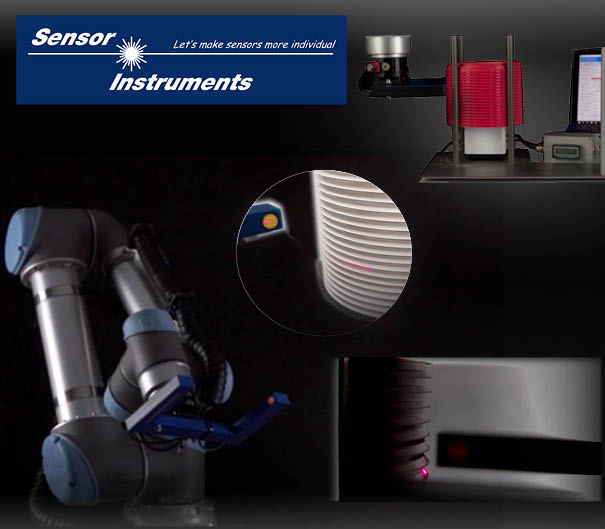
특히 투명하고 적층 된 플라스틱 뚜껑의 계산,예를 들어 빈번하게 포장 산업에서 사용되기 때문에,대개 매우 문제가 되는 응용 프로그램입니다.왜냐하면 한편으로는 개별 캡의 가장자리가 항상 정확하게 정렬되는 것은 아니며 반대로 반사광 원리로 작동하는 복사 카운터는 특히 투명한 물체와 함께 신뢰할 수 있는 계산 결과를 제공하지 않기 때문 입니다.
► Press release |
 |
| Laser through-beam sensor A-LAS-N-F16-9.5x0.8-150/80-C-2m with electronic control unit SPECTRO-1-CONLAS |


